Guide - Build your own hat rack
______________________________________________________________________________
Build your own hat rack in turn-of-the-century style!
Building your own hat rack is both easy, fun, and practical because you can customize both the style and dimensions for the exact space where you want to mount it. Choose from our large assortment of brackets, shelves, hooks, and fittings to combine a hat rack exactly to your taste.
1. Placement
Consider door openings and the overall flow in the hallway when choosing where to place your hat rack. The hat rack will quickly become the main focus and take up more space than you might think, so it's good to choose a generously sized space.
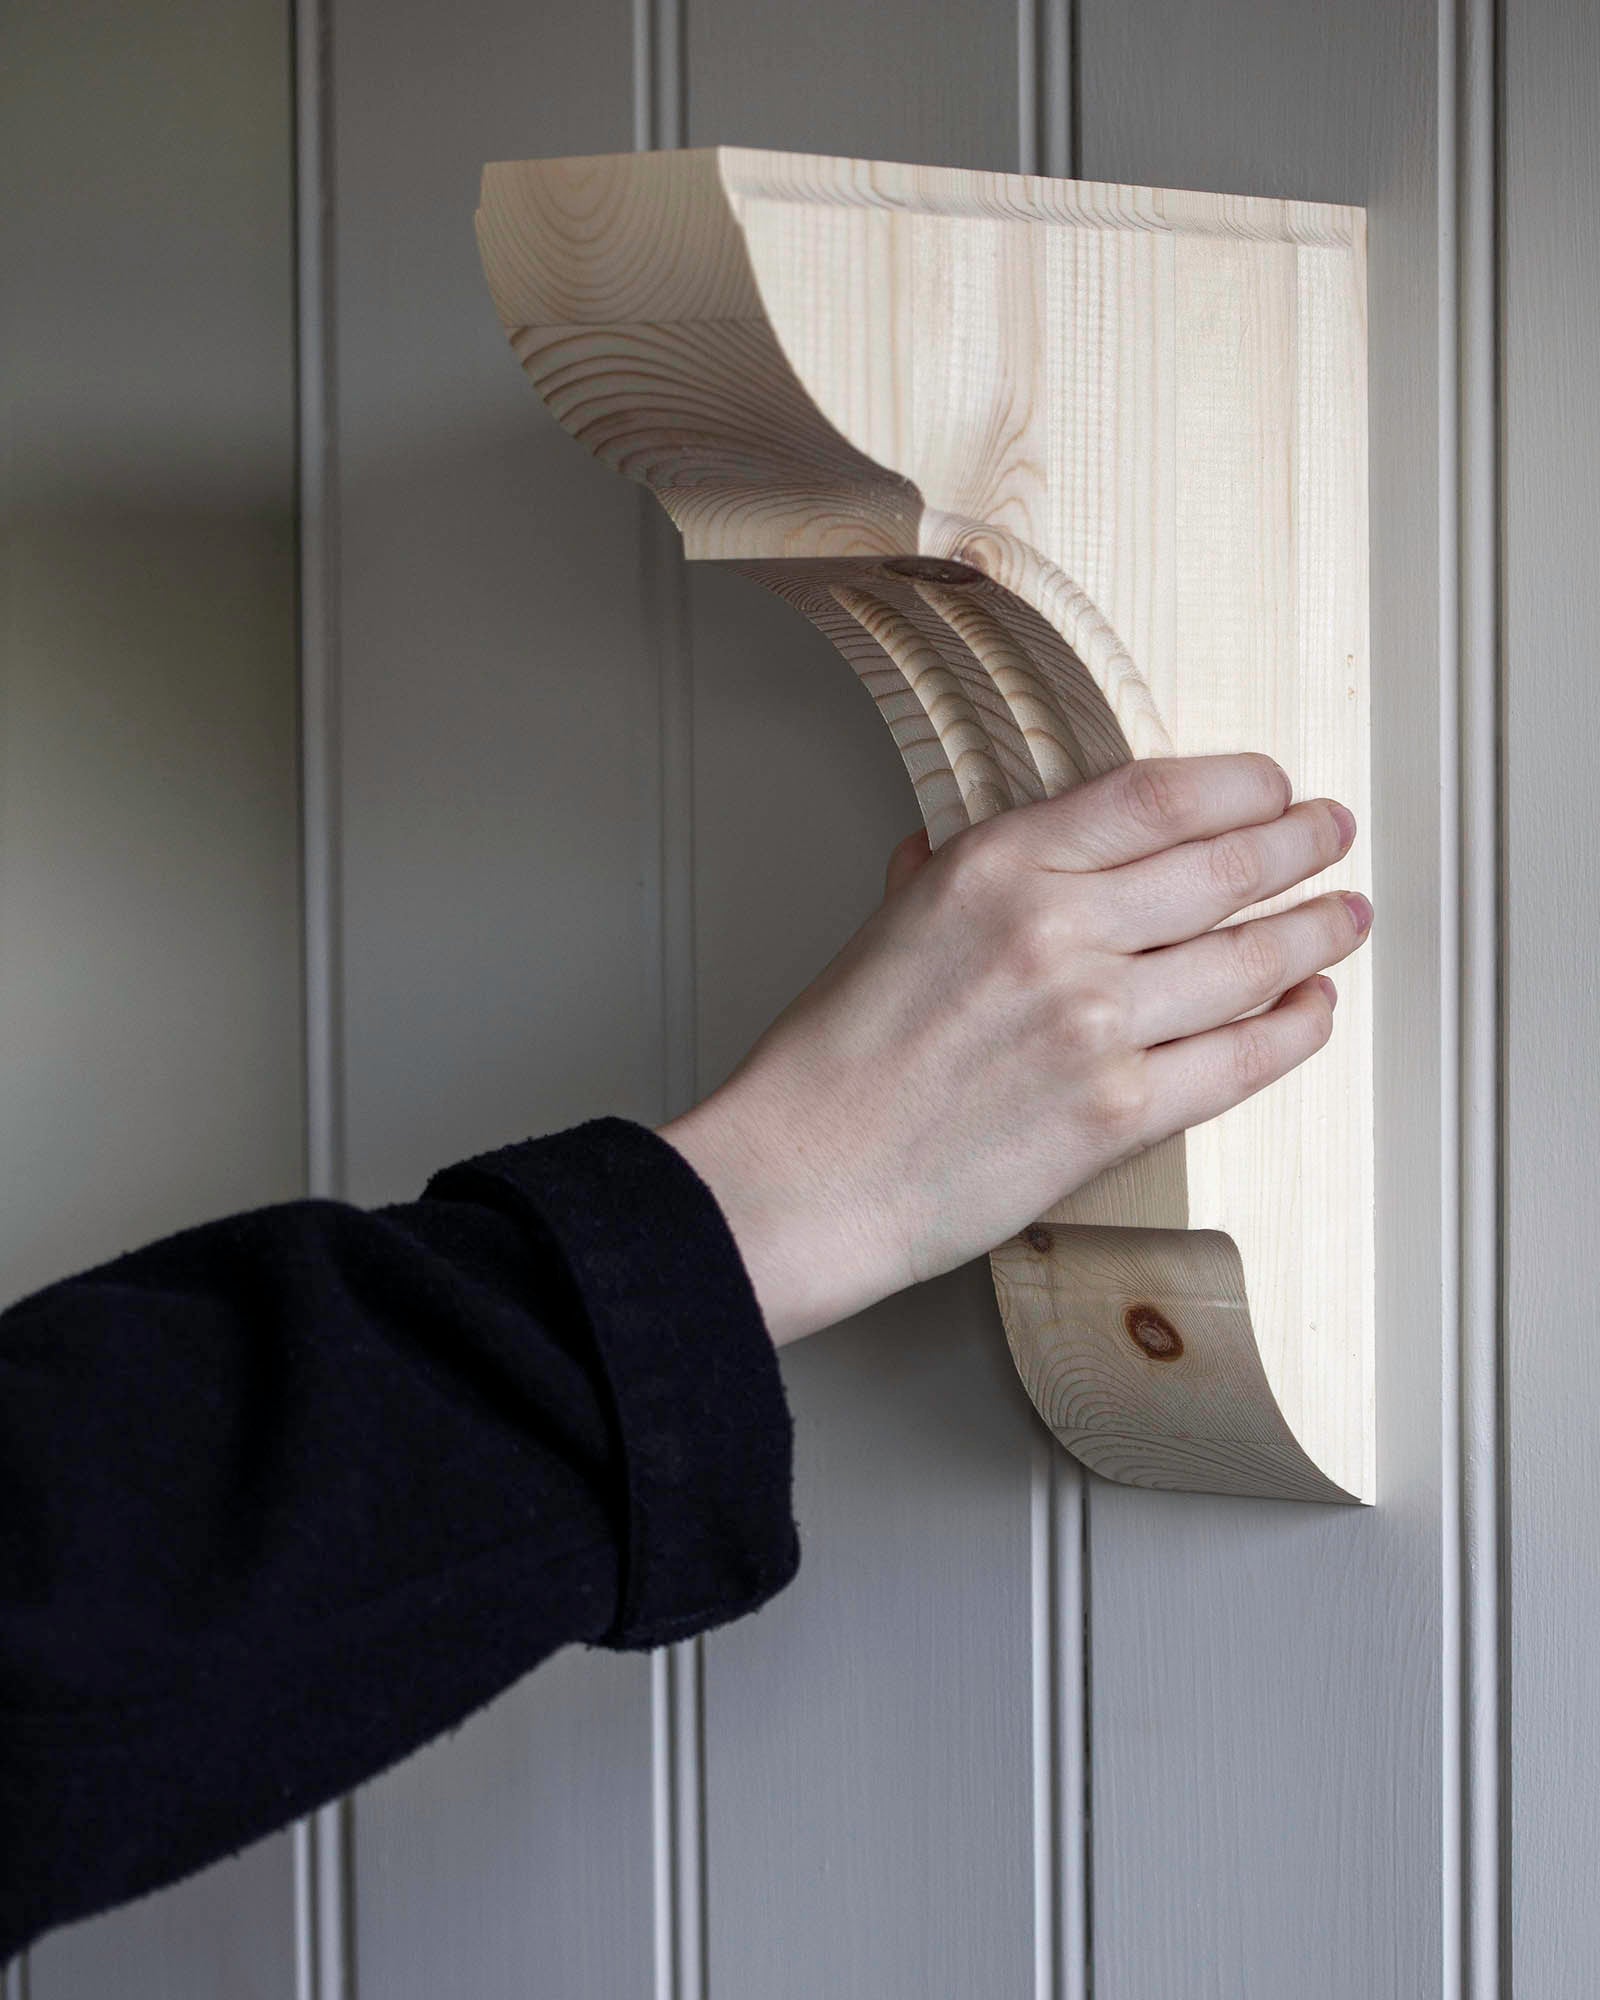
2.Assemble your shelf
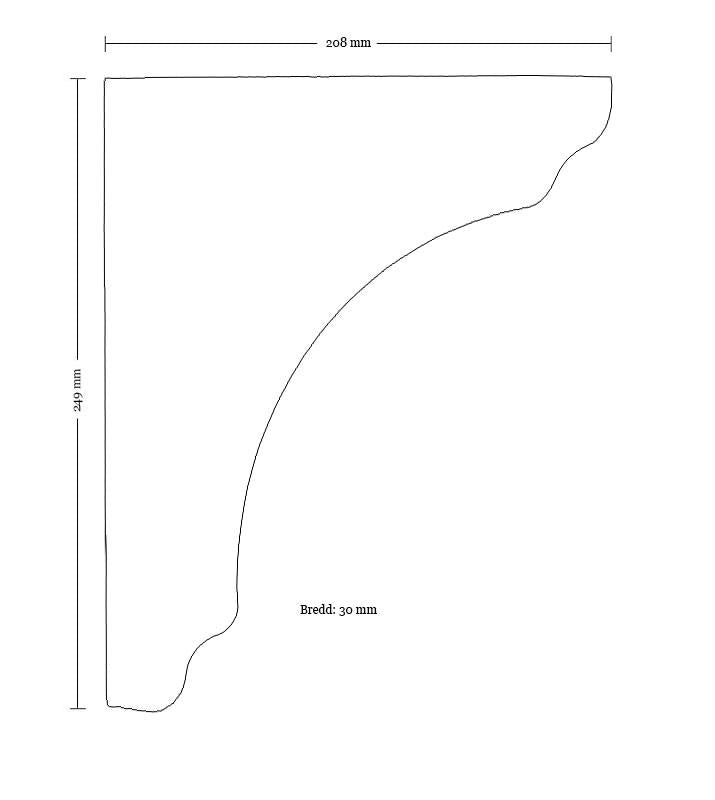
Once you have chosen shelf brackets and suitable shelving, it is time to start assembling them. A good rule of thumb is that the bracket should be 2/3 of the shelf depth for proper stability, and that two brackets are needed per meter of shelving. Measure where you want to place the brackets on the shelf. We recommend positioning them a few centimeters in from each side. Then measure and pre drill the shelf where you want to attach the brackets. This is done from above using two screws per bracket. Once the shelf and brackets are attached, fill the screw heads with wood filler and allow it to dry.
3. Prep work and painting
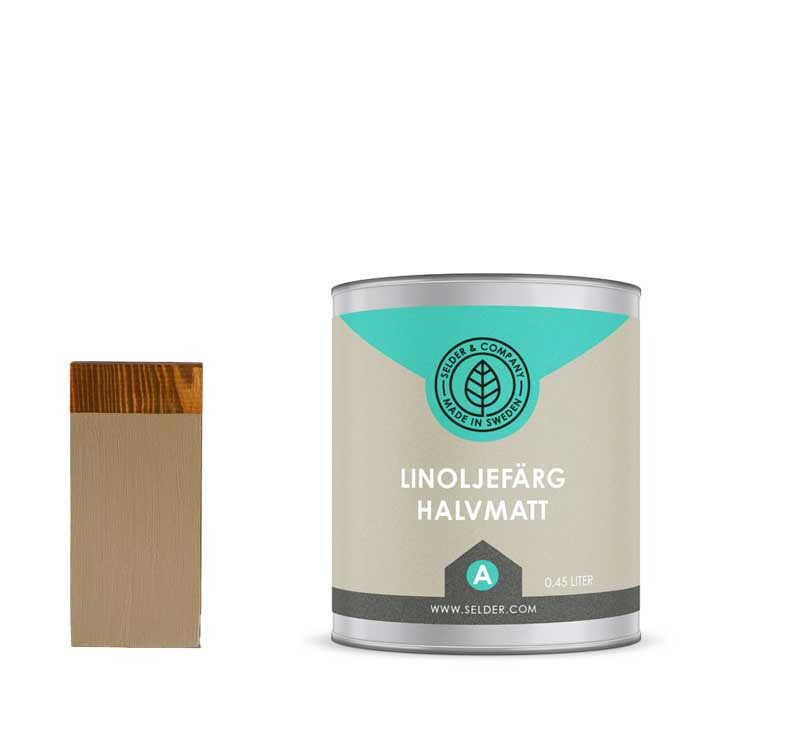
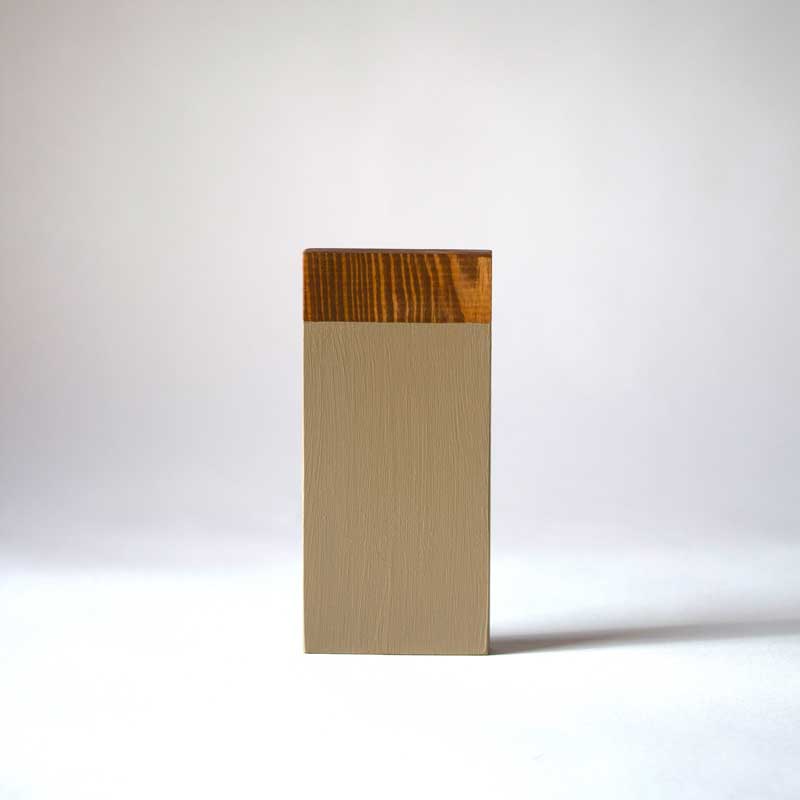
Seal any knots with shellac and prime your hat rack. We recommend linseed oil paint, which is especially good and durable for furnishings used daily. After the primer has dried, choose a finish paint color and apply two coats. For a cohesive look, we recommend painting the shelf the same color as the room's woodwork.
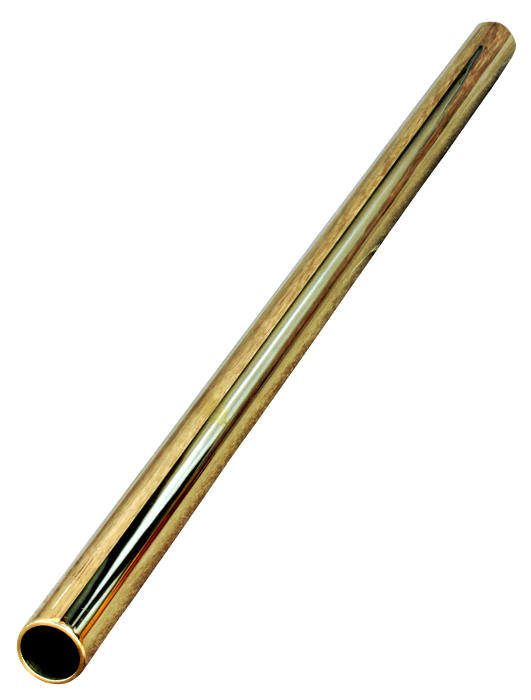
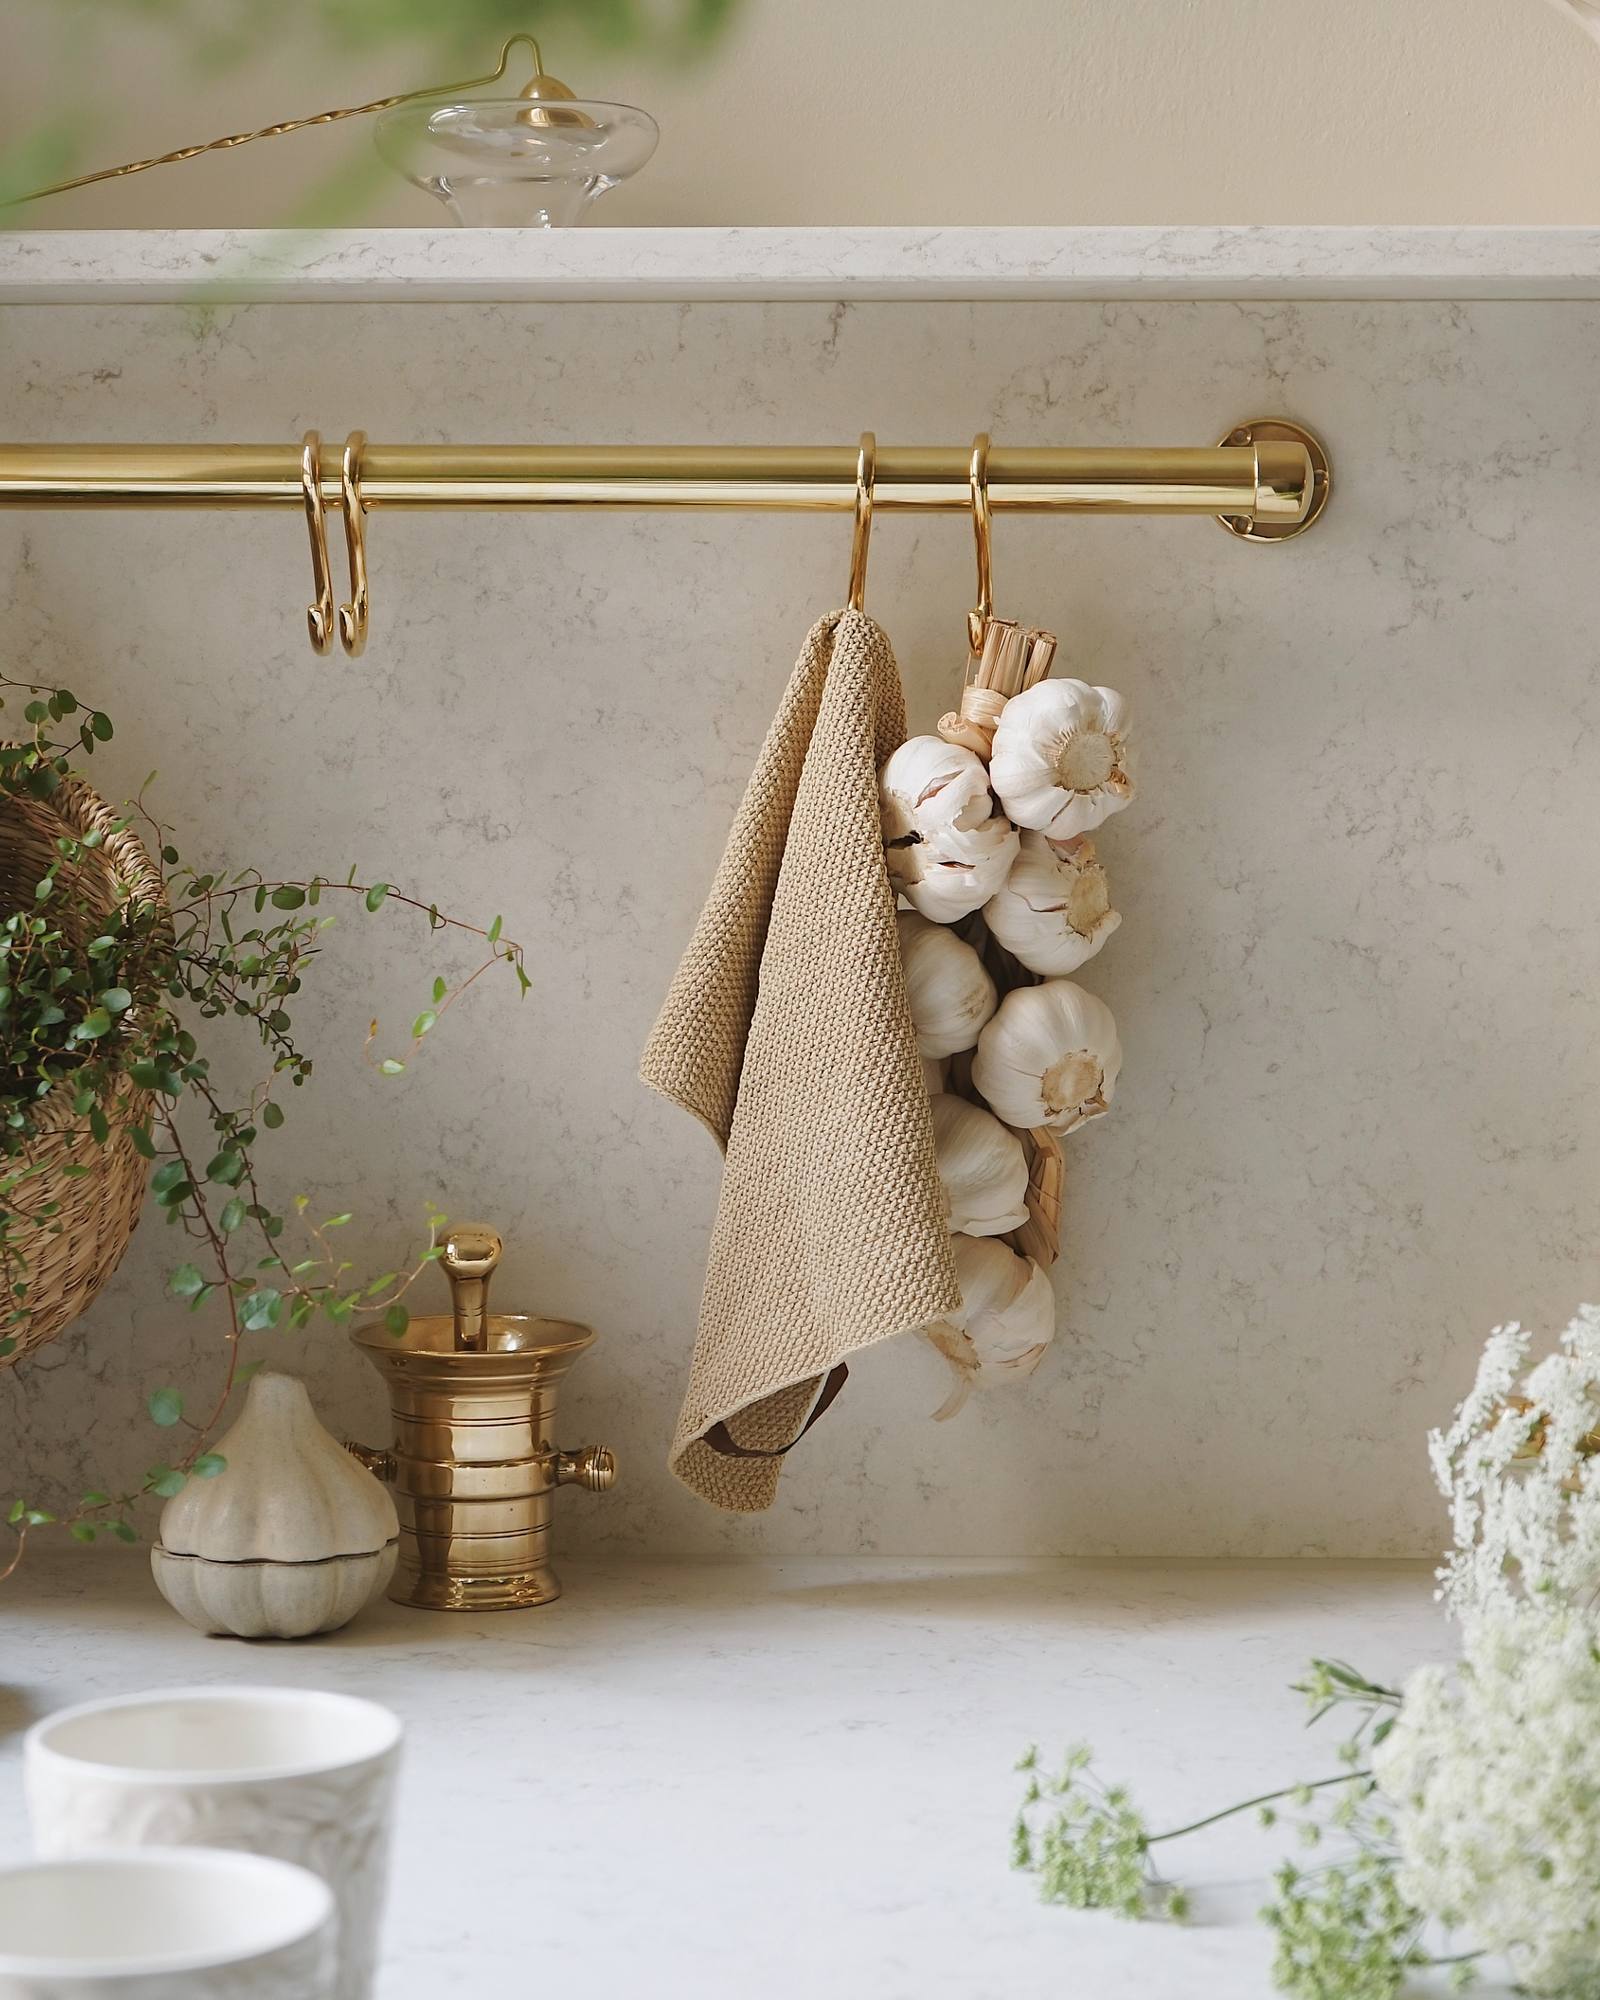
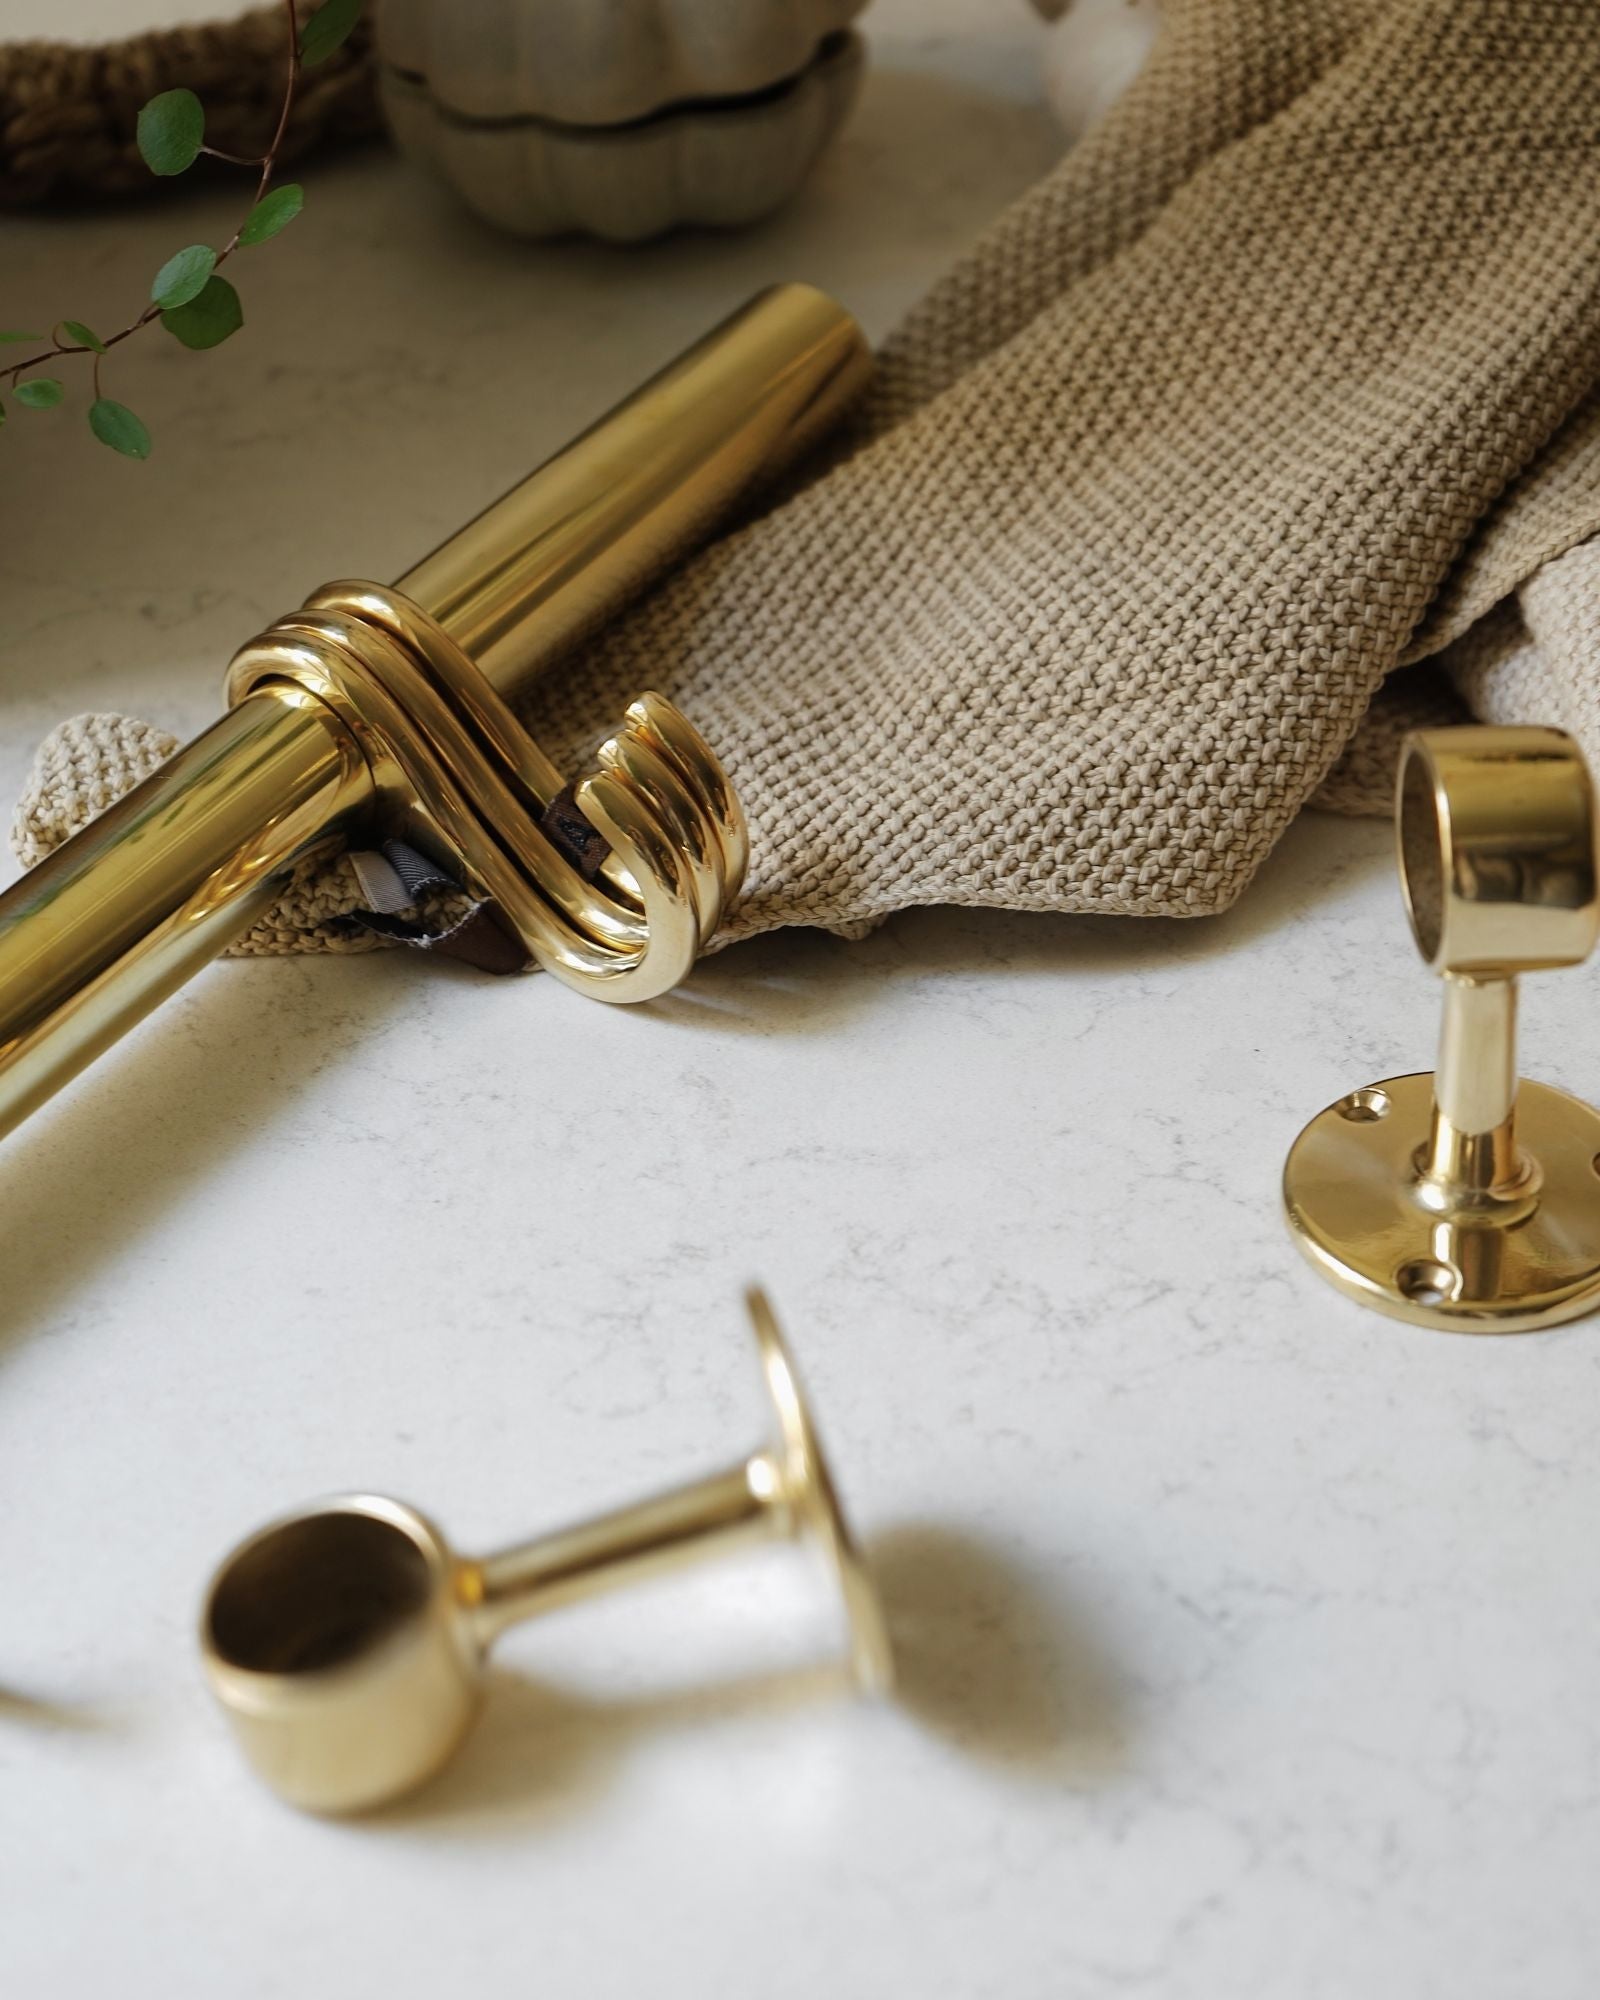
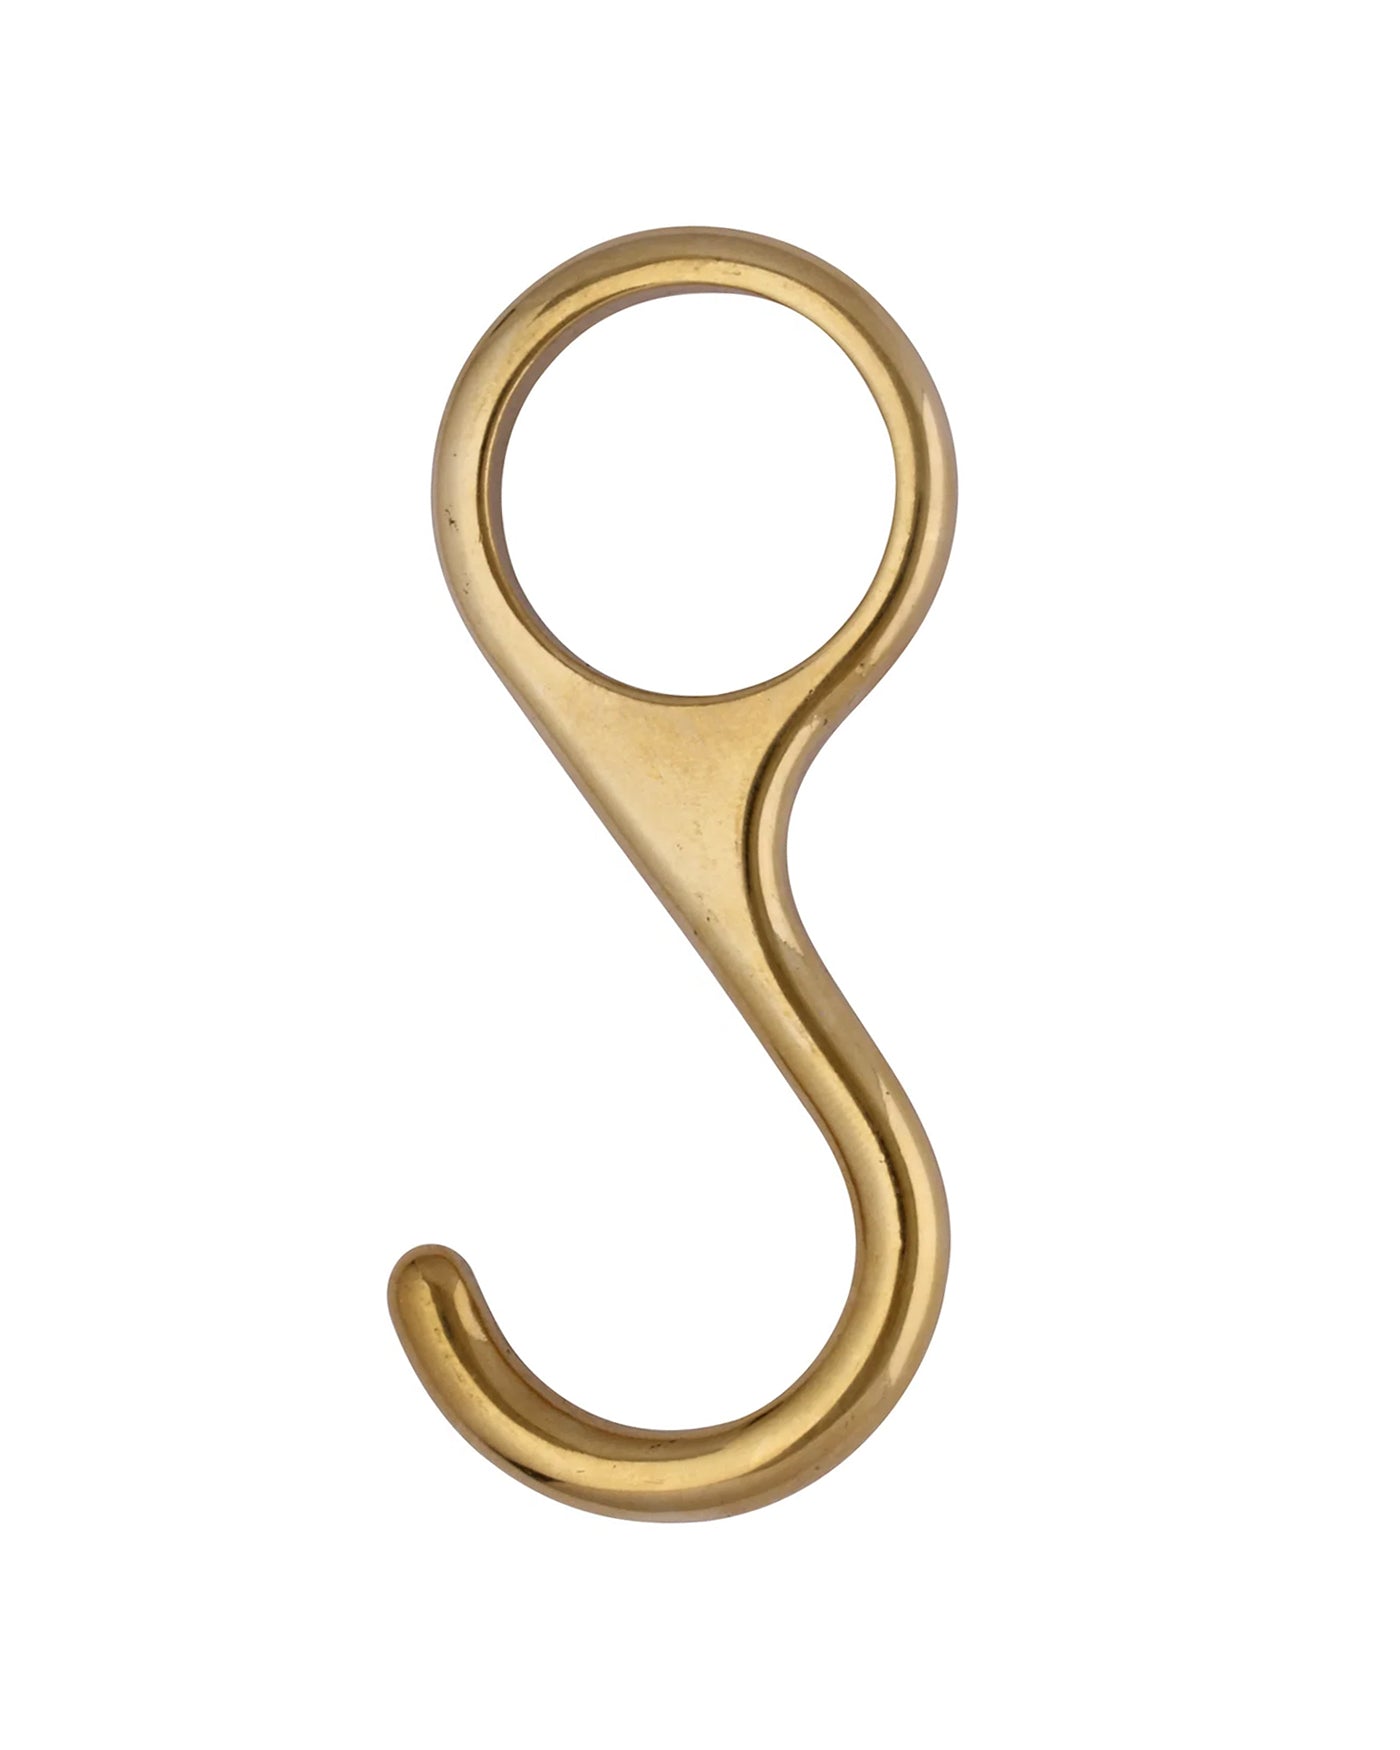
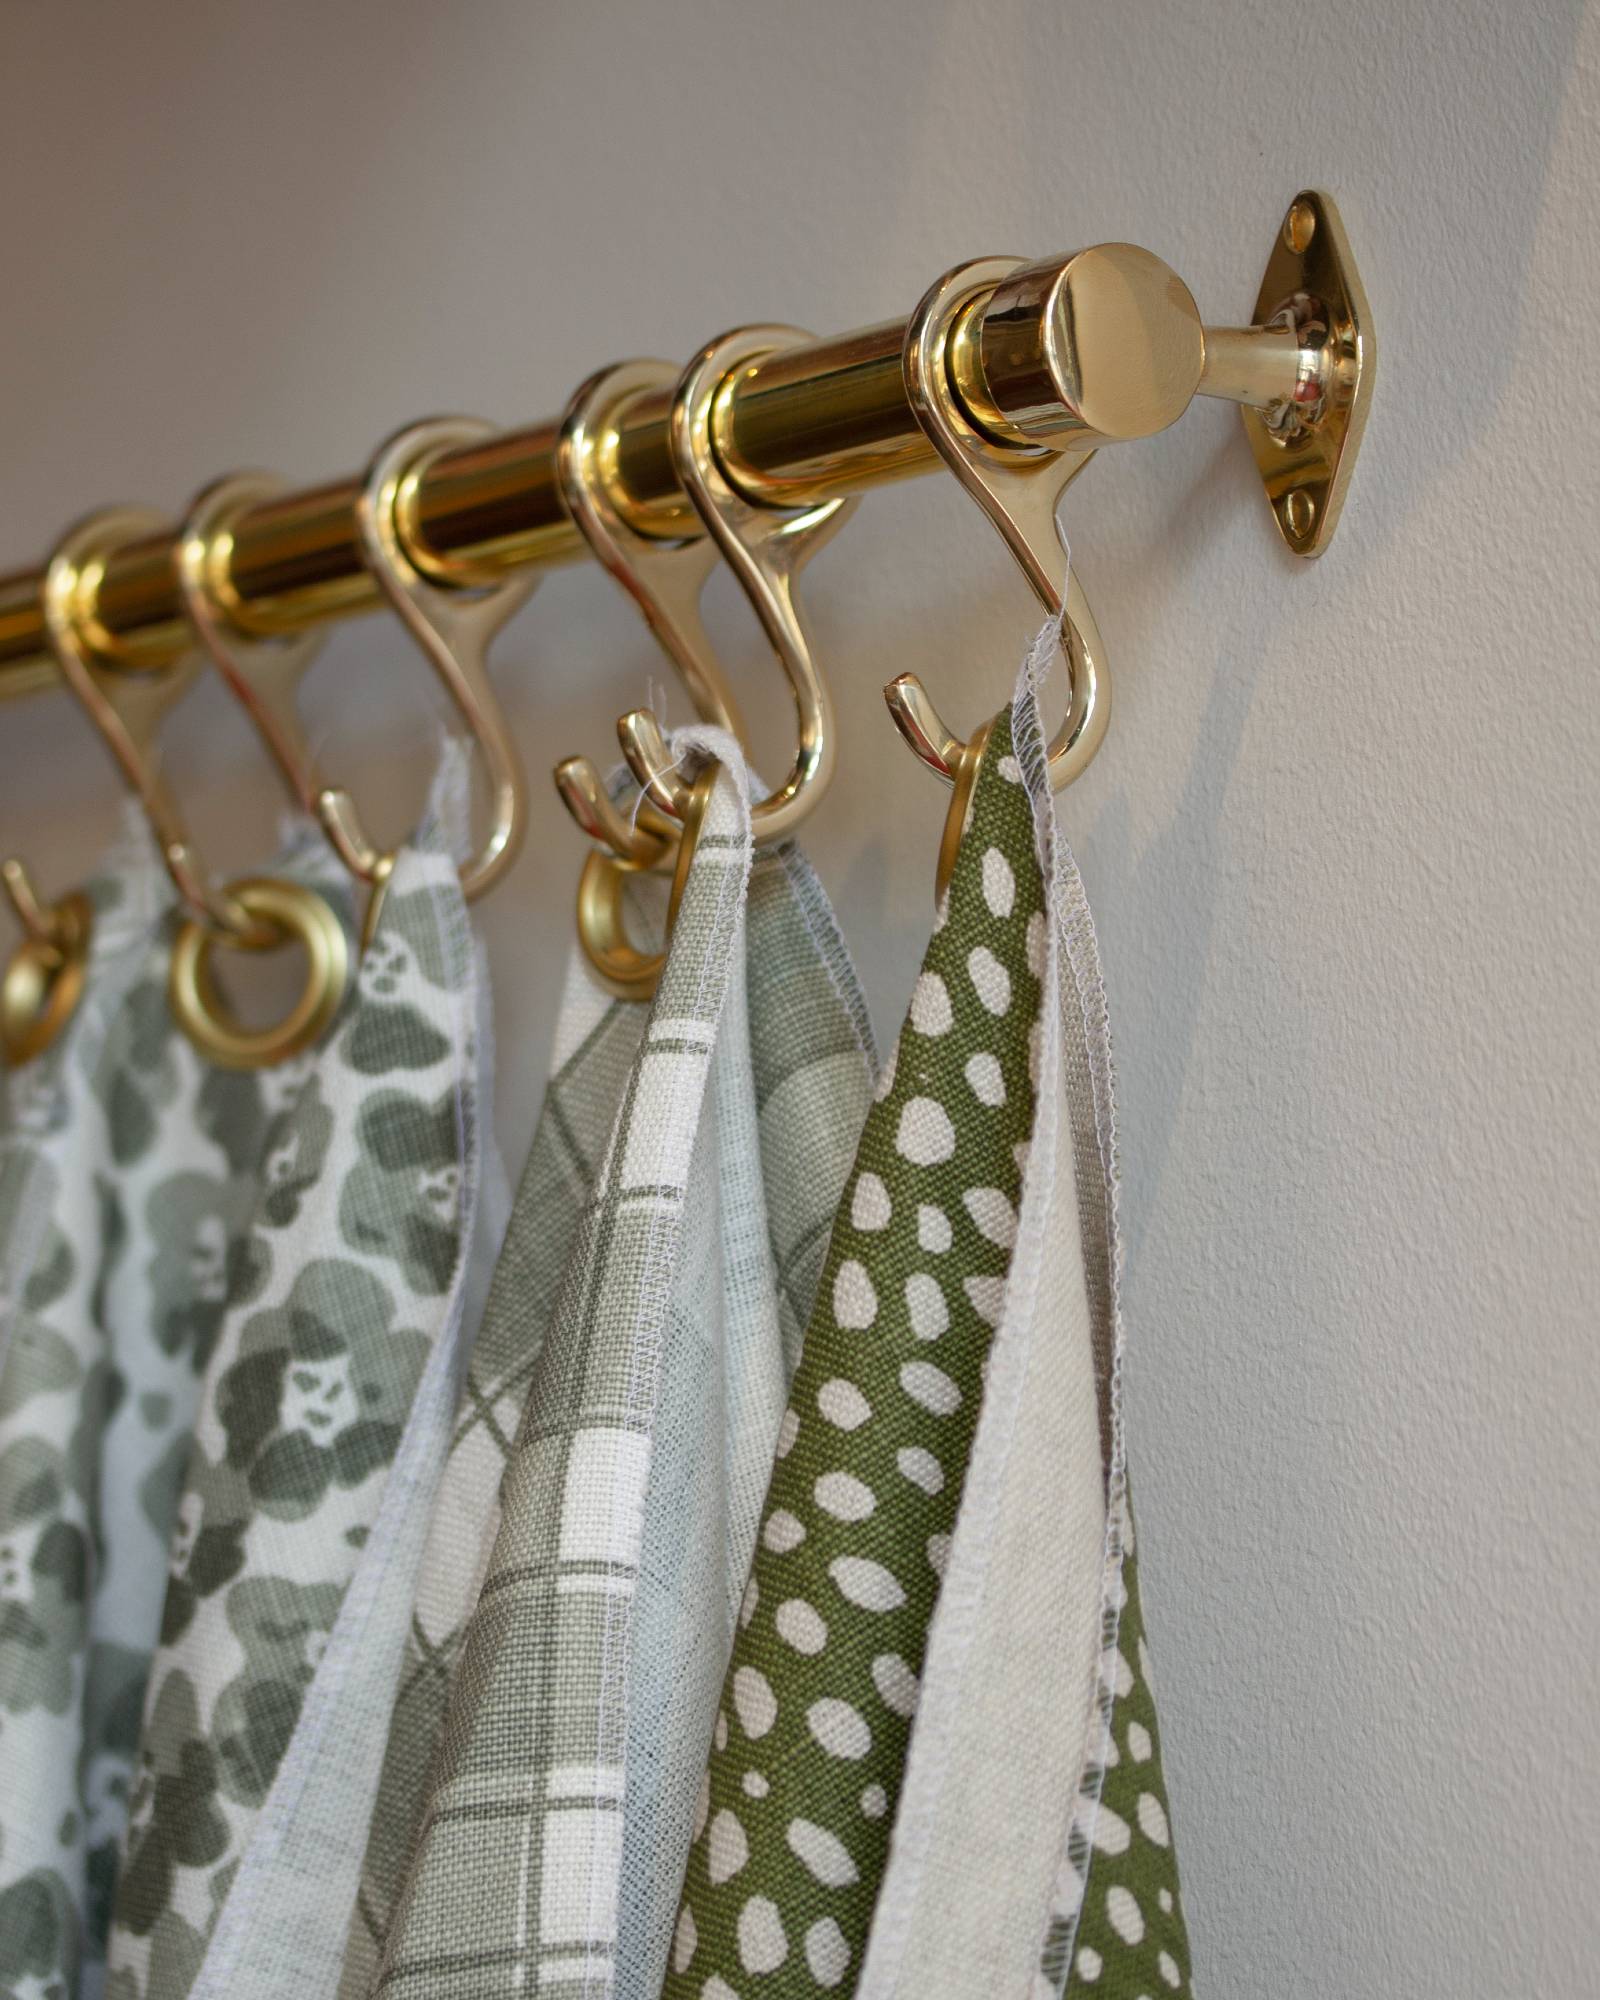
4.Hooks and fittings
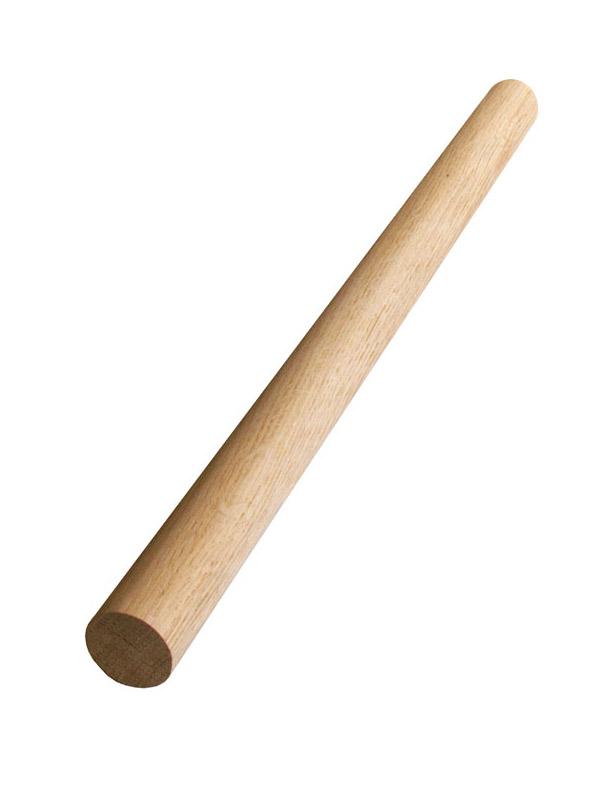
Choose between anchor hooks or a clothes rod in either brass, chrome, oak, or pine for practical hanging. These are mounted on the underside of the shelf board with slotted screws, if you choose anchor hooks we recommend sticking to an odd number and placing them staggered. For hat enthusiasts, we also suggest hat stands that are mounted on the top side of the shelf board!
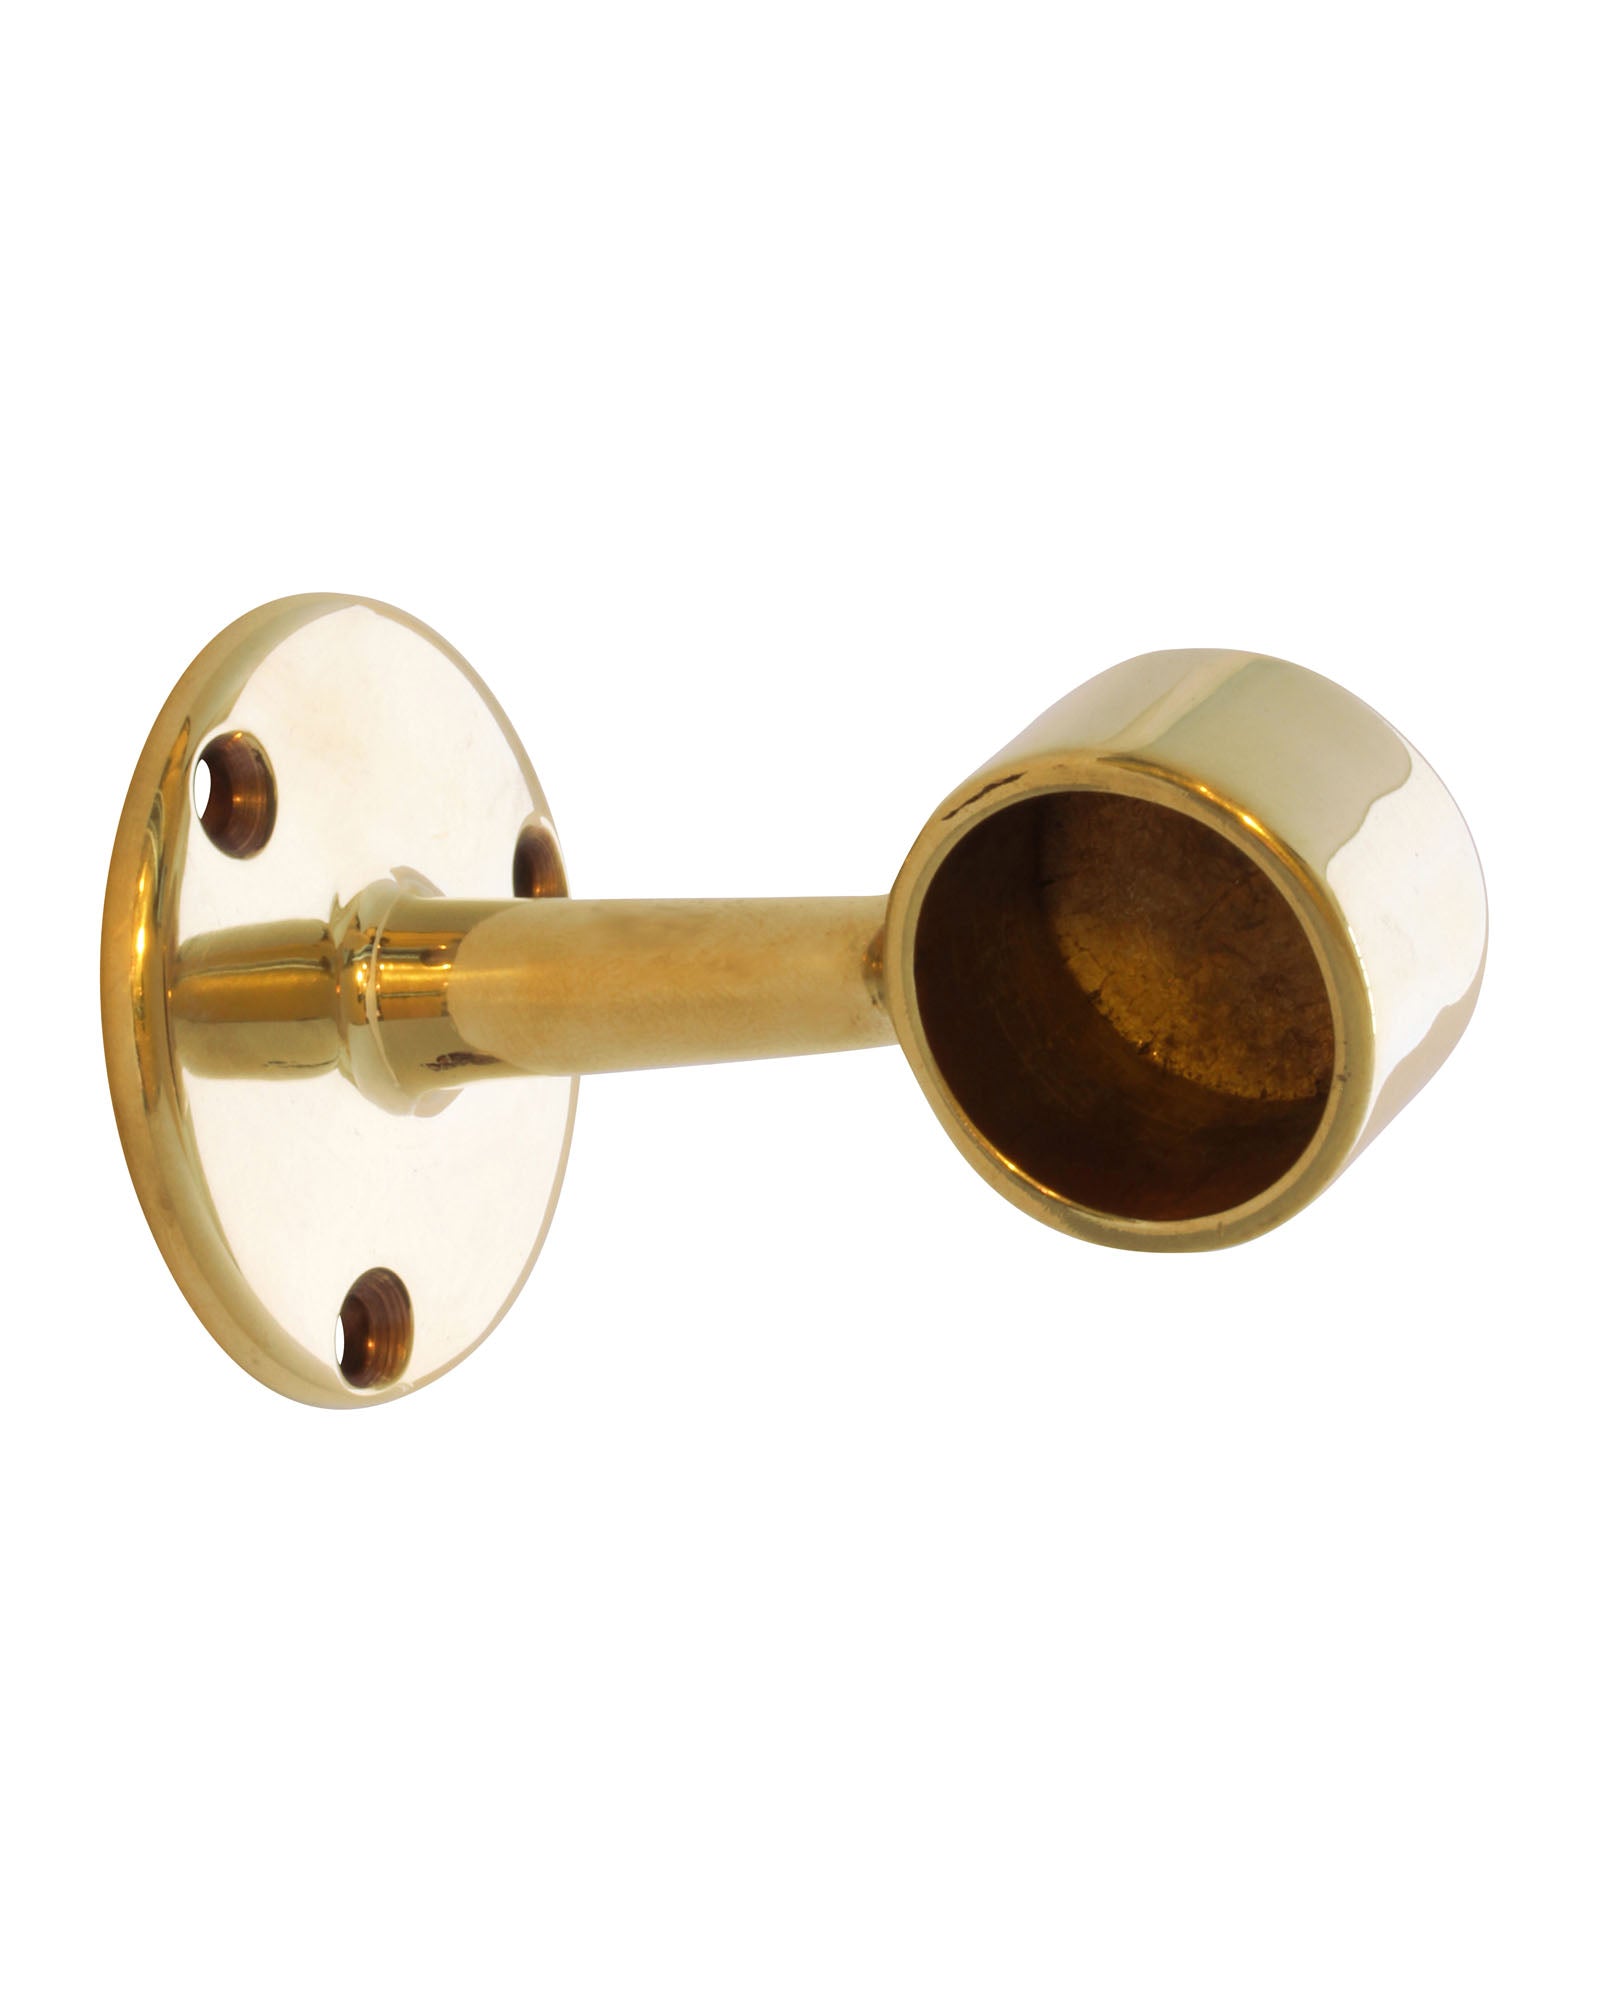
5. Mount your hat rack on the wall
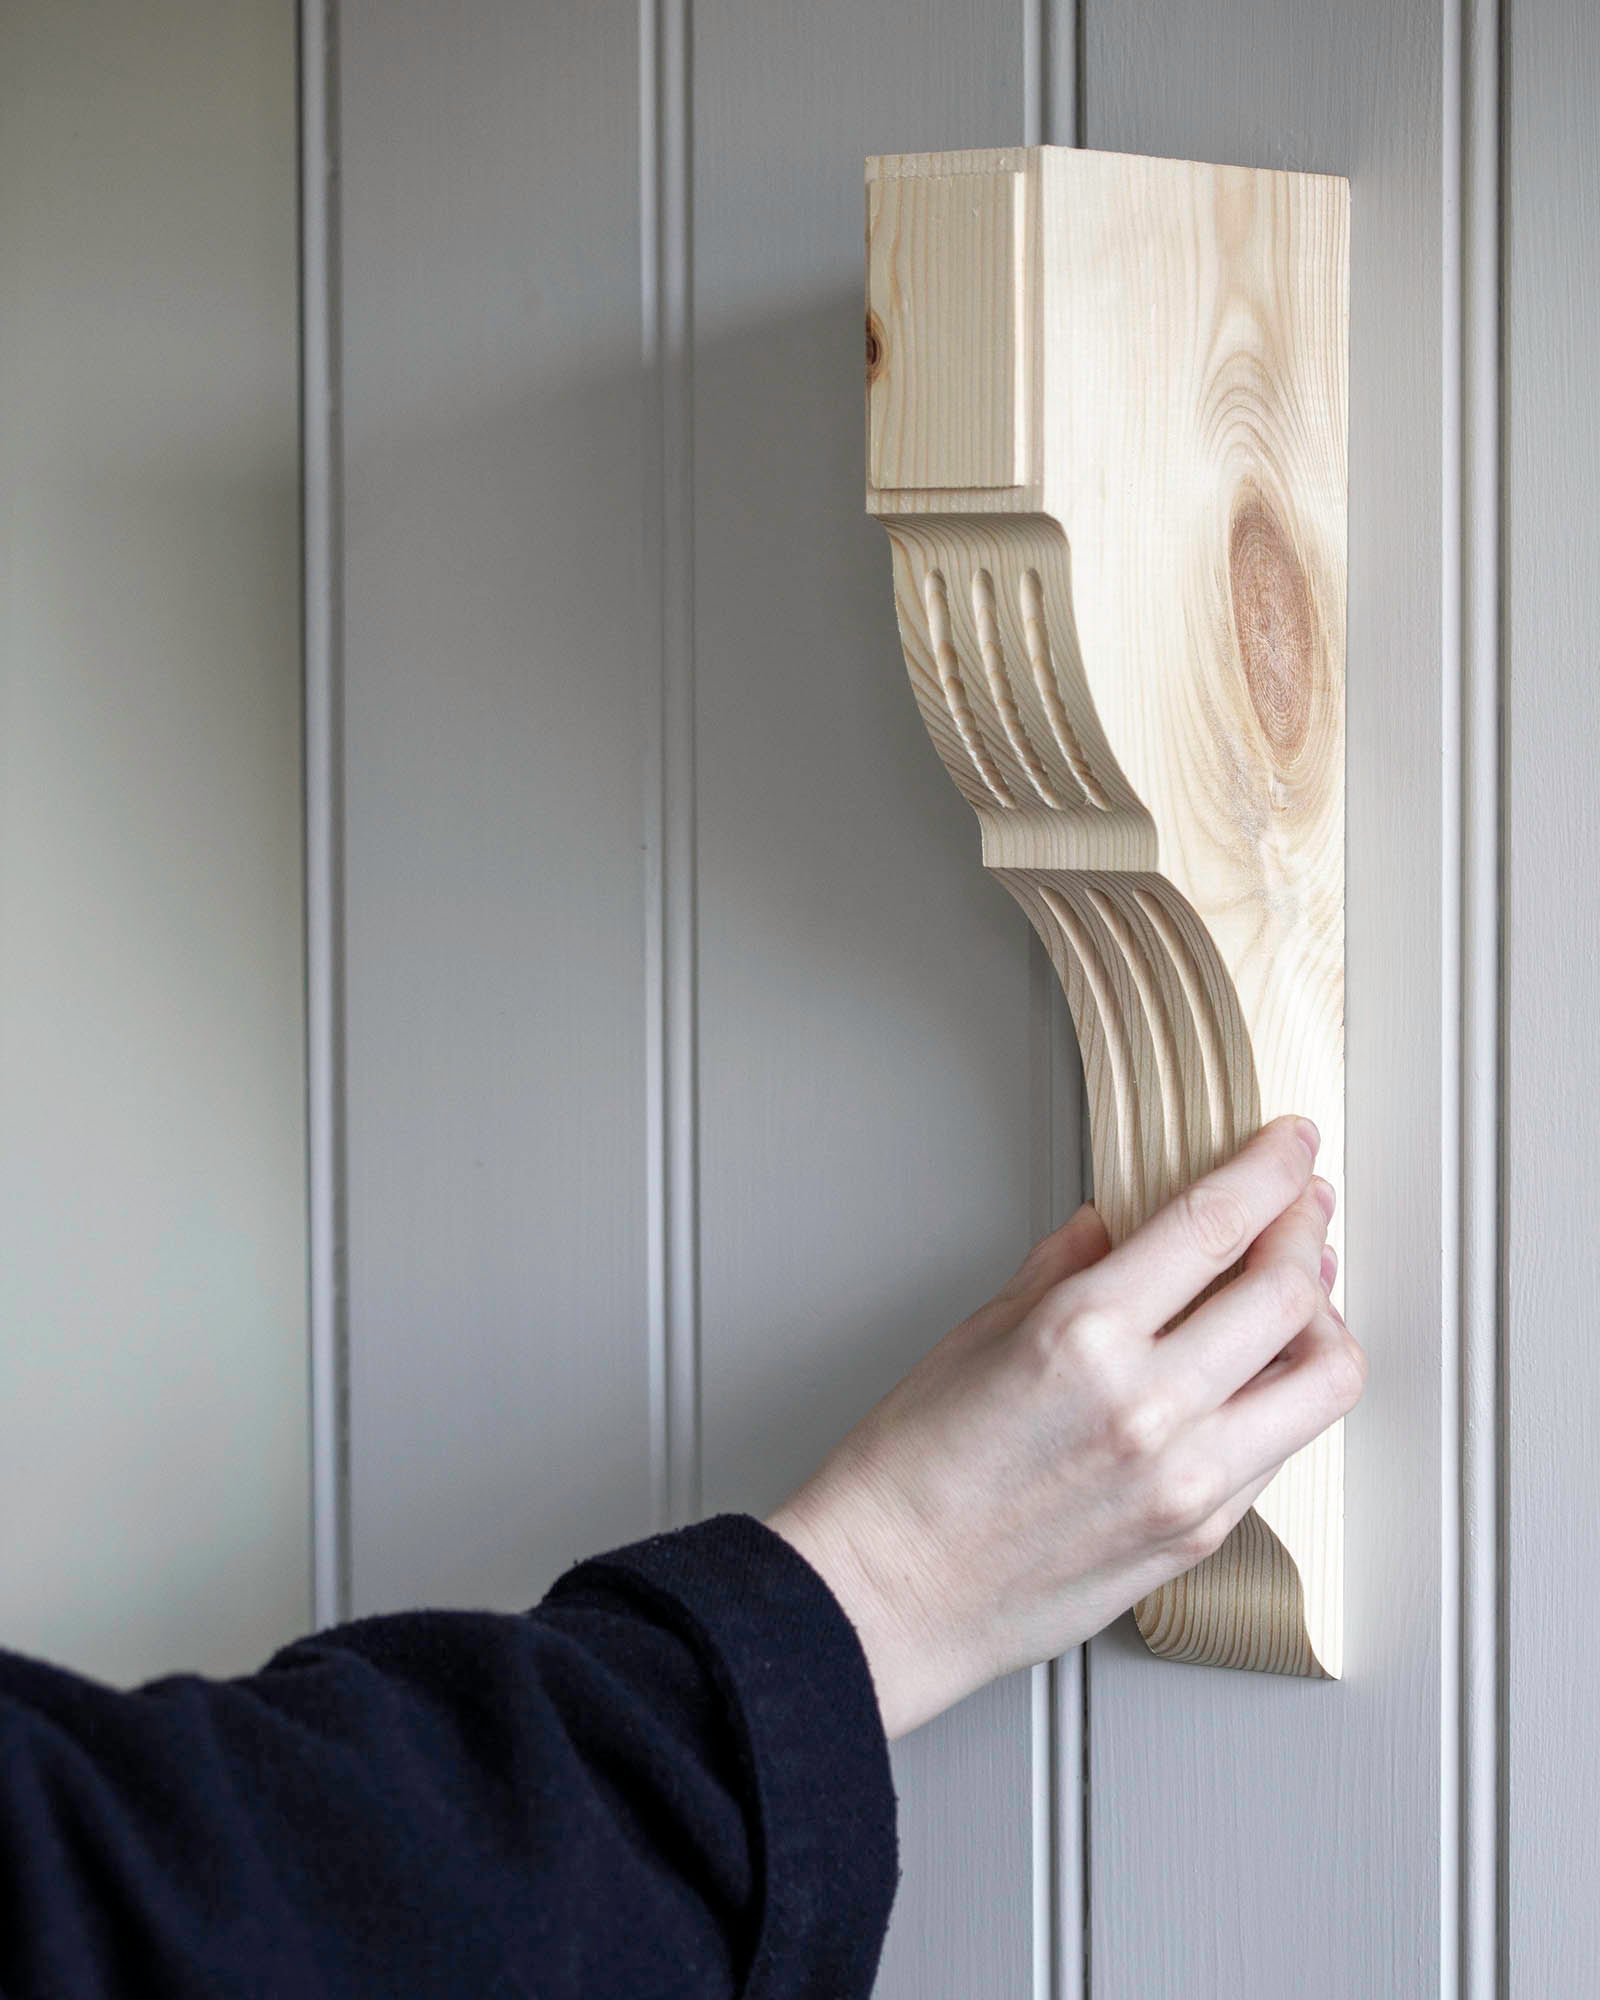
If the brackets you have chosen feature a mounting fixture on the back, measure the center to center distance between the holes and mark these positions on the wall. If the brackets do not have a ready made mounting fixture, we recommend purchasing hanging plates from your local hardware store, recessing them into the bracket, and then measuring the center to center distance between them before marking the wall. Once the brackets are mounted on the wall, we also recommend securing them further by screwing directly through the bracket. Here you can see the easiest way to install our different types of shelf brackets. You can also reinforce the installation with additional angle brackets between the wall and the shelf. Use the correct drill bit, wall anchor, and screws for your wall material. Fill any visible screw heads with wood filler and paint over them. NOTE! For heavier loads or if the shelf is used as a clothes rail, the wall attachment may need to be reinforced depending on the wall type.
6. More accessories for the hallway
Now that your hat rack is mounted and ready! Here you will find our large selection of hallway furnishings!
Materials and tools
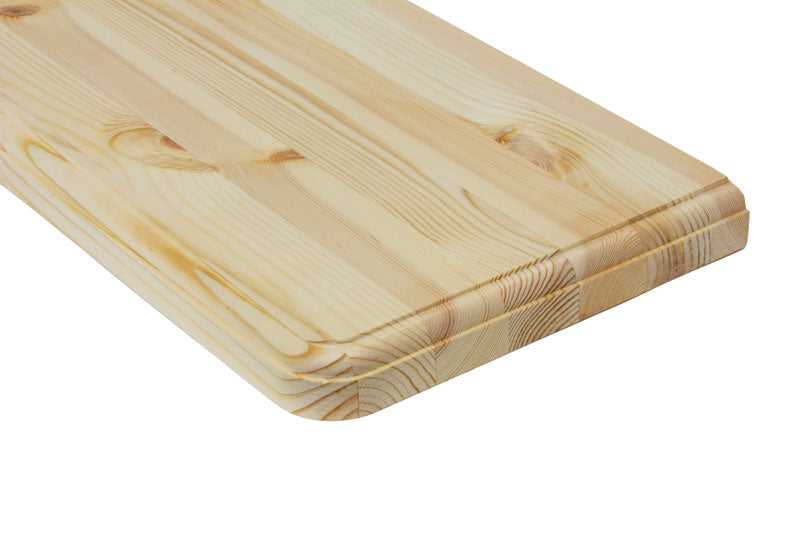
- 1 x Shelf board in untreated pine with rounded corners and profiled edge
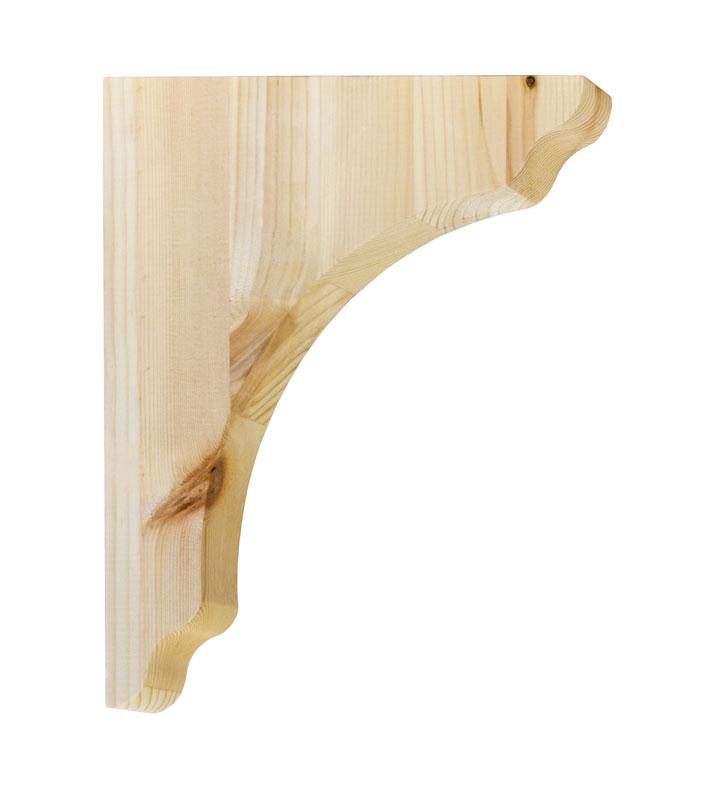
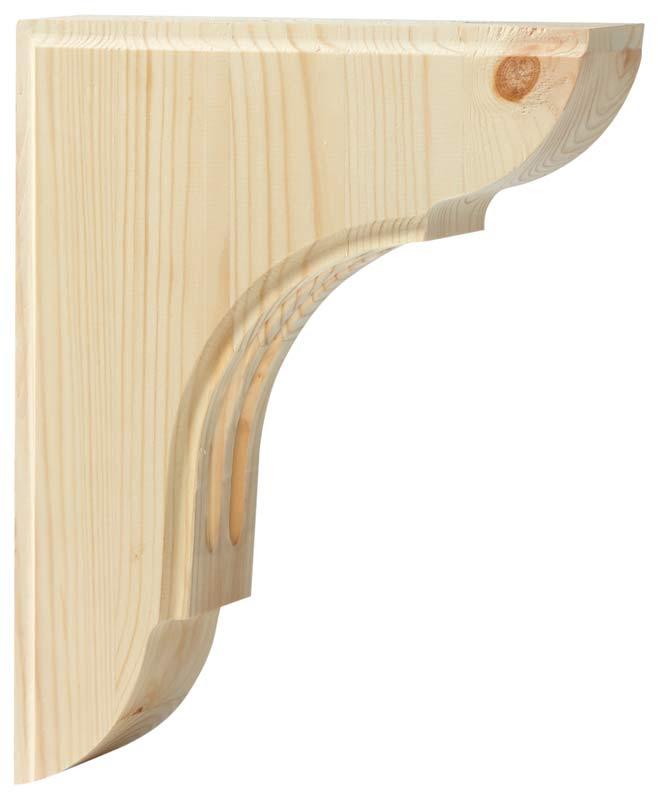
- 2 x Wooden brackets in untreated pine
- Shellac
- Primer & paint
- Wood filler and putty knife
- Sandpaper (to prepare the surface for painting)
- Screws & plugs (size depending on the type of wall)
- Drill and screwdriver
- Level