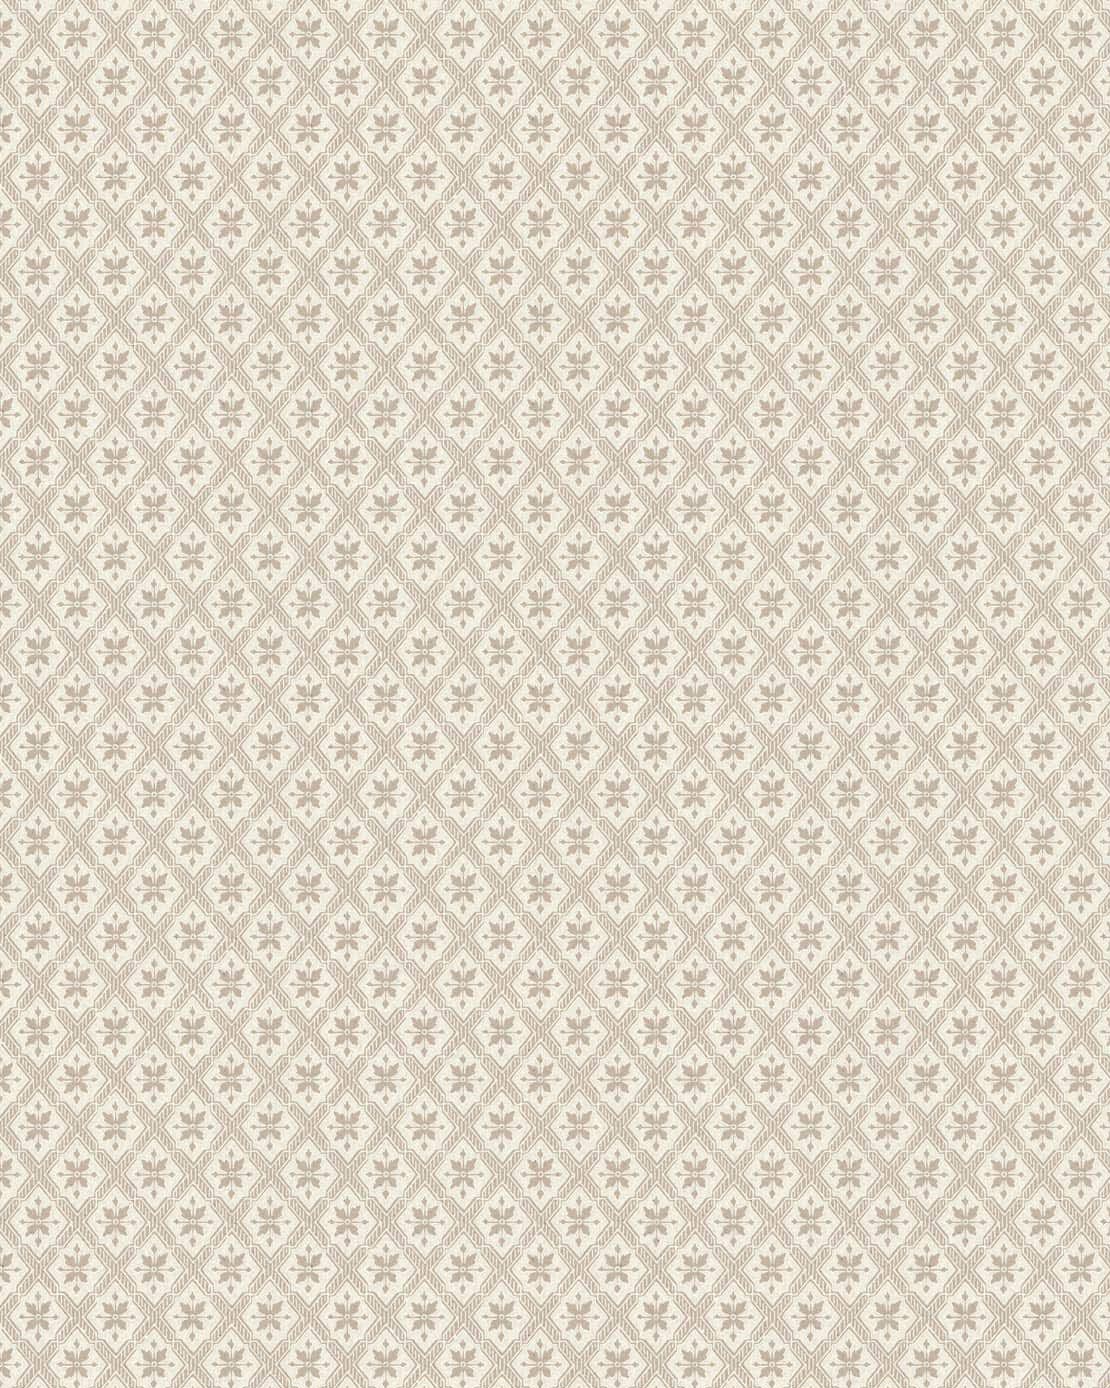
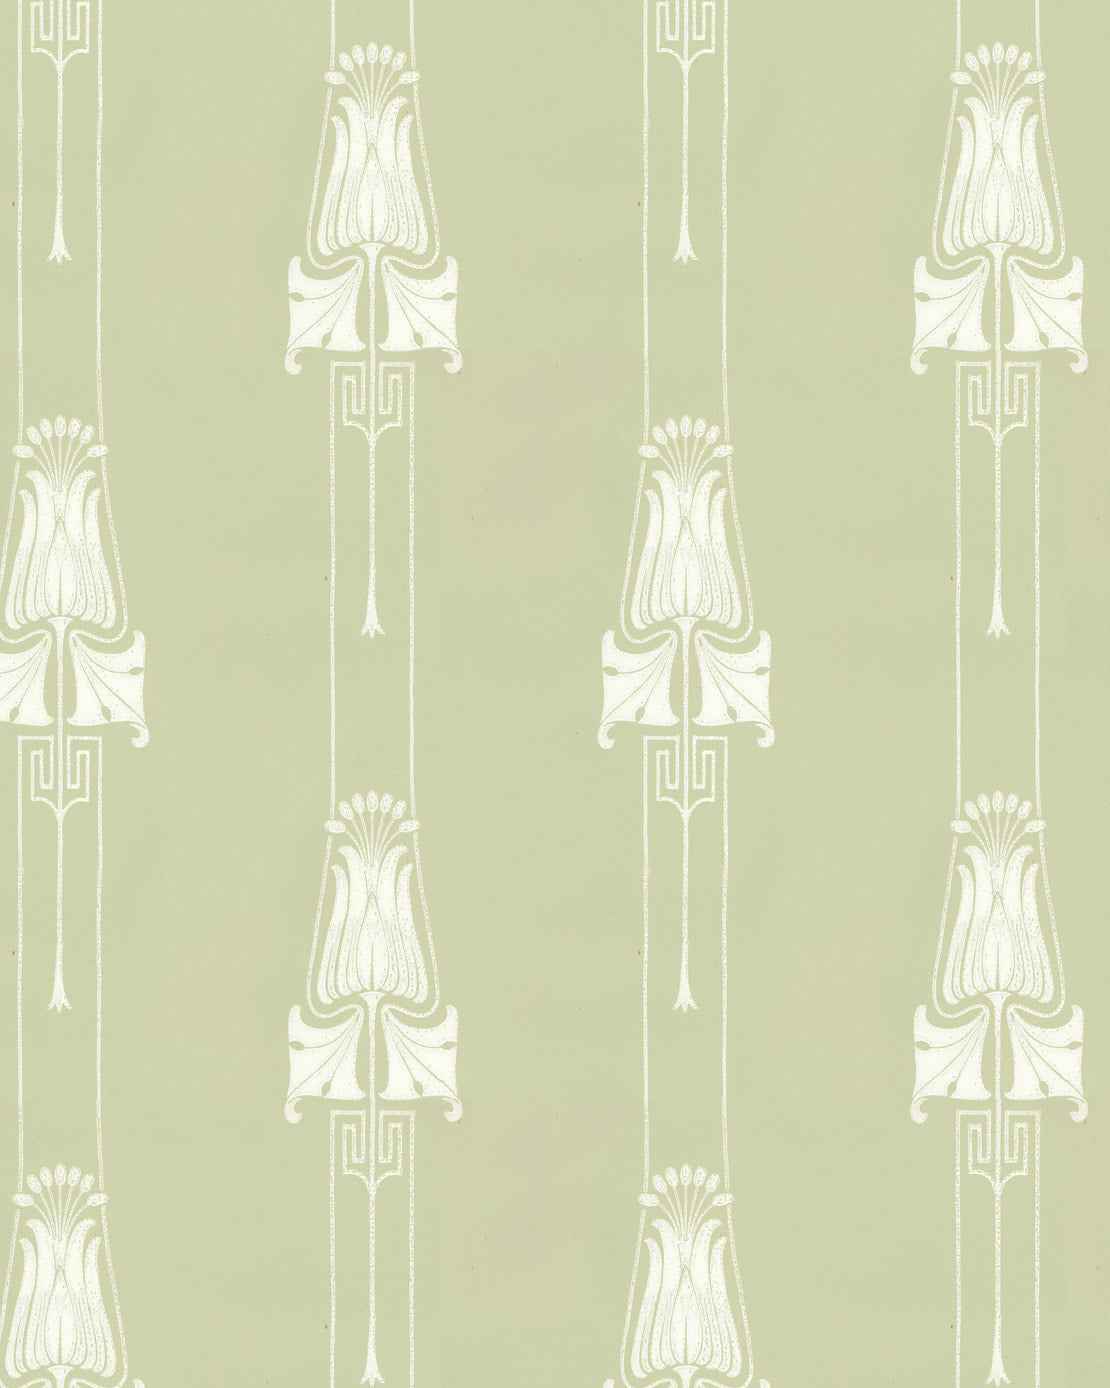
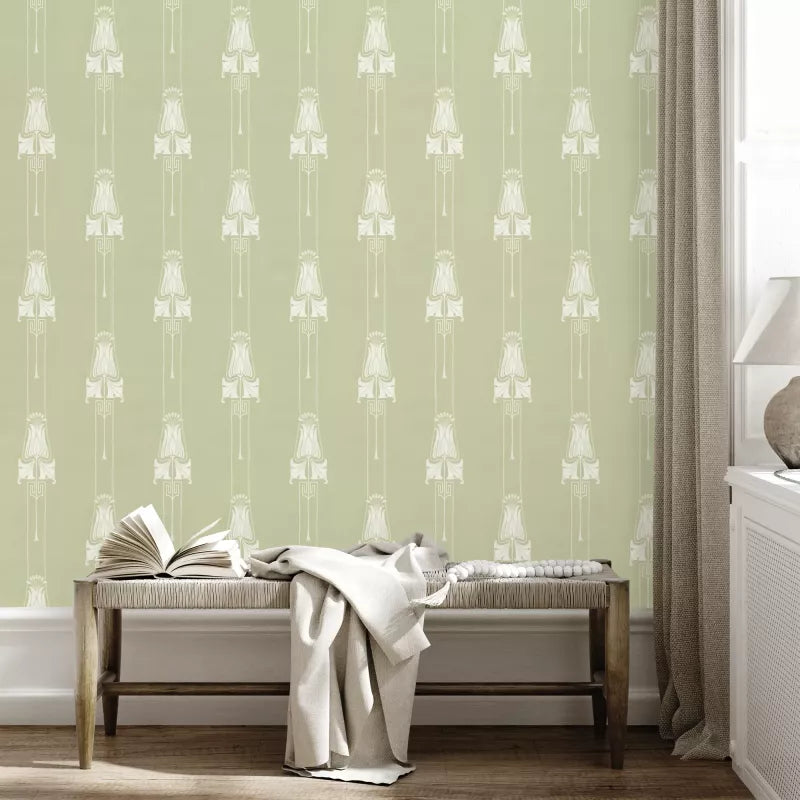
Learn how to wallpaper with paper wallpapers from Lim & Handtryck! Lim & Handtryck's colors and wallpapers are crafted with the expertise of fourth-generation wallpaper makers. The production is small-scale and eco-friendly on the Swedish west coast, in their own workshop in Mölndals Kvarnby. The patterns are printed on a glue printing machine over 100 years old, equipped with a hanging dryer called the “Rosenmachine.” The matte glue paint is manufactured and tinted by eye using mineral and earth pigments according to a proprietary recipe. The printing methods (block and roller printing) and the unique paint create timeless patterns with beautiful luster and brilliance. These beautiful wallpapers require a bit of extra care during installation, so follow this guide for a beautiful result!
Step-by-Step Wallpapering Guide
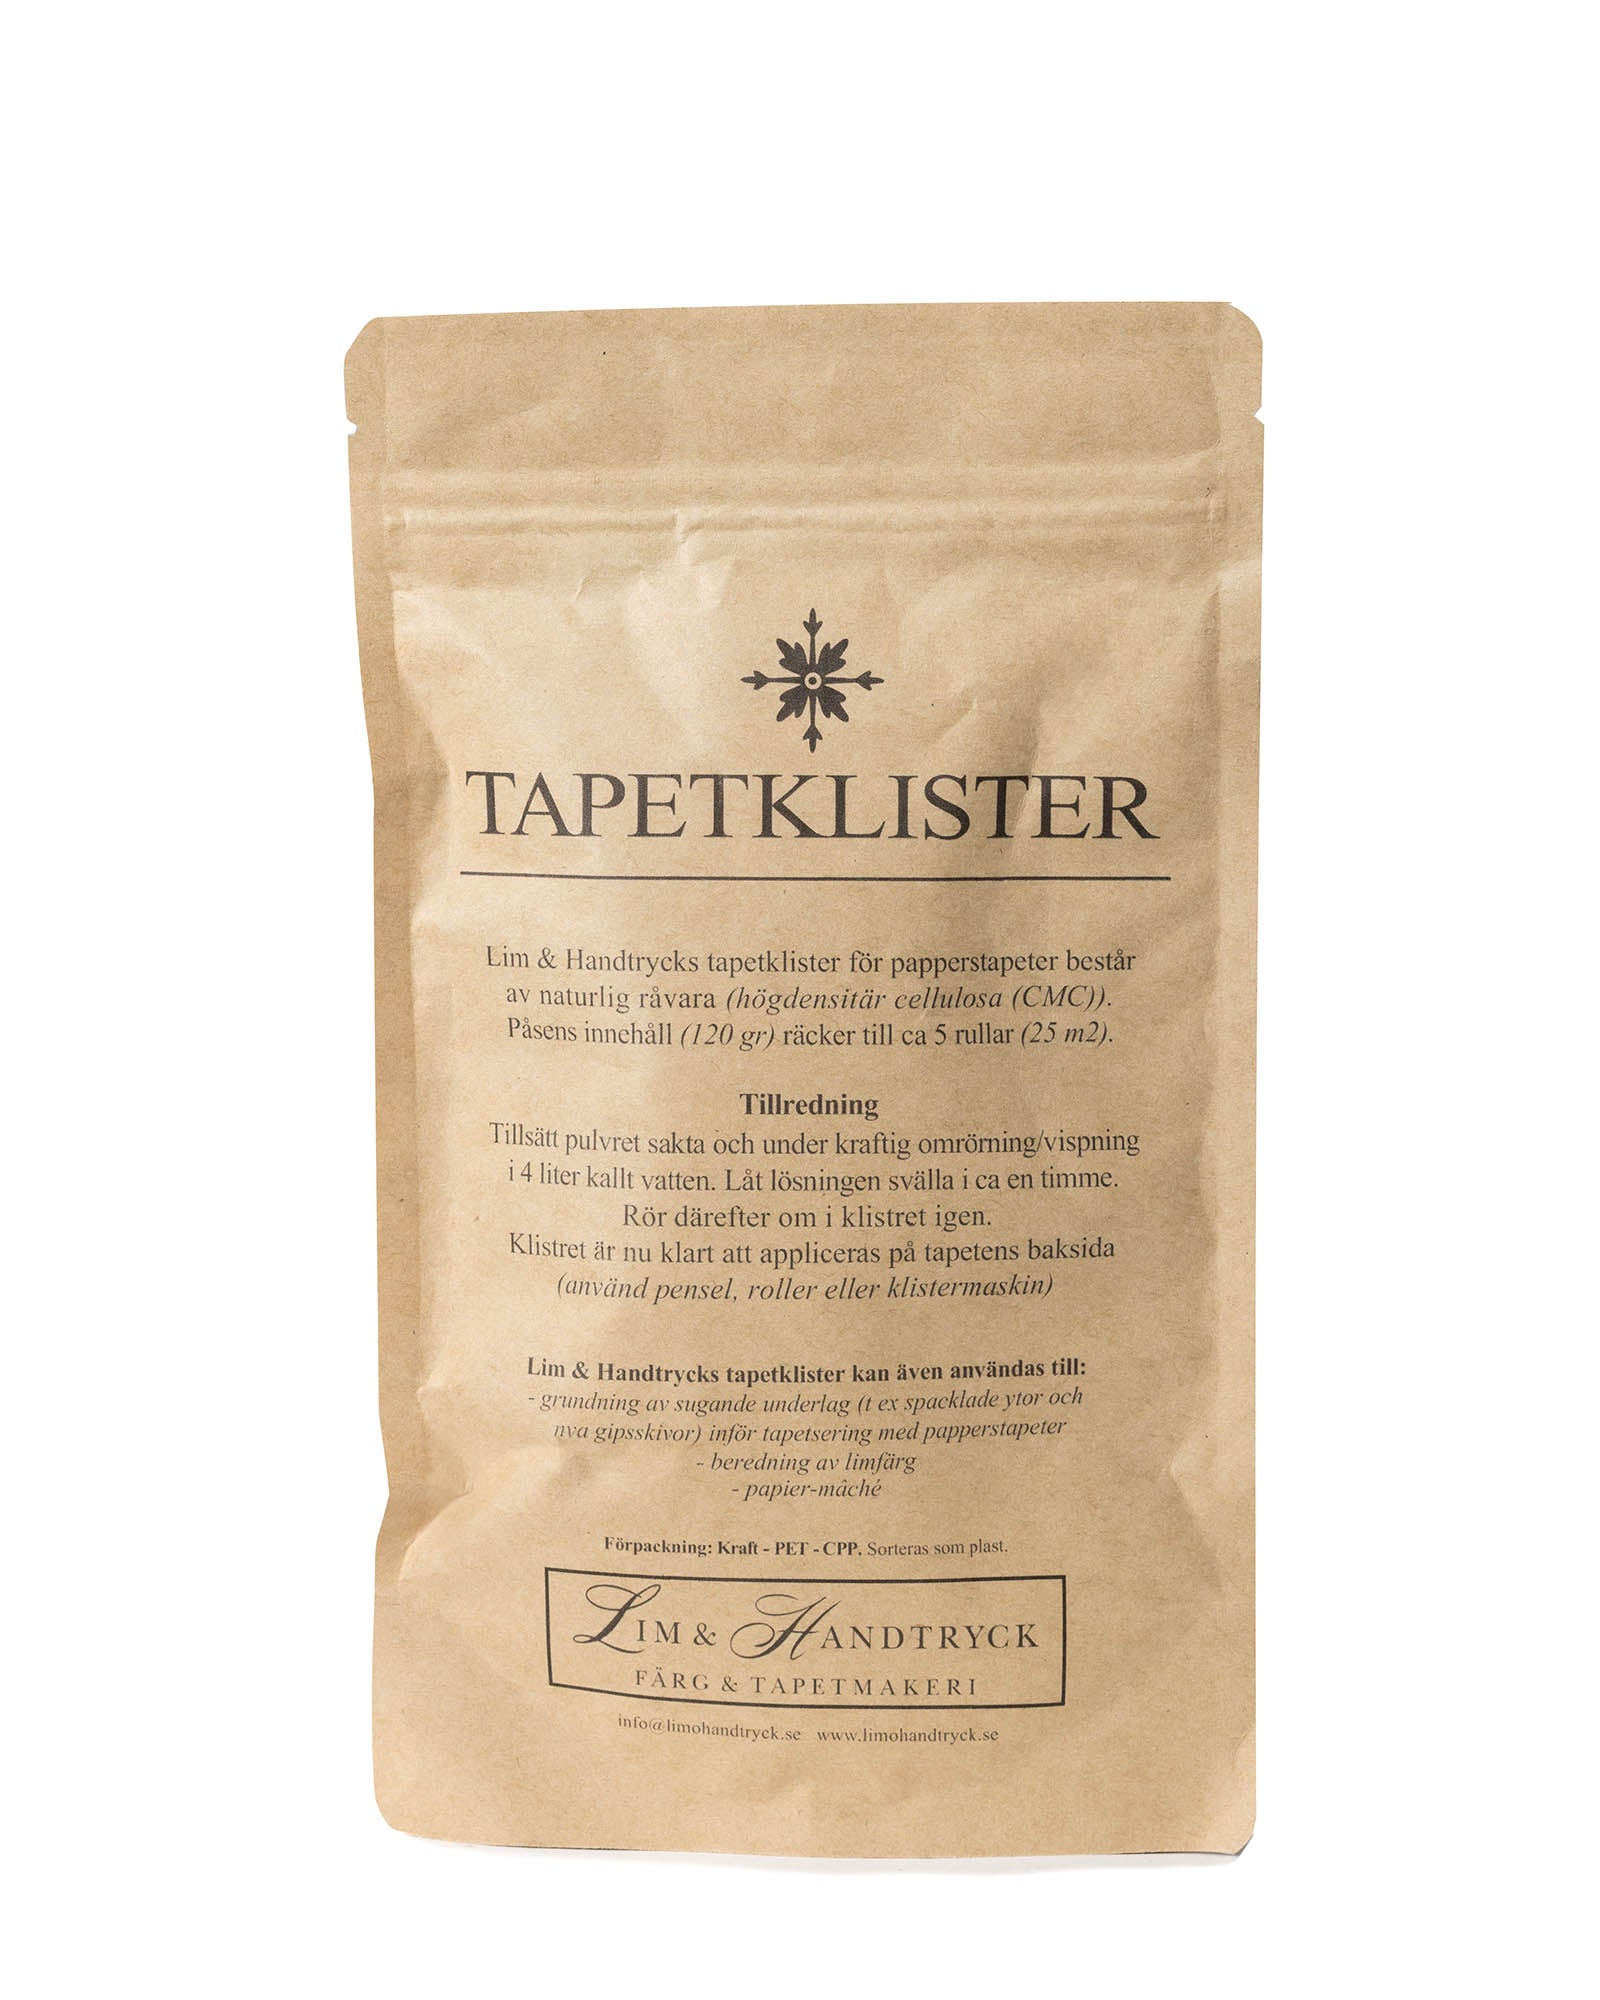
1. Mix the wallpaper paste Lim & Handtryck produces its own wallpaper paste made from high-density cellulose, completely free from synthetic chemicals and preservatives. Add the powder from the packet into 4 liters of cold water while stirring vigorously until it is completely dissolved. Let the solution swell for at least one hour. Add more water if needed for the desired consistency (maximum 1 liter). The paste should have a “thick” consistency.
2. Trim the wallpaper edges The easiest way to trim the wallpaper is to cut the length of the strip (always considering the pattern match and trimming allowance), place it on a smooth wallpaper table with the back side up, apply a generous amount of wallpaper paste, and fold the short sides together.
3. Let the paste absorb While the wallpaper is folded and absorbing the paste (white paper backing for 10 minutes, grey paper backing for 5 minutes), trim off the excess edges. Cut about 5 mm outside the pattern on the underlying strip side and about 1-1.5 mm into the pattern on the overlapping strip side. Use a scored ruler and a cutting guide, and remember to change the blade often. Don’t be afraid to cut the wallpaper while it’s folded – the crease will smooth out when the wallpaper is hung and wiped down on the front side.
4. Overlap Hang the first strip where the light falls into the room. This way, the light falls into the seam, making the seam virtually invisible. When hanging traditionally with overlap, overlap the wallpapers by about 5 mm-12 mm (as per the instructions). Apply some extra paste to the outer edge of the underlying strip before hanging the overlapping strip, so the wallpaper adheres well in the seam.
5. Smooth out Use a wallpaper brush to smooth the wallpaper on the wall. A plastic scraper can also be used, as well as a roller to flatten the seams.
6. Wash off After each strip is overlapped, the entire front should be washed with cold/lukewarm, clean water and a sponge. Use light, sweeping motions and make sure to remove any paste residues around the seams.
7. Enjoy the result!
You will need:
- Wallpaper table (a flat board on a regular table will also work)
- Ruler – preferably a scored ruler with a cutting guide
- Cutting guide (alternatively a wallpaper knife if you don’t have a scored ruler)
- Bucket to mix the paste in
- Whisk to stir the paste with
- Wallpaper paste – we recommend our own in powder form
- Brush – large for paste on the back side and small for seams
- Brush (a smooth plastic tool will also work) – to smooth out the wallpaper strips
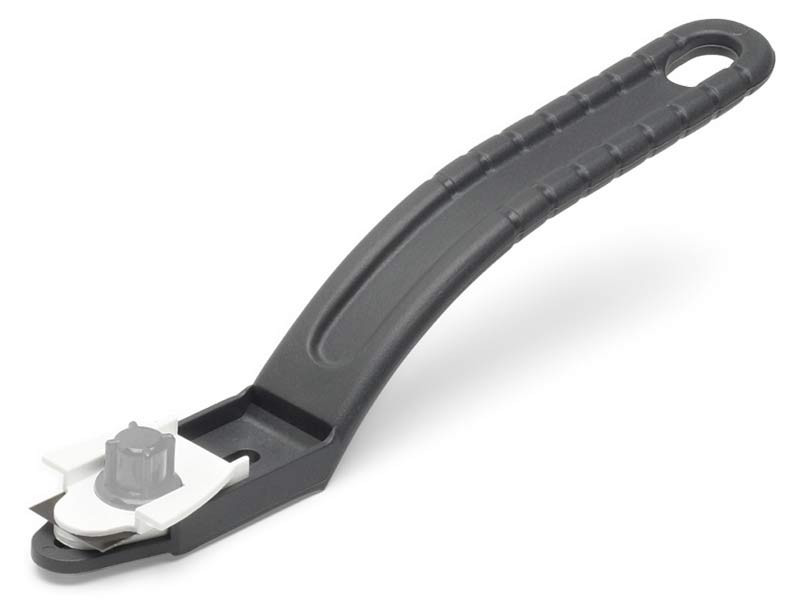
- Extra blades/razor blades and scissors – to cut seams and make cuts at corners, etc.
- Sponge and bucket of water – for washing
- Good lighting – preferably a construction lamp to create “raking light”