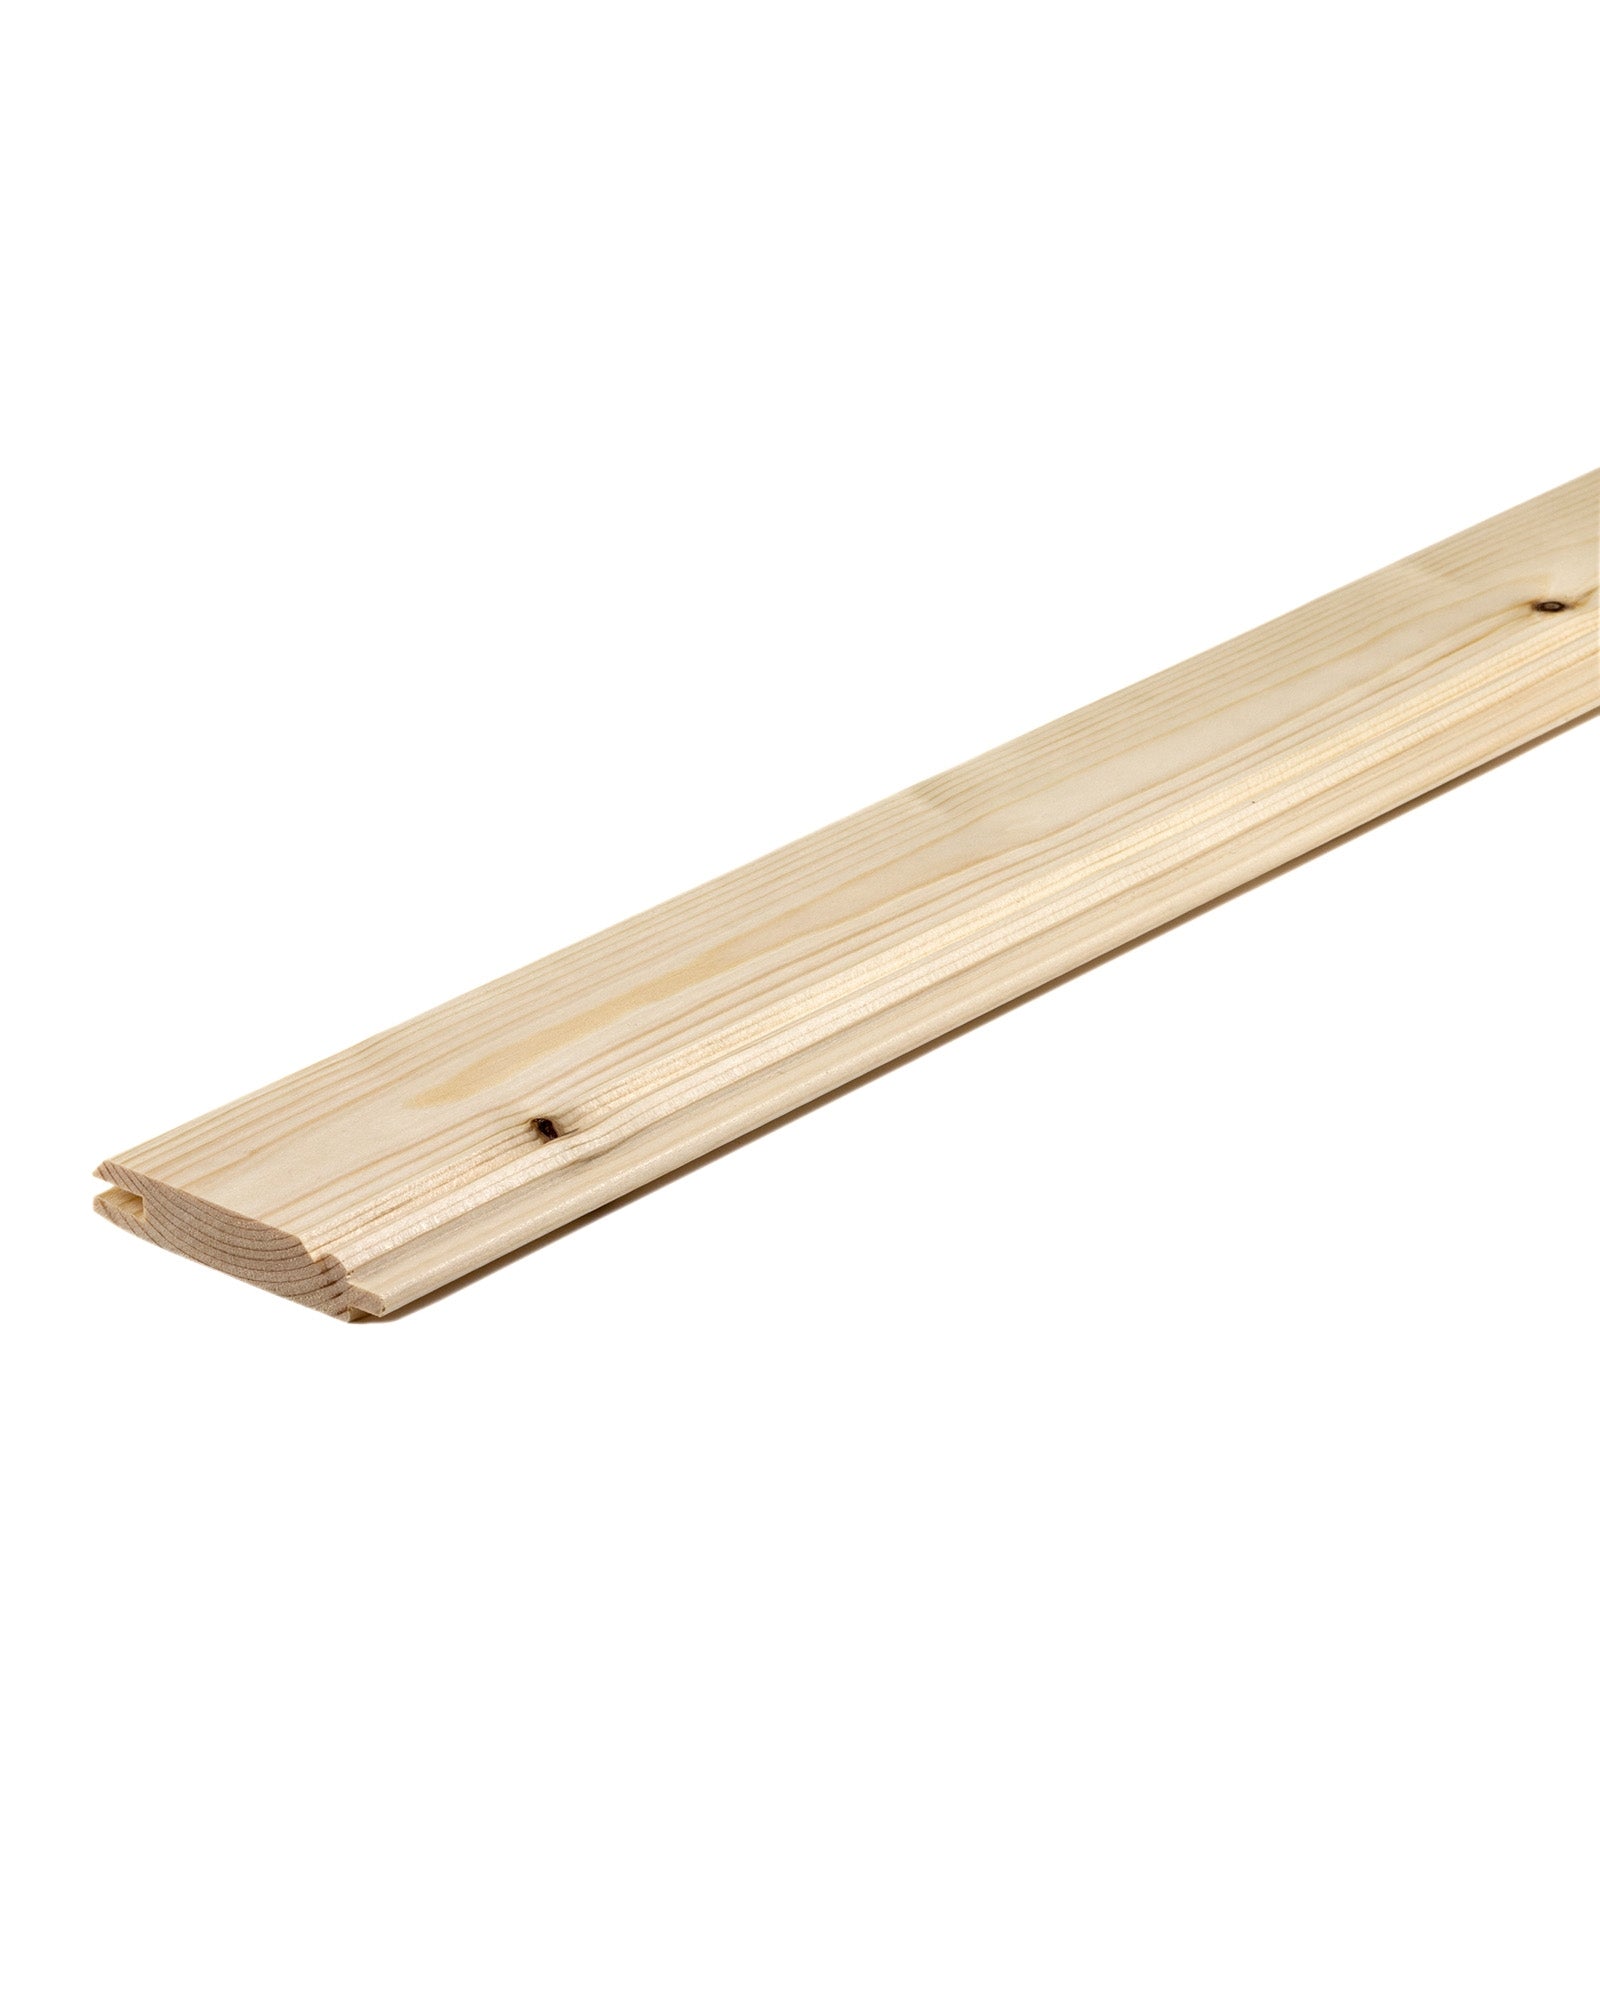
Beadboard in Swedish Homes – From the 19th Century to Today
Beadboard gets its name from the small rounded detail in the profile, known as the bead, that runs along the edge of each board. In addition to giving the paneling its distinctive appearance, the bead also serves a practical purpose. It creates a shadow at the joint between the boards, making small gaps caused by the wood shrinking less noticeable.
The paneling became common in the mid-19th century with the rise of industrialization, when it became possible to manufacture it by machine. It was used primarily in simpler homes, such as cottages and workers' housing. Kitchens and entryways, where the walls were exposed to considerable wear, were often clad in wood paneling, while more expensive wallpaper was used in bedrooms and living rooms. The paneling was easy to maintain, provided a secure surface for hooks, and could also help cover gaps in the drafty houses of the time.
When functionalism gained popularity in the 1930s, attitudes toward interior surfaces changed. Smooth walls and simpler woodwork became the ideal, and many older paneled walls were covered over during renovations. Today, beadboard is a classic feature in both older and newer homes. On walls, ceilings, and in custom-built interiors, the tradition of fine woodworking lives on.
Allow the paneling to acclimate to the room's temperature and humidity before installation.
Treat knots and resin pockets with shellac to reduce the risk of discoloration bleeding through the paint. Apply evenly and allow to dry according to the instructions before priming.
Prime the boards.
Before installation, apply a thin coat of finish paint in the color of your choice. Also paint the part of the tongue, the projecting edge of the board, that may become visible as the wood shrinks. This helps prevent unpainted lines from appearing between the boards.
Allow the paint to dry before installing the paneling.
Install vertical paneling
Make sure the surface is even and provides a secure fixing point. Install furring strips if the surface cannot be nailed into.
Start in a corner. Use a level to make sure the first board is plumb, then check the alignment at regular intervals.
Fasten the paneling with finish nails suited to the thickness of the paneling and the substrate. For our beadboard, we recommend 50 mm (1.97 in.) finish nails, provided the substrate offers sufficient hold.
Leave approximately 10 mm (0.39 in.) between the paneling and the floor, ceiling, and adjoining walls. Cover the gaps with suitable trim.
Final coats
One final coat is not always enough, and dark colors may require two, meaning primer + the first coat before installation, followed by two more coats afterward
Avoid filling the joints with paint, as the paint can bind the boards together and crack as the wood moves.
Read more
Choosing a selection results in a full page refresh.