


We offer a complete range of high-quality, traditional linseed oil paint from Selders Linseed Oil Factory. The paint can be used both indoors and outdoors wherever you want a durable semi-matte or semi-gloss finish. It works excellently on most surfaces – from wood to metal – and even adheres to galvanized materials, which is very rare!
The paints come ready to use and do not need to be thinned with either oil or solvents. The binder in the paint is Selders’ refined linseed oil, giving it unique qualities in terms of drying time, sheen, weather resistance, mold protection, and full curing.
Why linseed oil paint?
The reason to choose linseed oil paint is its durability and the beautiful, living finish it produces. Our linseed oil paints penetrate deeply, bond permanently, and “breathe” – meaning they allow water vapor through, but not liquid water. This prevents condensation under the paint layer, so it doesn’t peel or mold. The paint ages slowly, becoming matte over time rather than flaking. To restore the original sheen and depth, simply wipe the surface with our linseed oil varnish.
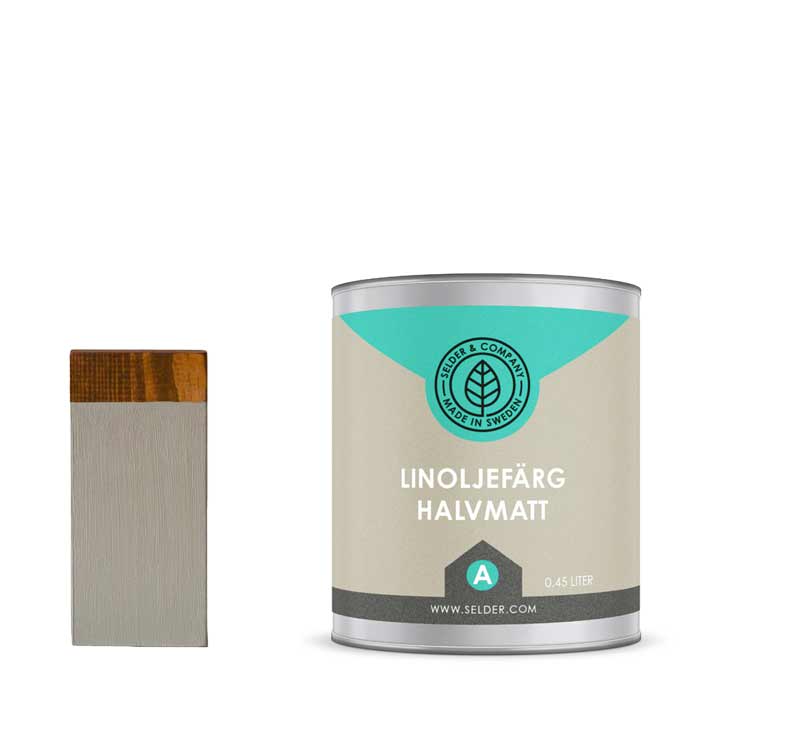
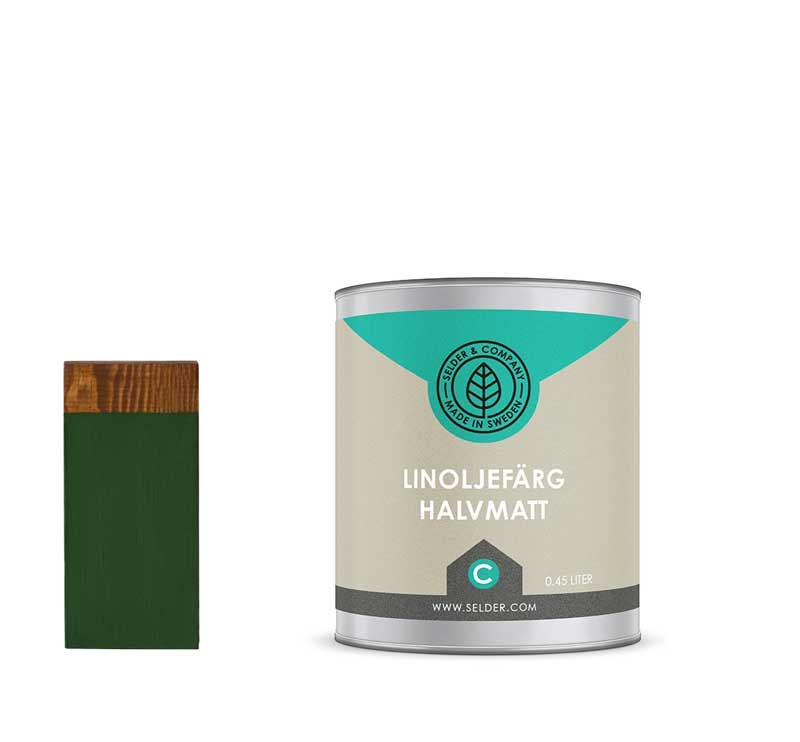
Can be tinted to any color
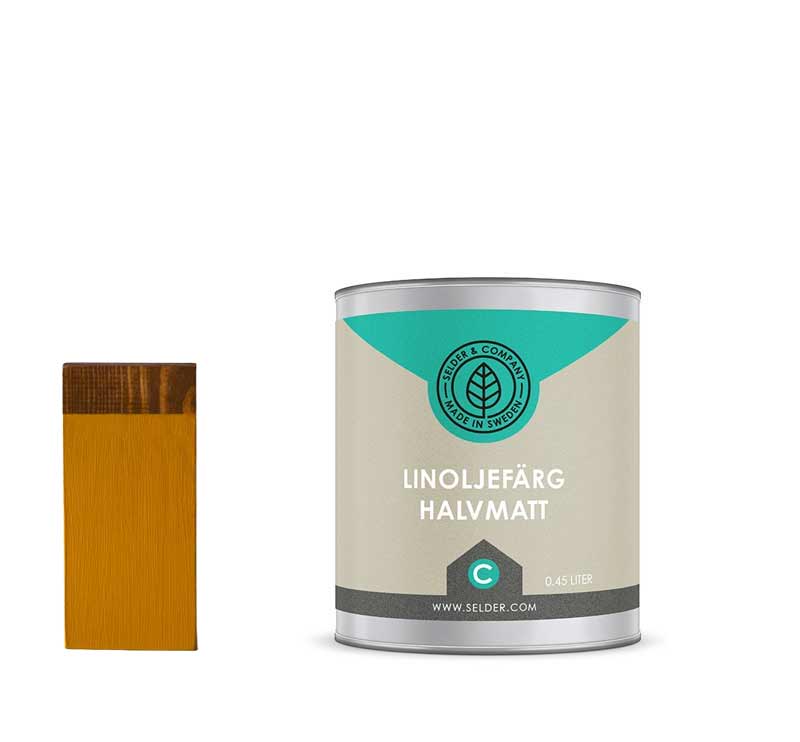
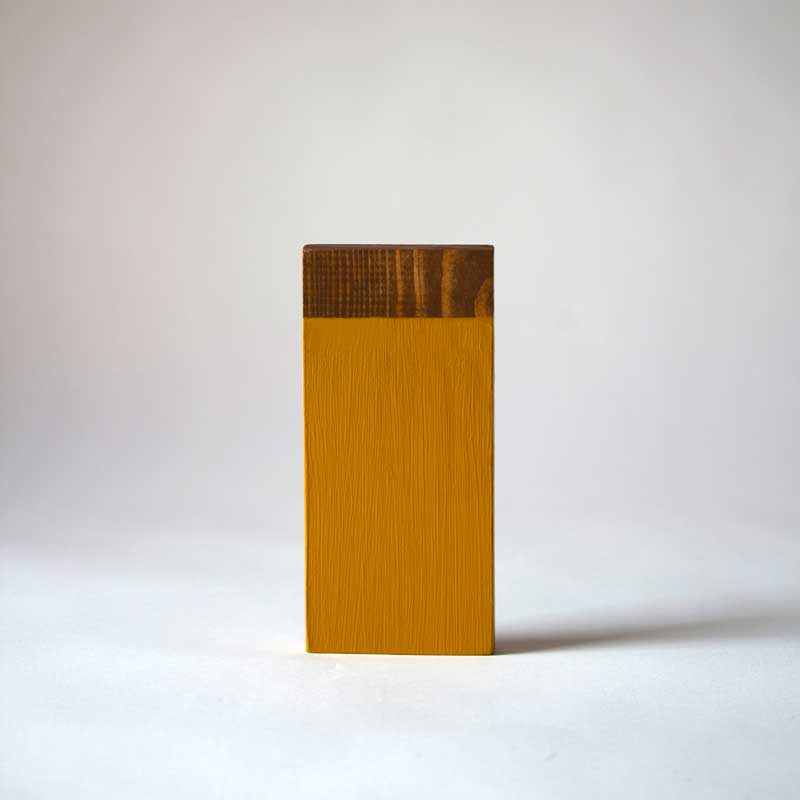
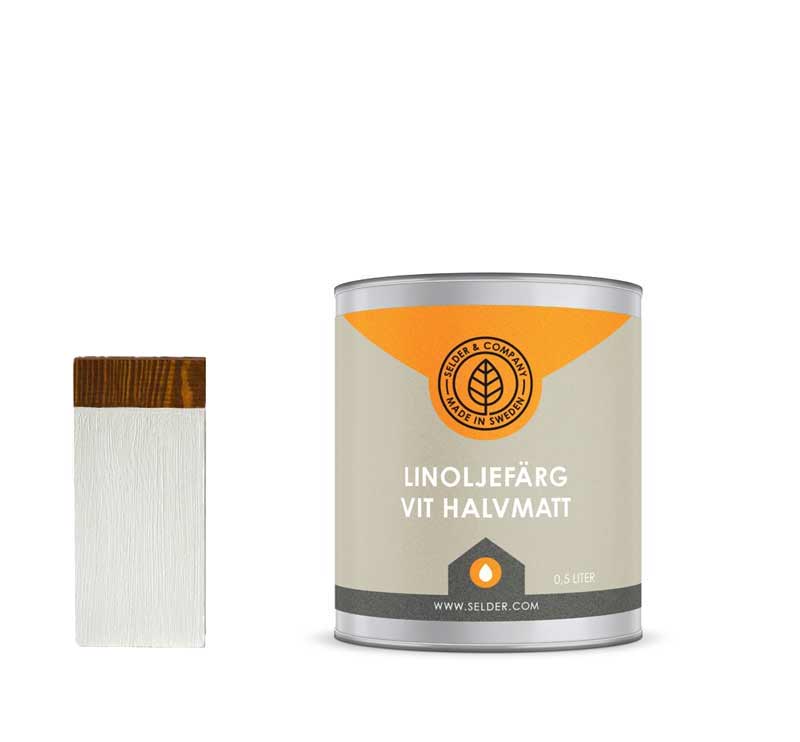
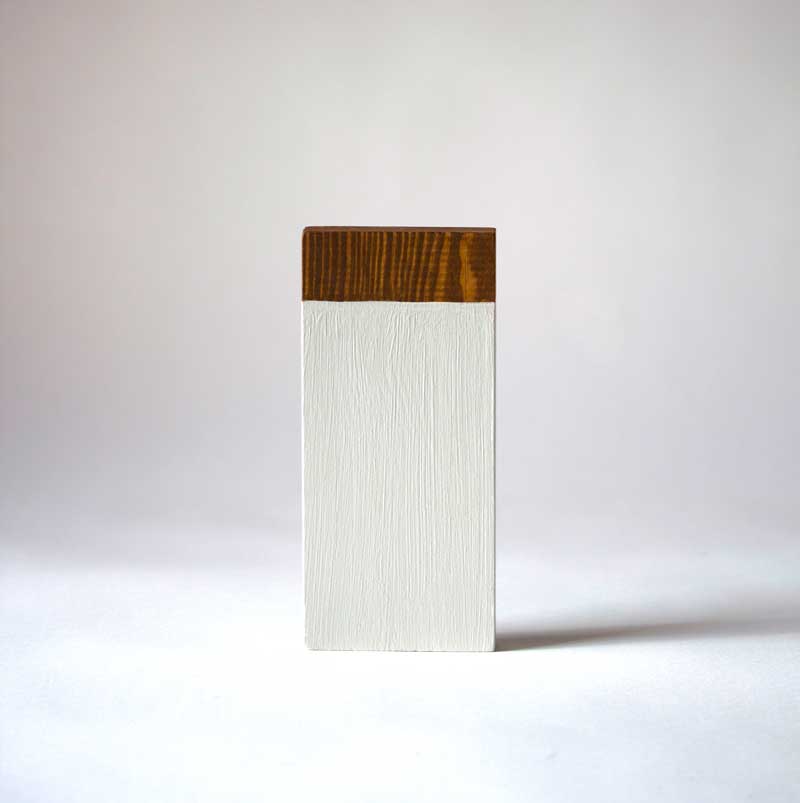
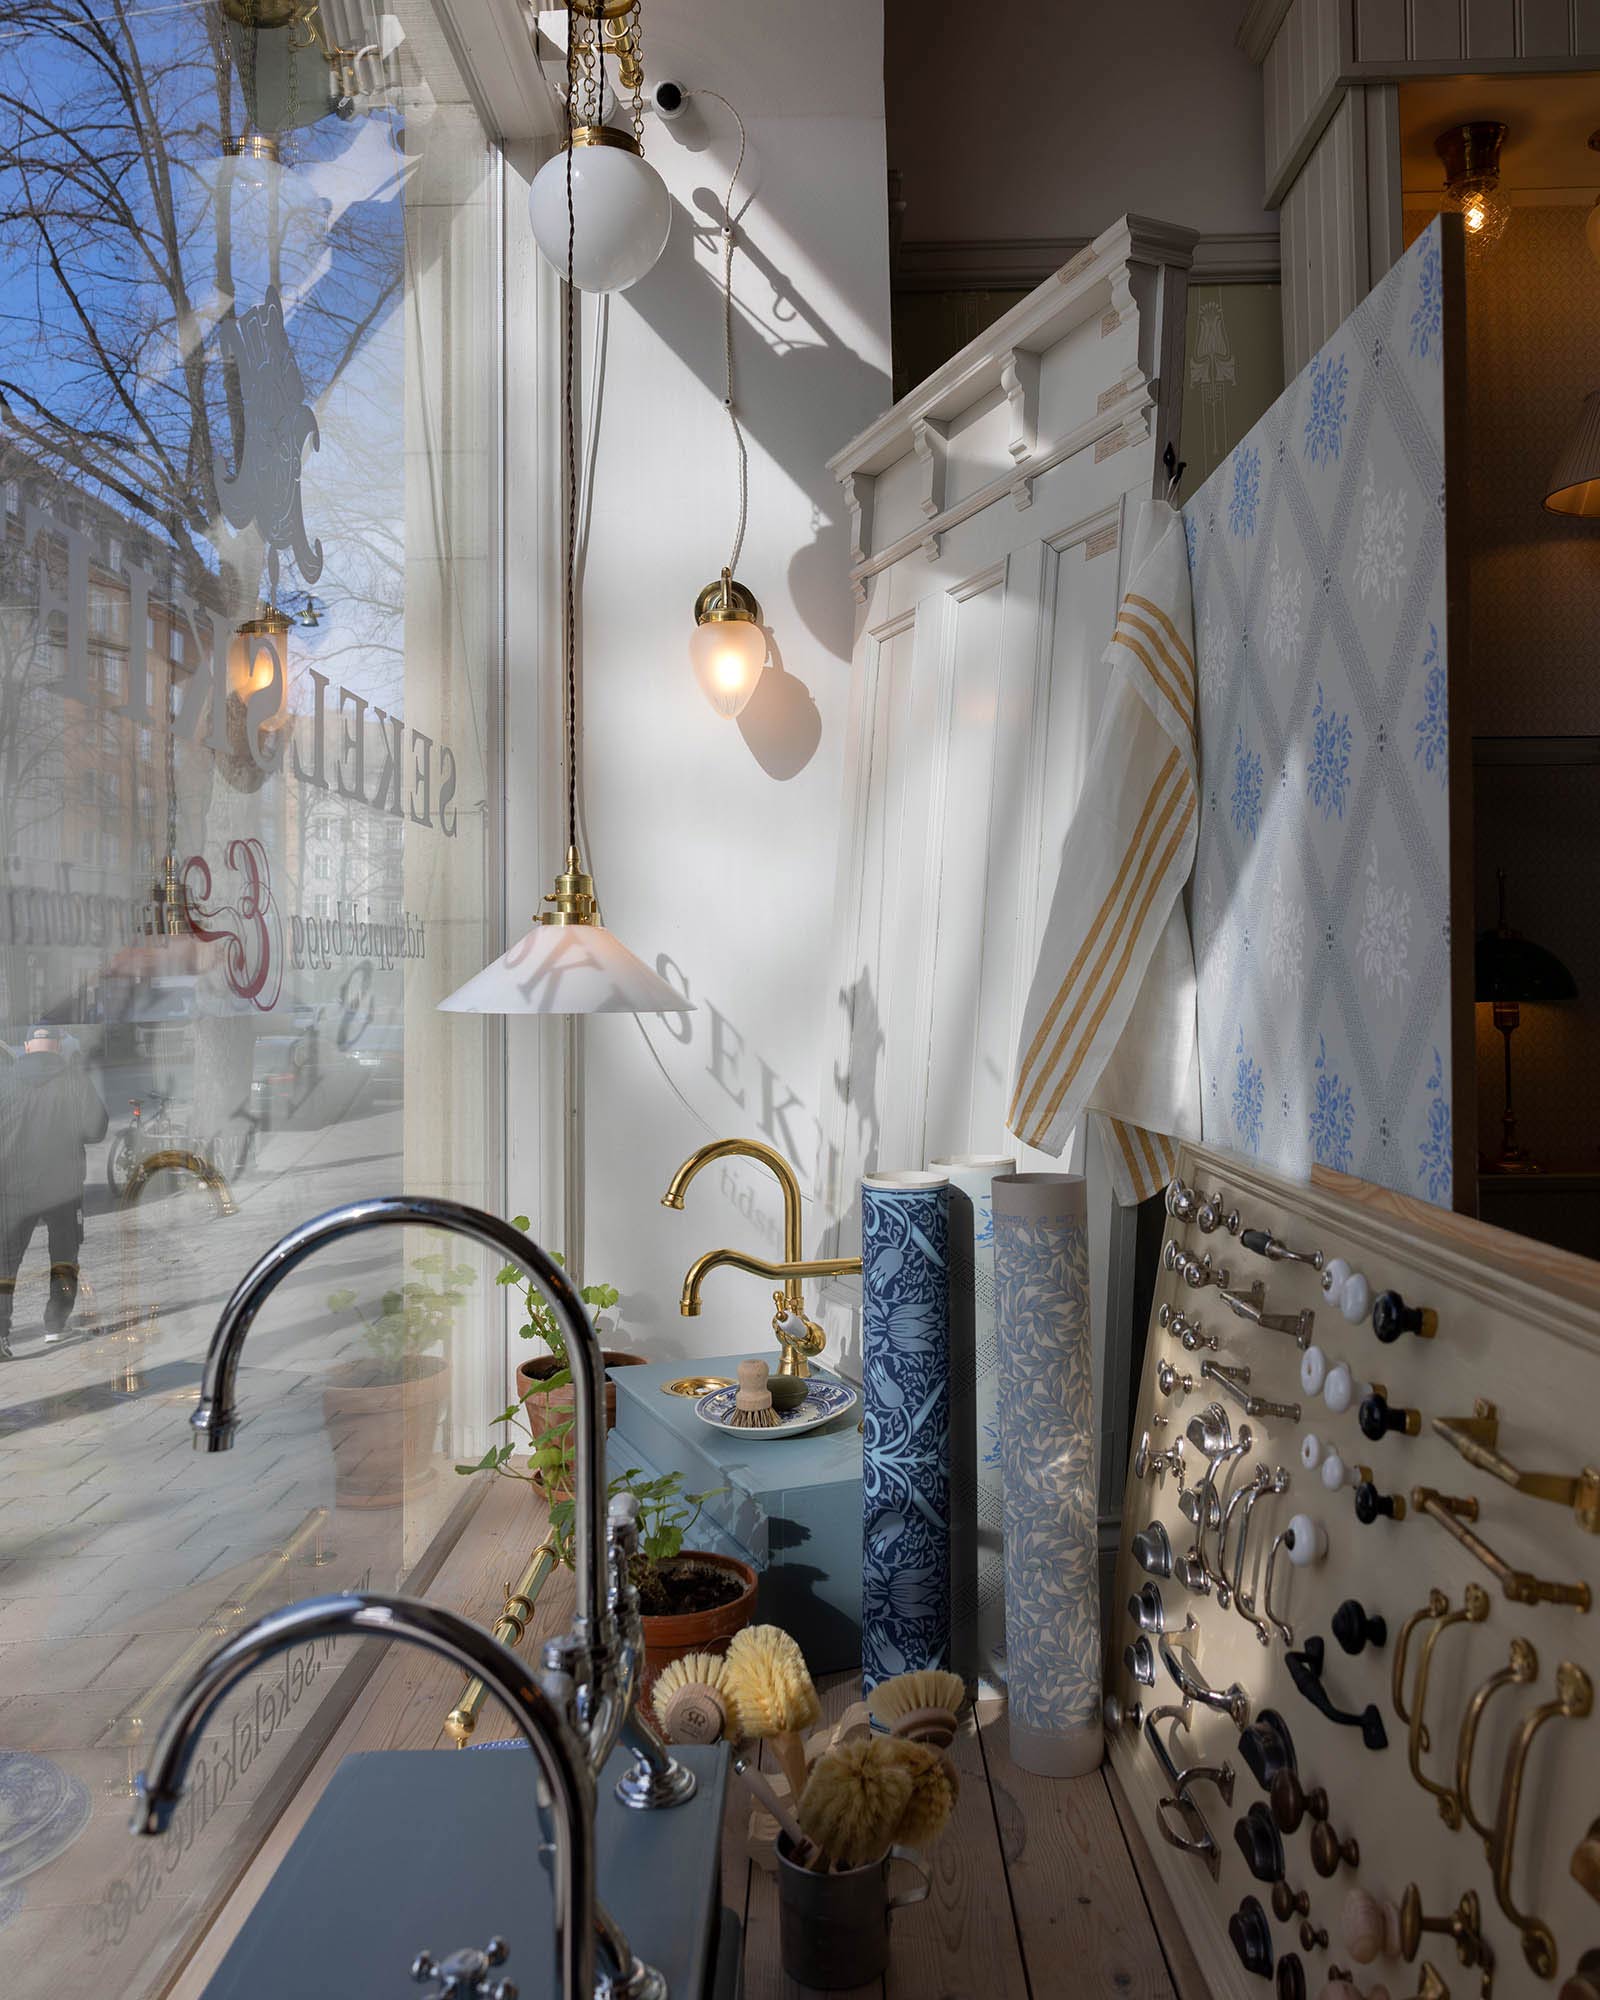
The paints can be tinted to any color you like. If you have a color code or sample, bring it to our store and we’ll mix it for you. We also offer a selection of standard colors, carefully chosen based on period-appropriate palettes for woodwork, tiles, and wallpaper.
We can mix as little as 0.45 liters, so if you’re unsure, you can order small tins in several colors. Since colors often appear different on a screen, we always recommend seeing a physical sample or buying a test tin to try out before painting your facade, trim, or brand-new kitchen cabinets.
APPLICATION GUIDE
Preparation
Ensure the surface has a moisture content below 20% and is clean and dry. The temperature should not fall below 5°C at any time during the day. Relative humidity should not exceed 80% (equivalent to foggy conditions). Lower temperatures and higher humidity extend drying time and may affect the final result.
Do not paint outdoor surfaces if there's a risk of dew, in the early morning or late evening. The paint won’t adhere to damp surfaces. However, painting in direct sunlight is perfectly fine.
Bare and especially exposed outdoor wood surfaces should be treated with oil before painting to significantly increase durability.
Before priming, seal knots, resin streaks, and nail heads with shellac. Since linseed oil paint allows water vapor to pass through, rust can bleed from nails through the paint.
Fill and sand after the primer has dried.
Painting with linseed oil paint
Stir and mix the linseed oil paint thoroughly, preferably with a stir stick. The paint contains heavy pigments and is fluid, so some settling can occur.
Use high-quality brushes with firm bristles that can handle firm pressure without collapsing. Apply the paint in even, covering, but not thick coats. Each coat should be applied carefully – sloppy priming will show in the end result.
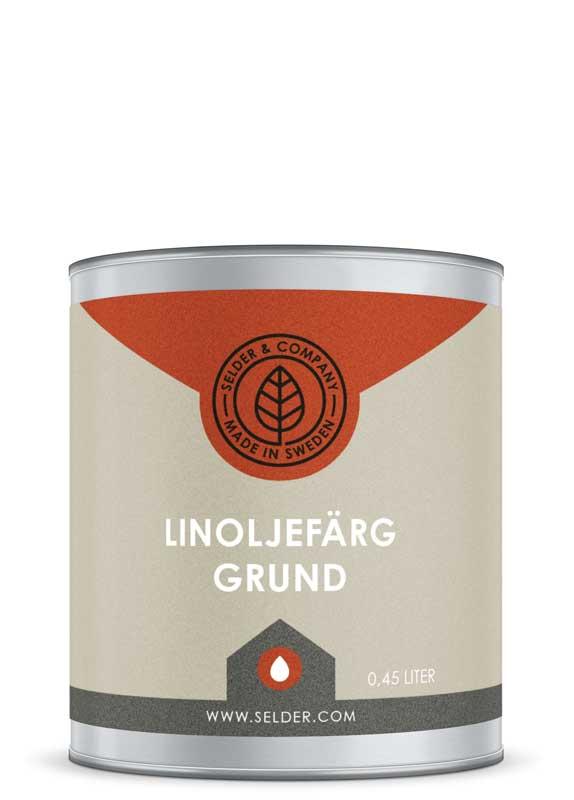
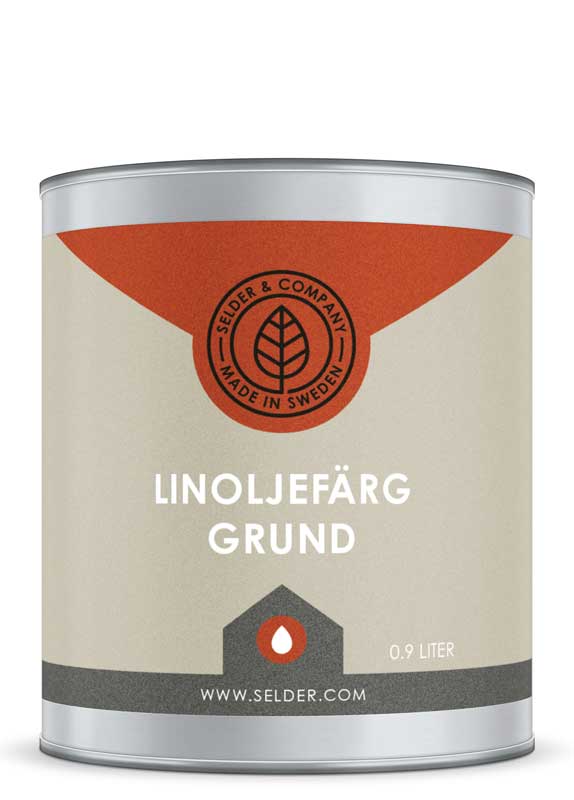
Start with one coat of our zinc-based Linseed Oil Primer to create a strong, protective, and mold-resistant base. Once the primer has fully cured, apply two coats of semi-gloss or semi-matte linseed oil paint in your chosen color. It’s essential to let the paint dry fully between coats. If you apply a new coat before the previous one has cured, the finish may turn matte even if the paint is semi-gloss.
Find more tips on how to paint with linseed oil paint like a pro!
Drying time for linseed oil paint
Drying time can vary between 1–4 days depending on the color, but our linseed oil paints typically dry in under 24 hours at 20°C and are then fully cured. Always read the packaging for specific drying times.
Cleaning brushes (linseed oil paint)
Brushes used with linseed oil paint should be cleaned with linseed soap and lukewarm water.
- Wipe off as much excess paint as possible before cleaning.
- Cover the brush in linseed soap and work it in thoroughly.
- Rinse with lukewarm water and squeeze out the moisture.
- Repeat until the soap runs clear and is no longer colored or thin.
- Allow the brush to dry completely before using it again.