


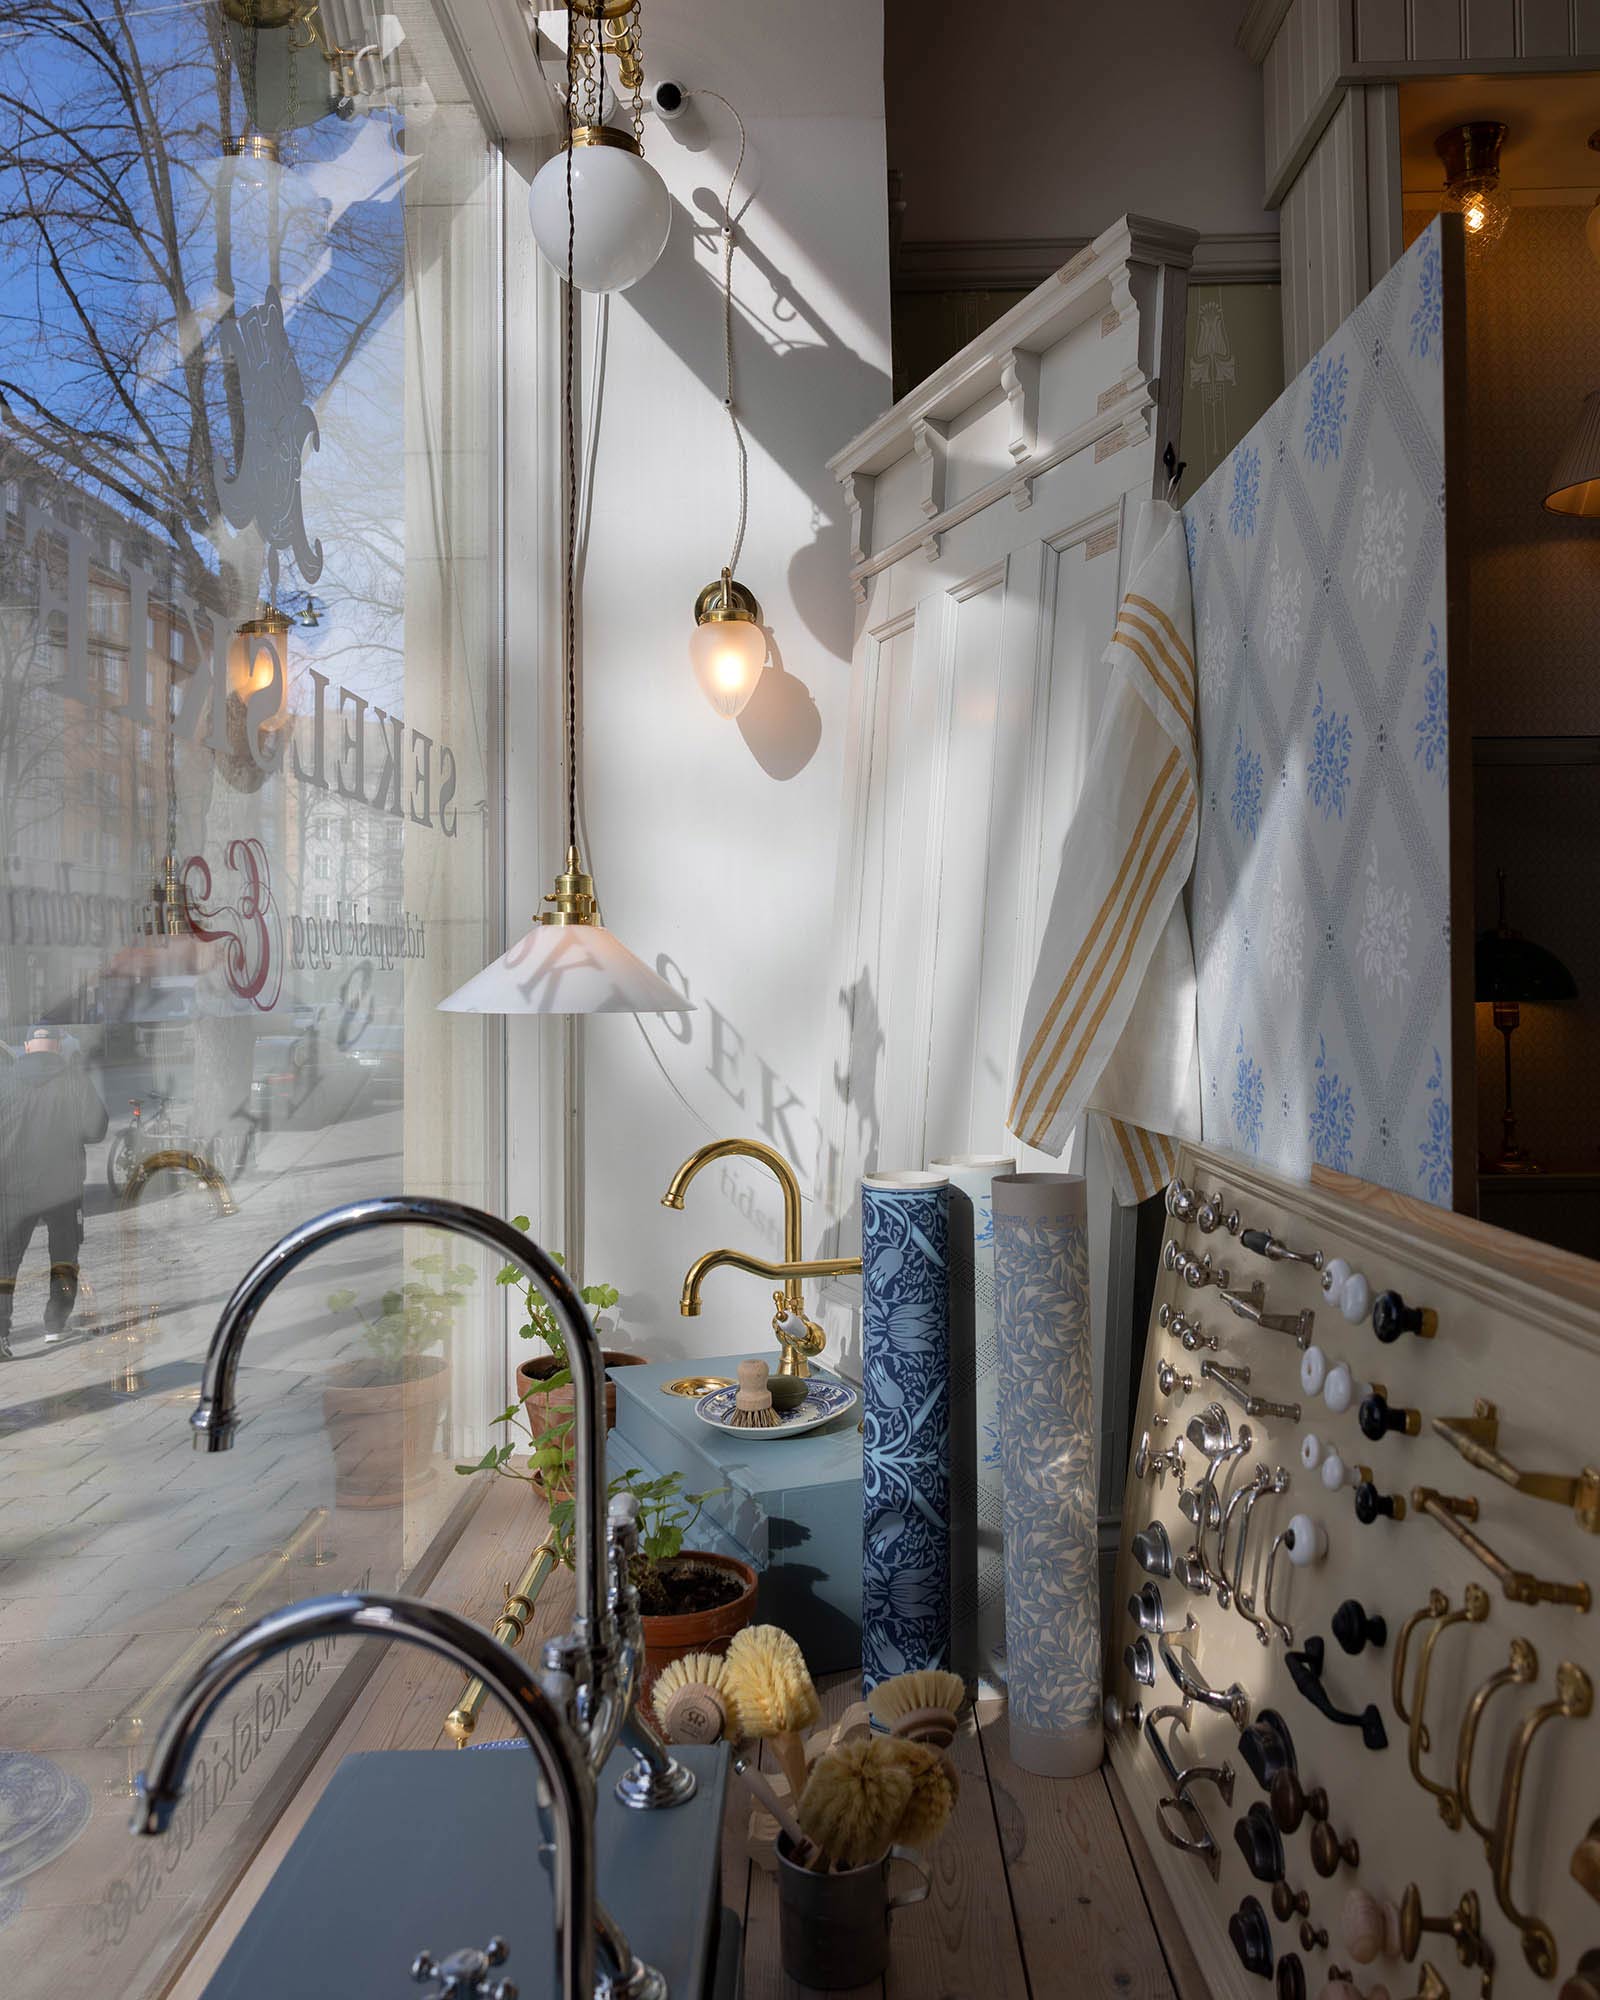

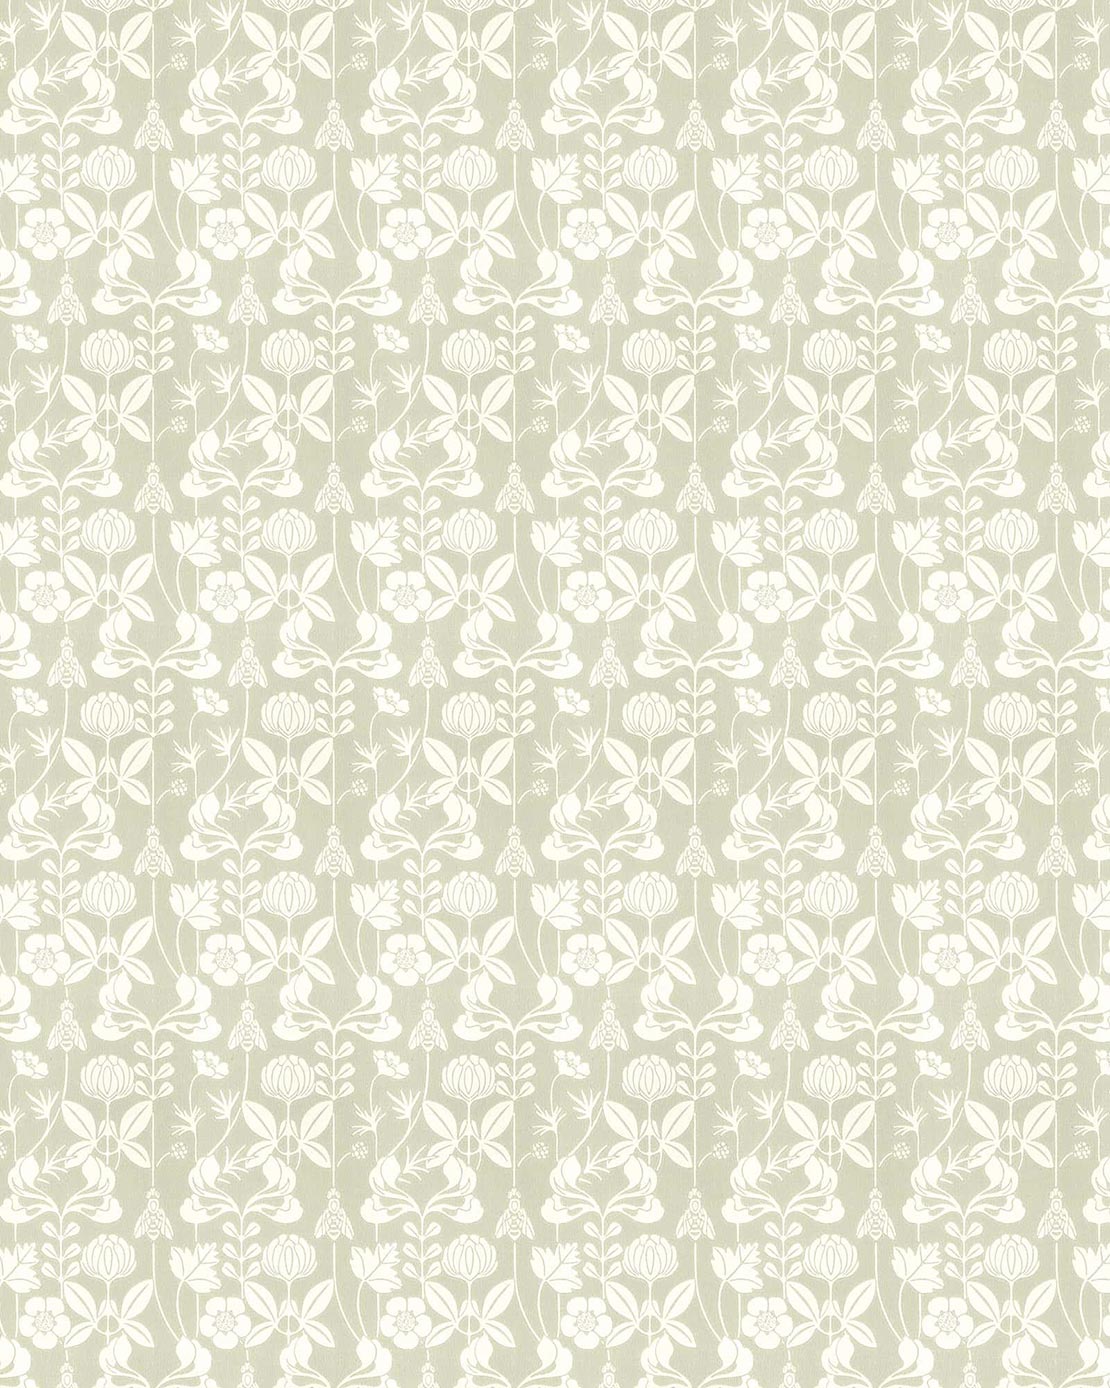
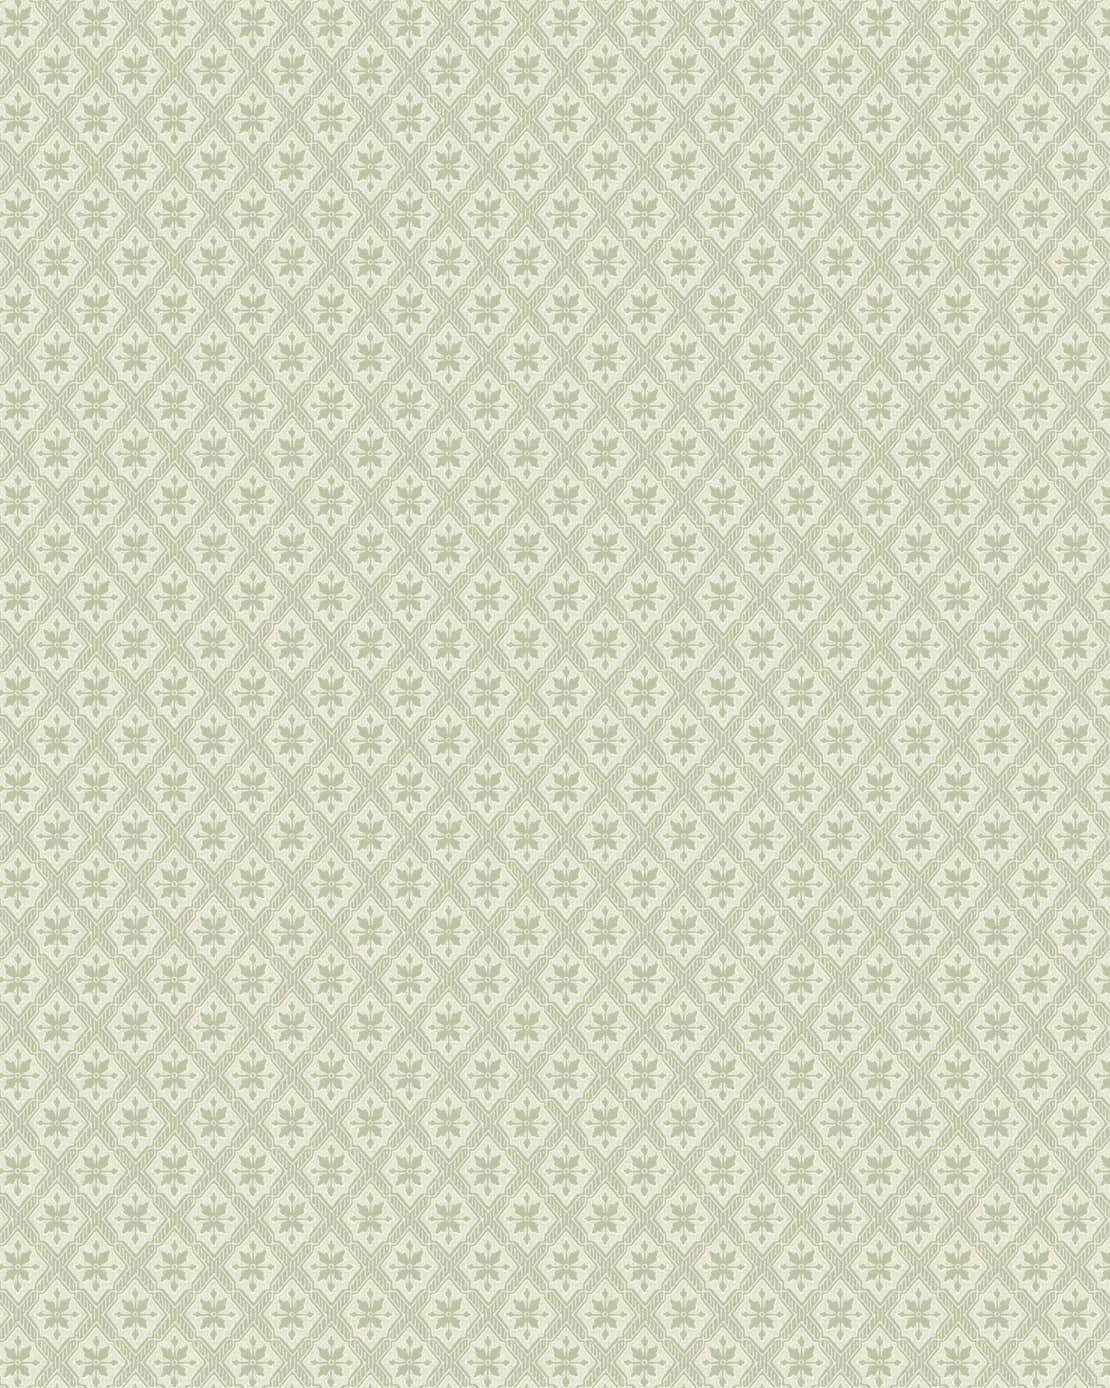
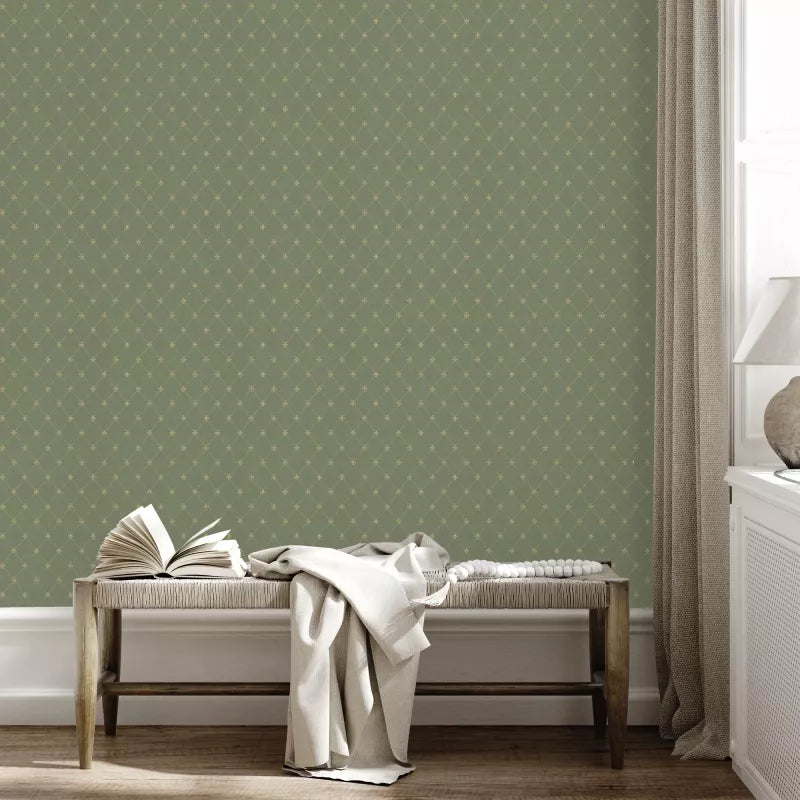
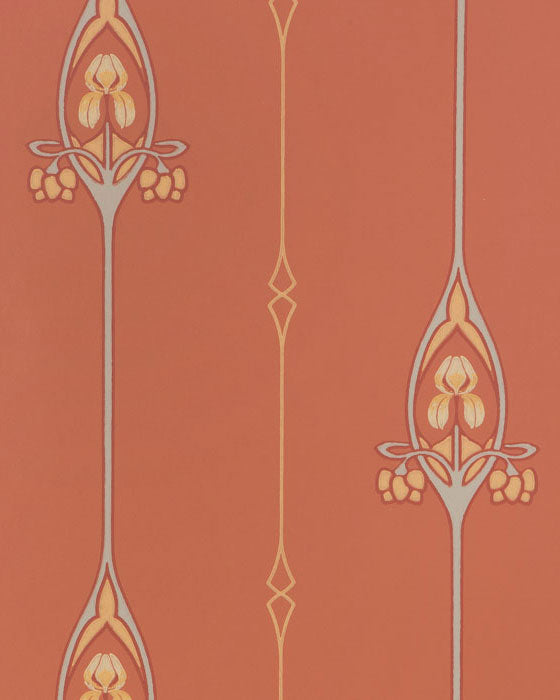
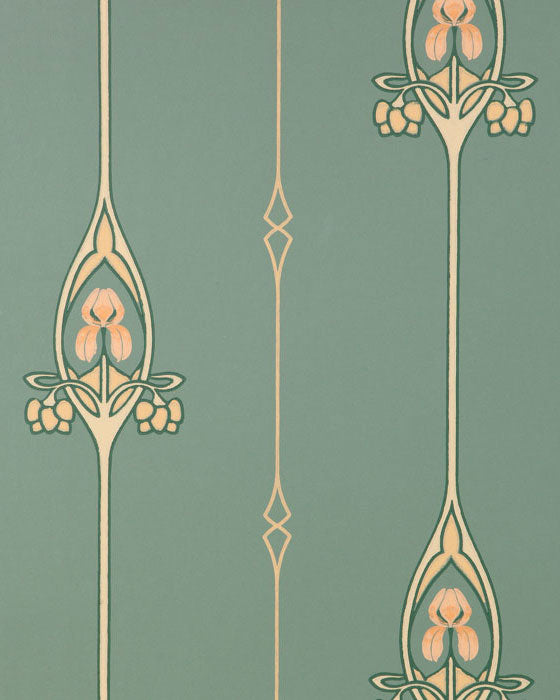
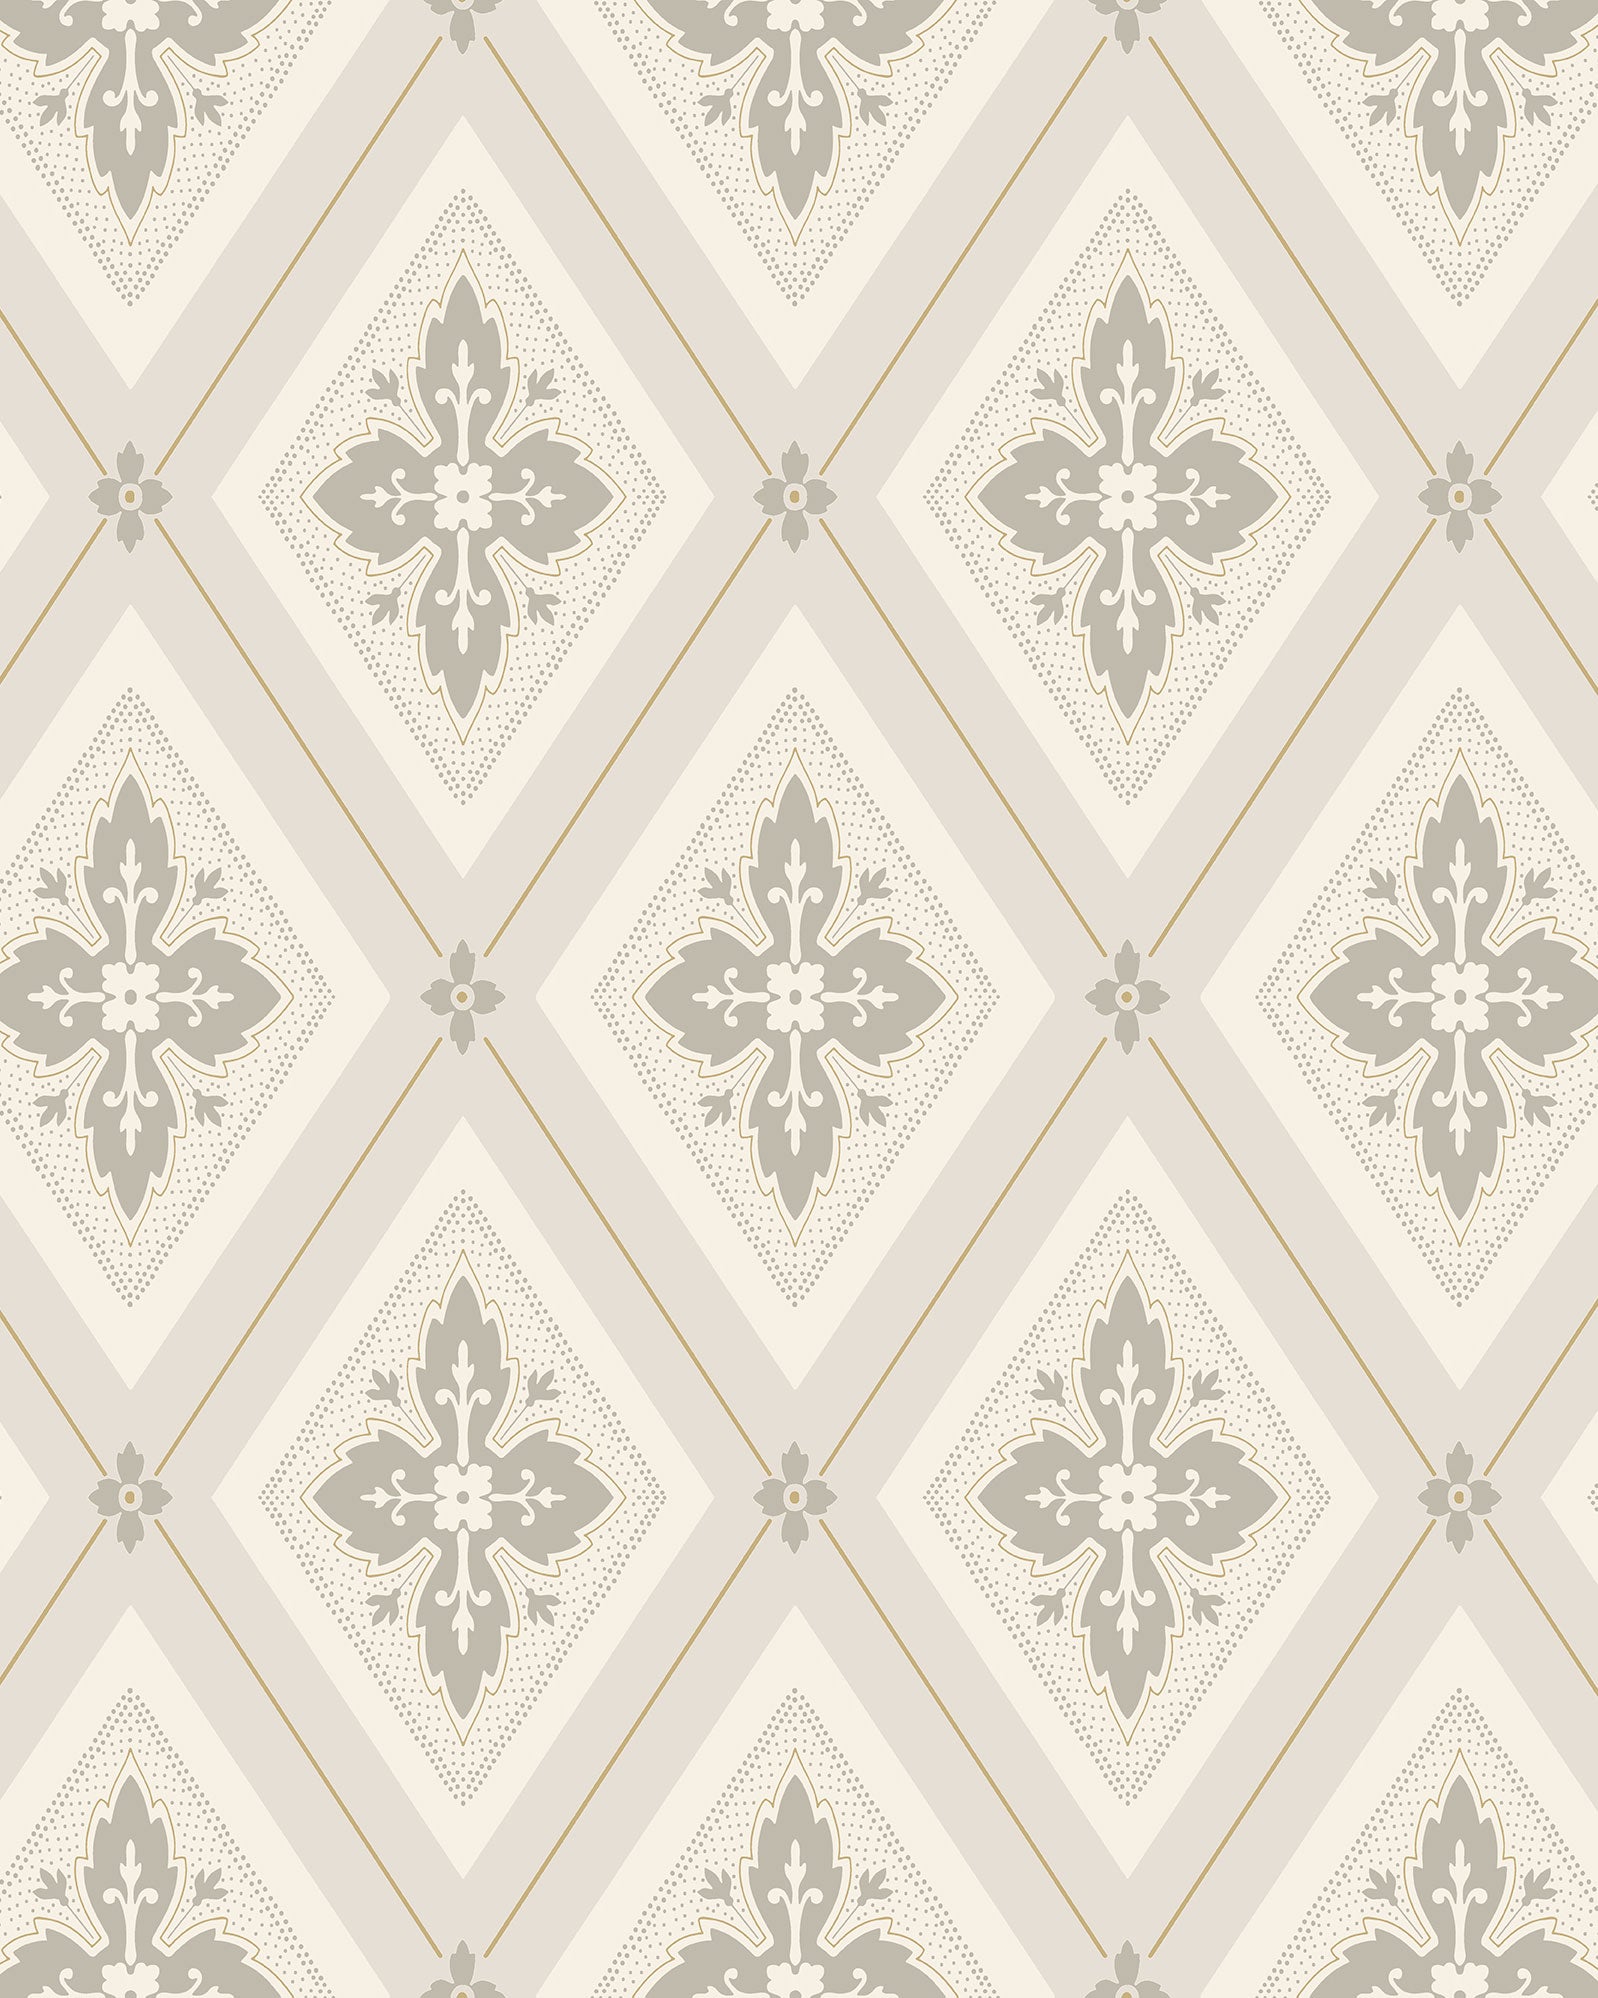
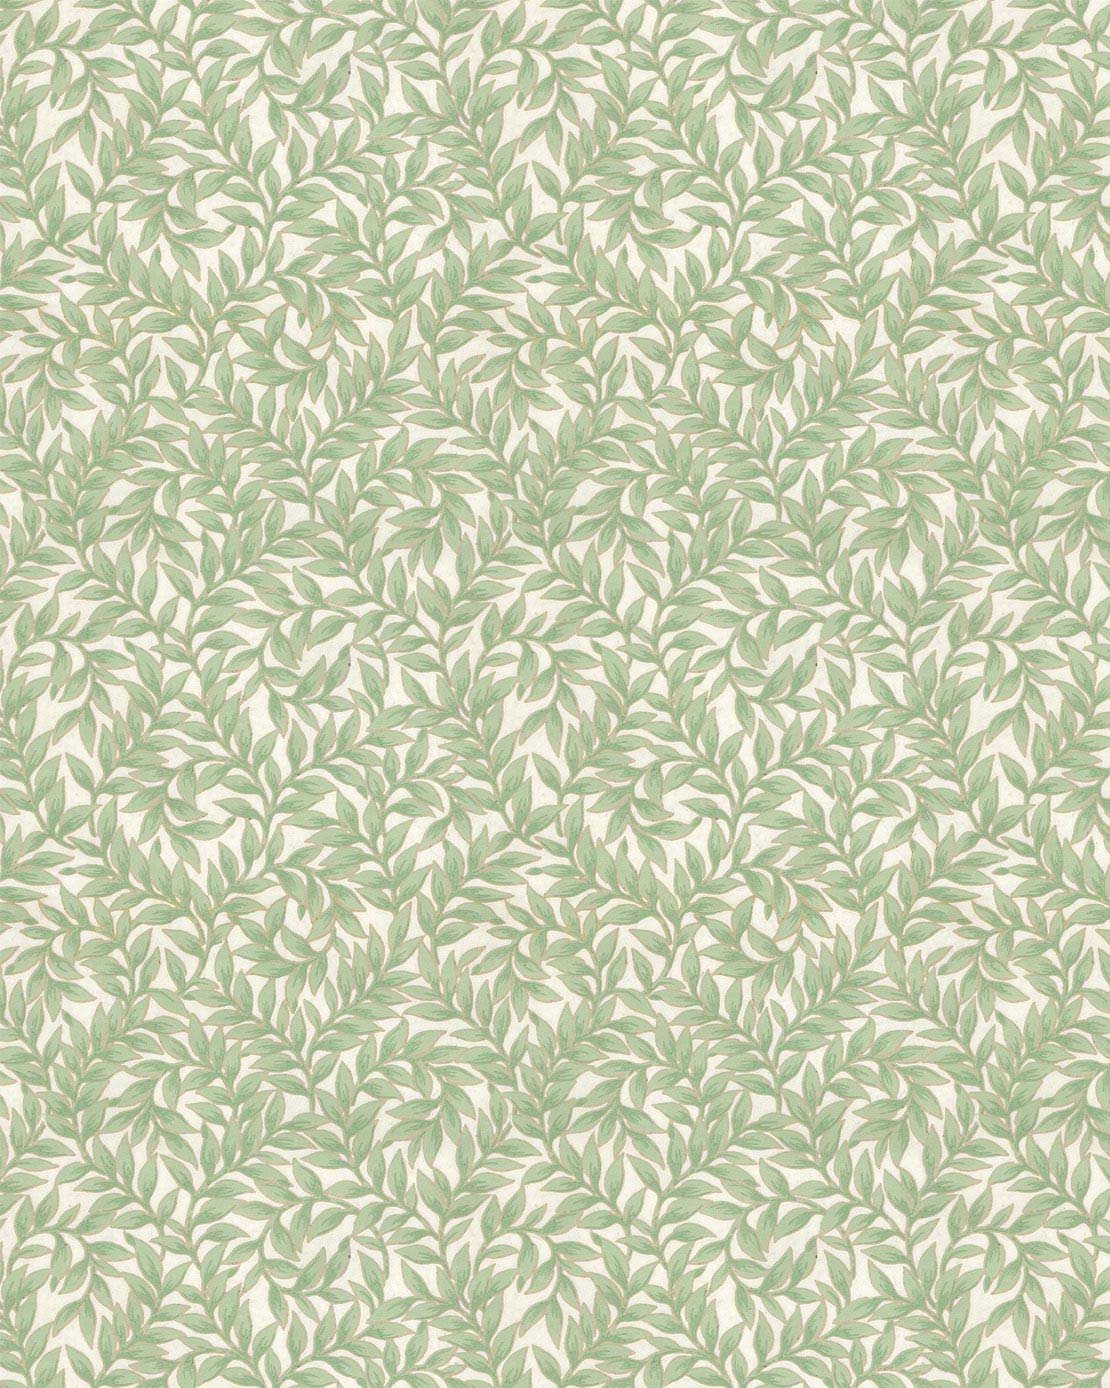
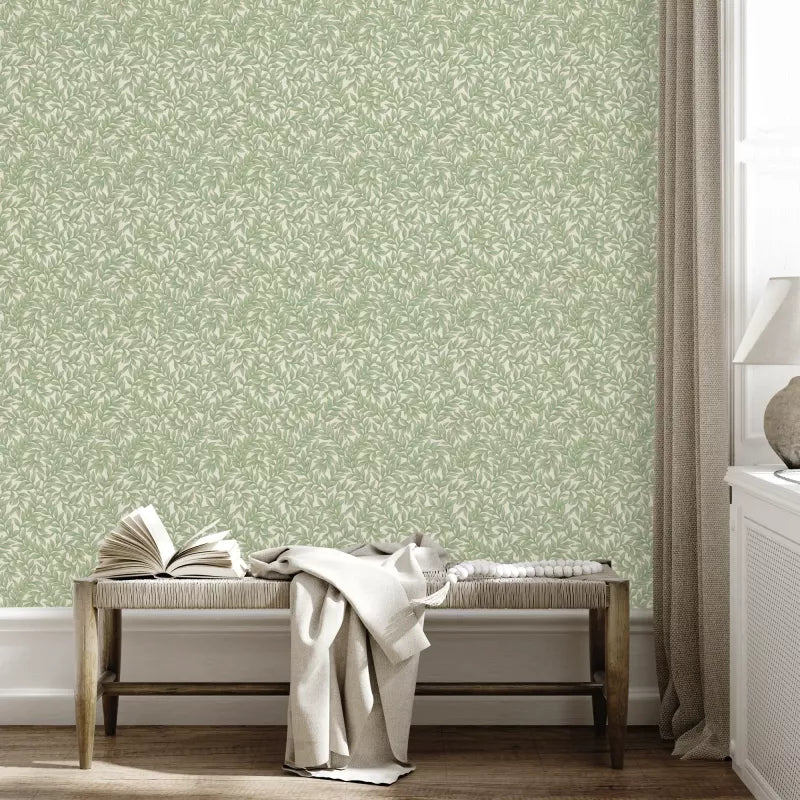
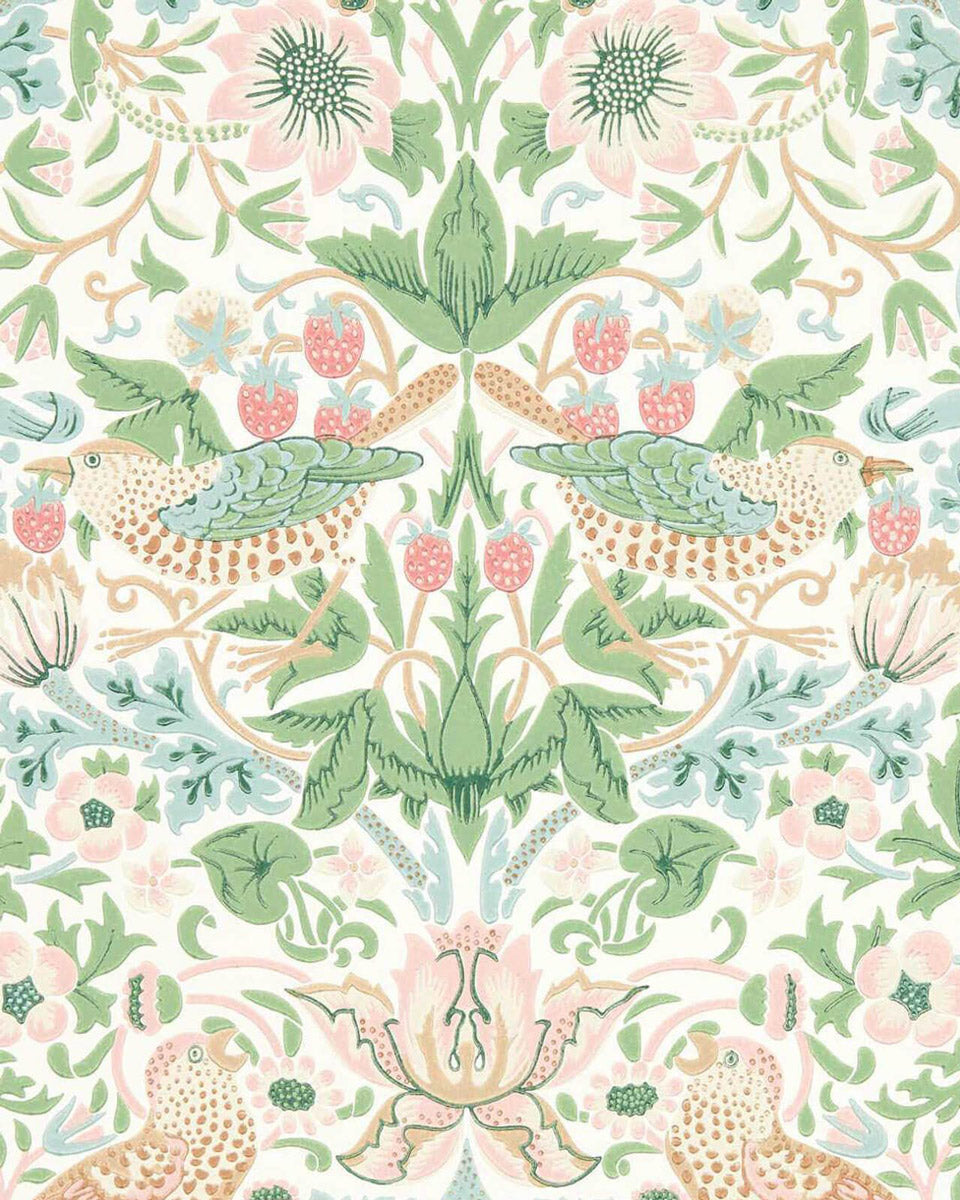
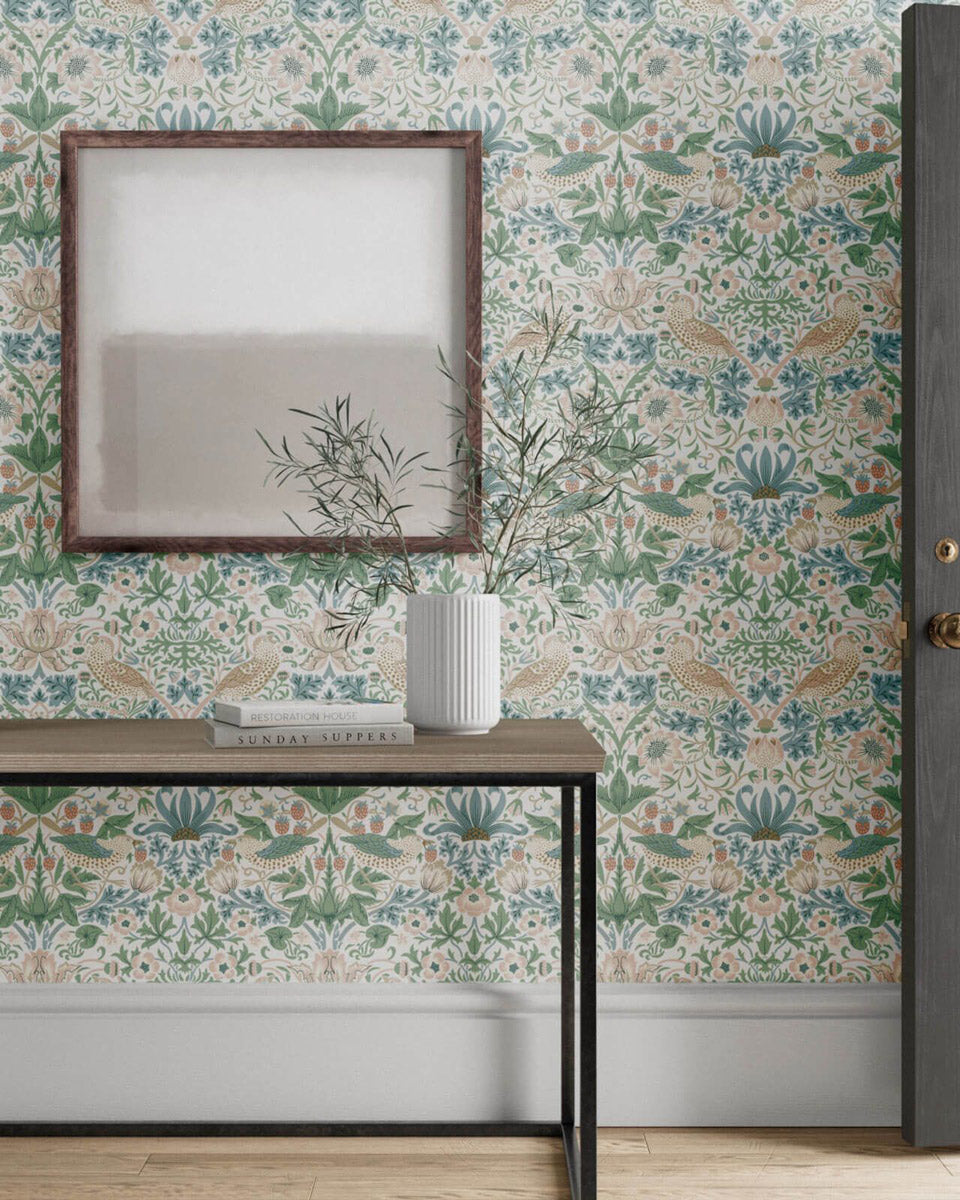
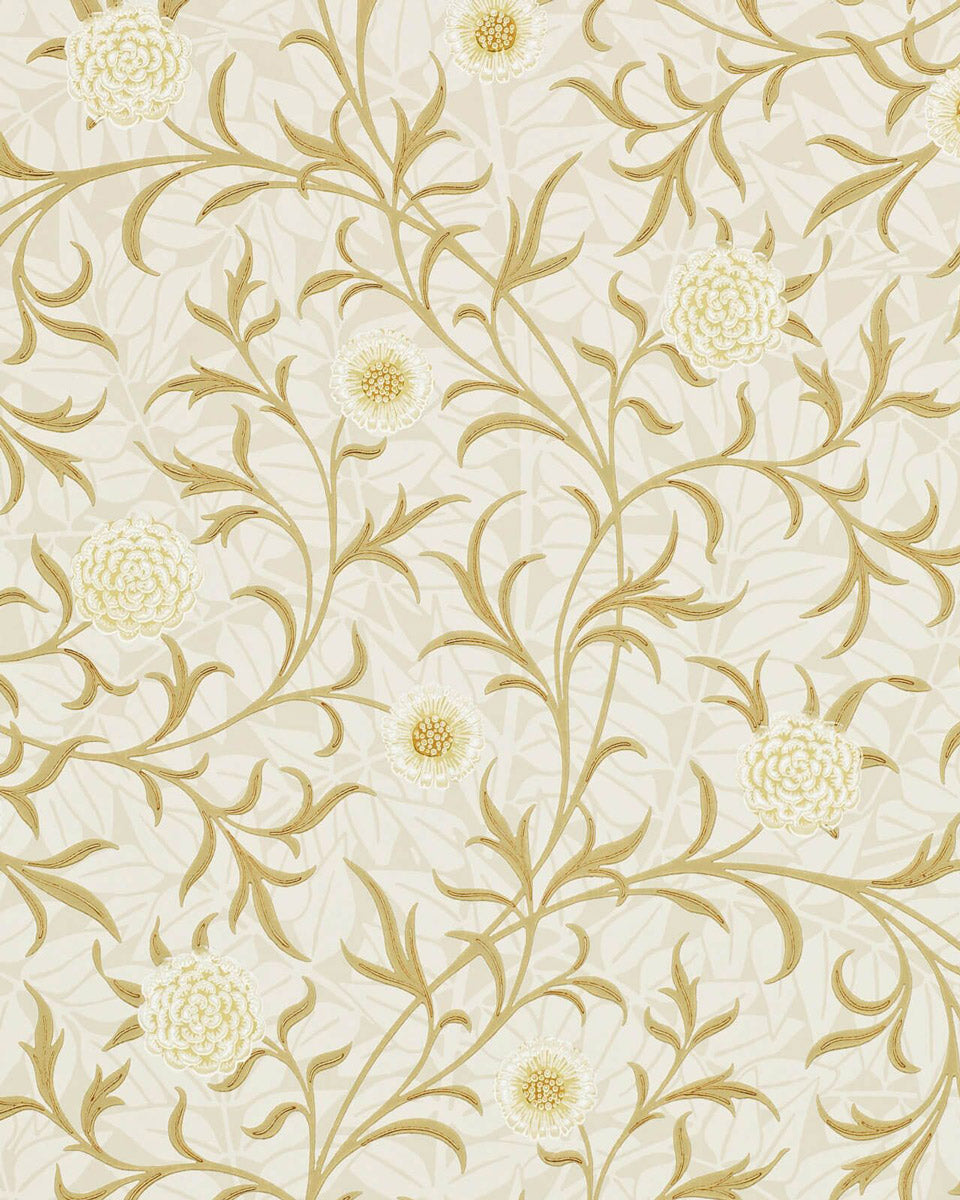
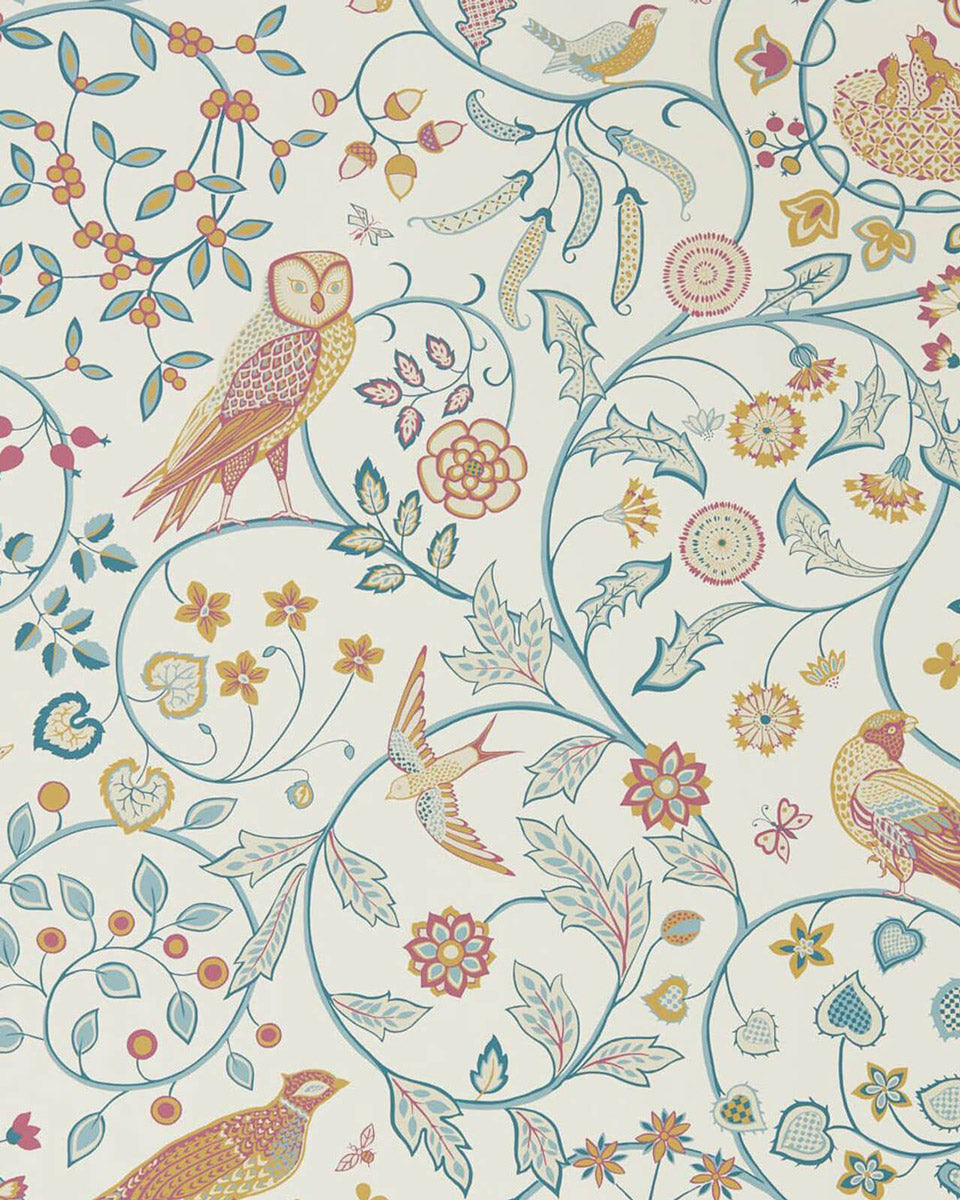
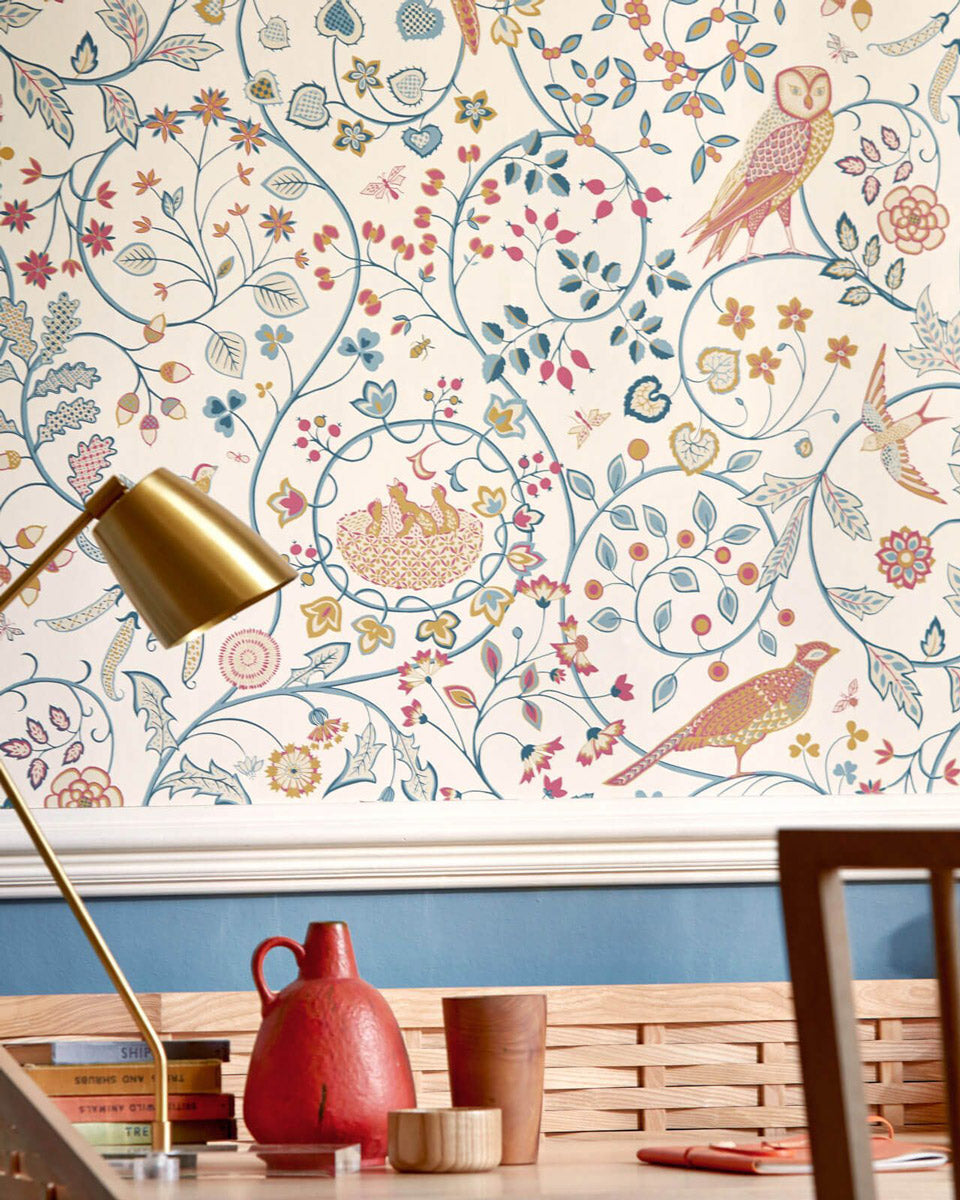
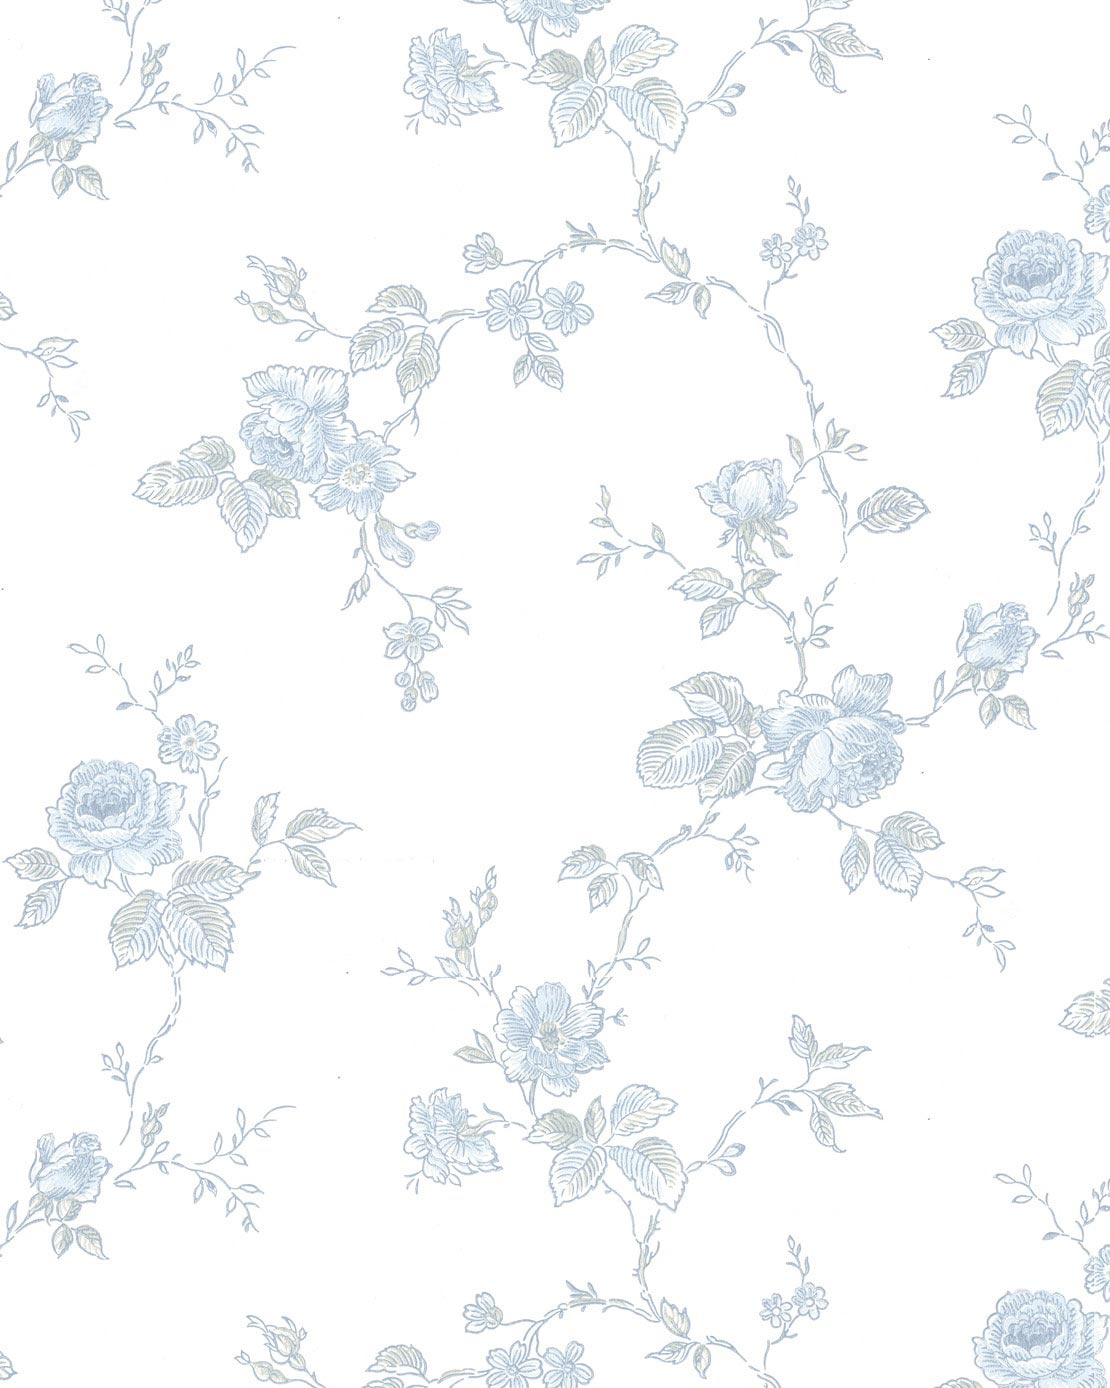
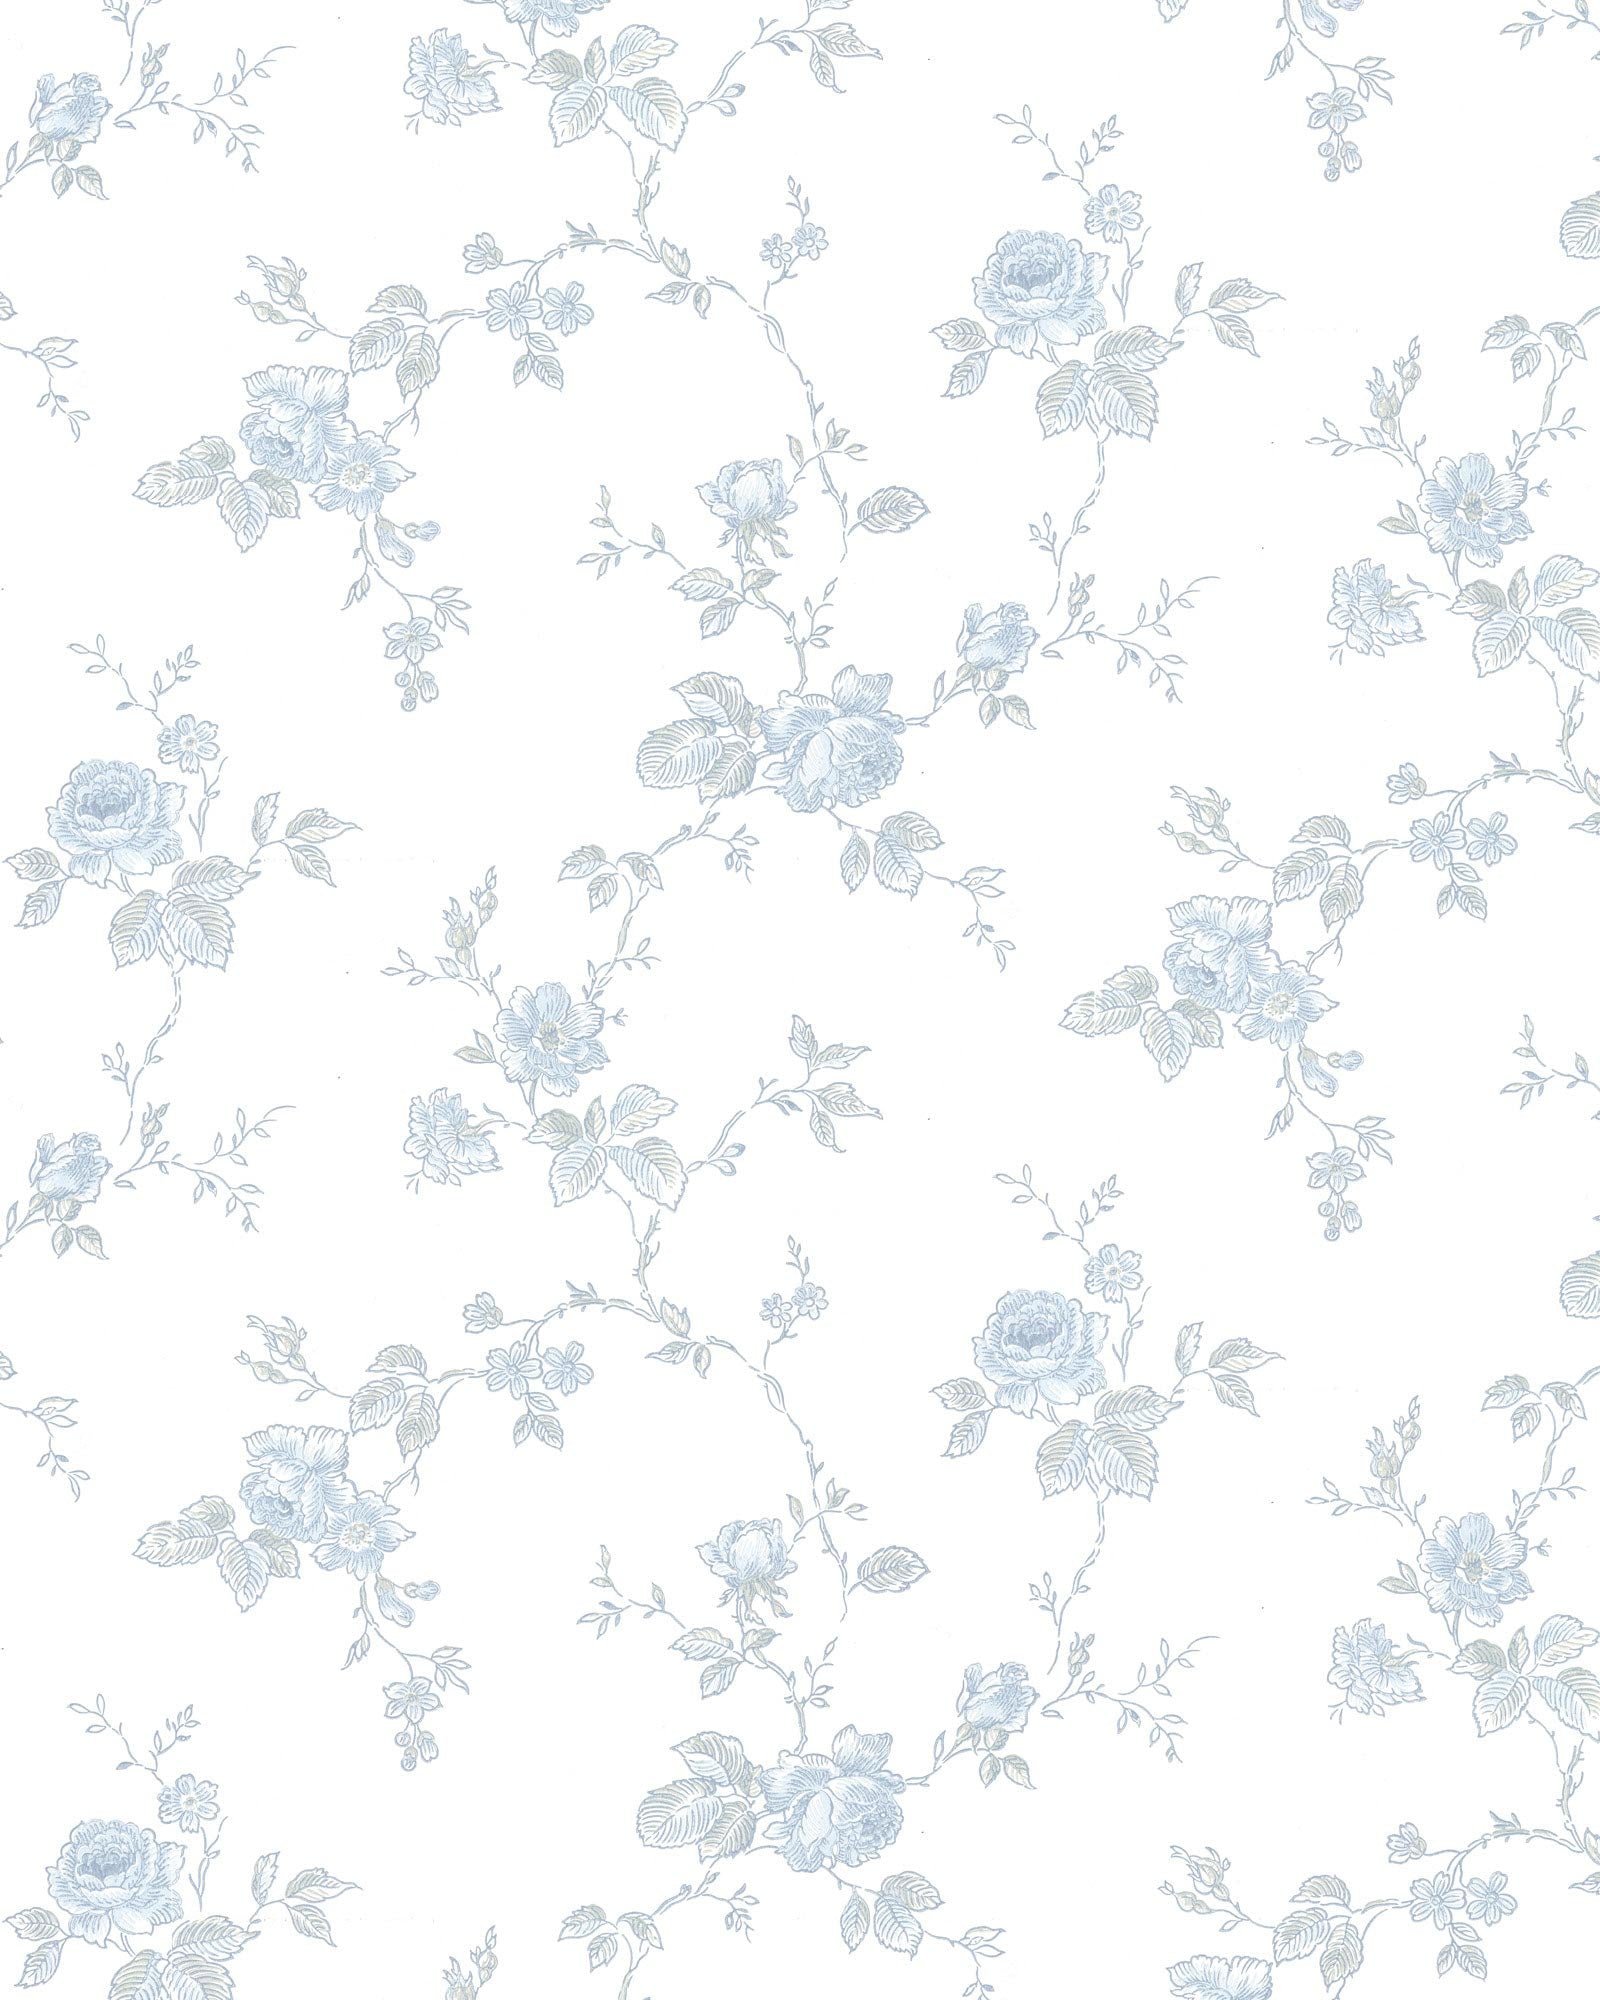
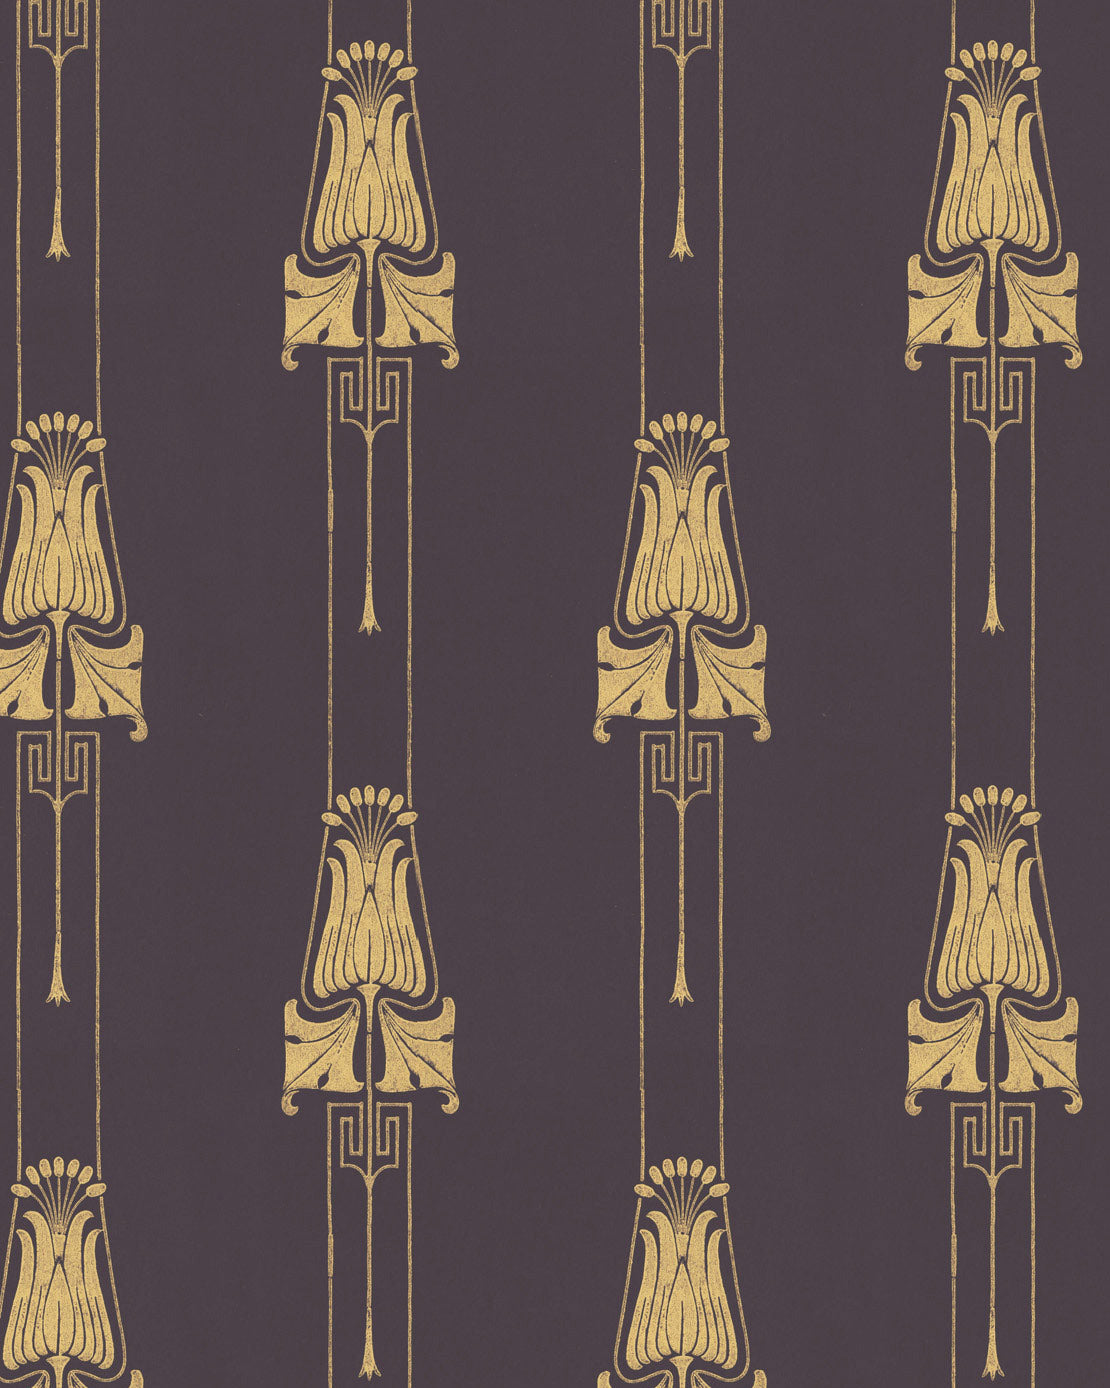
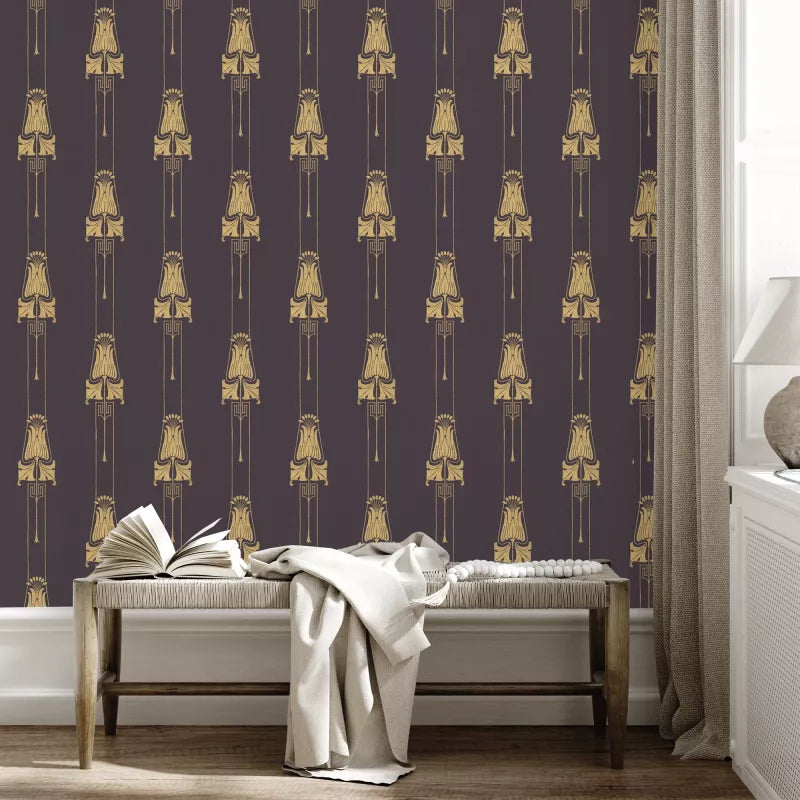
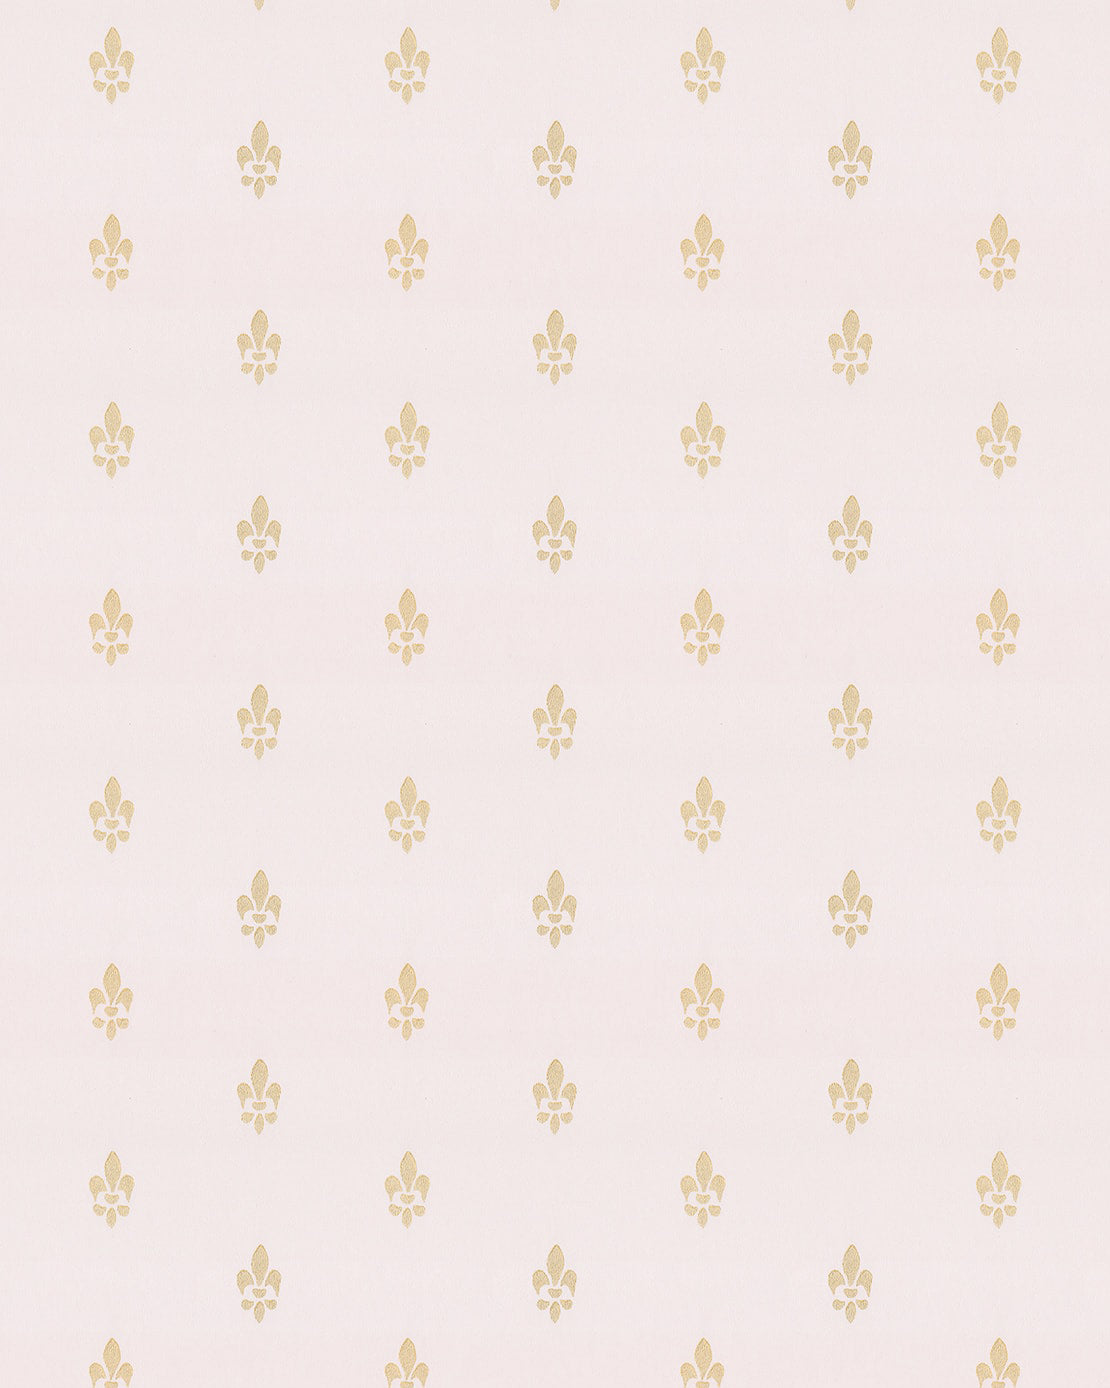
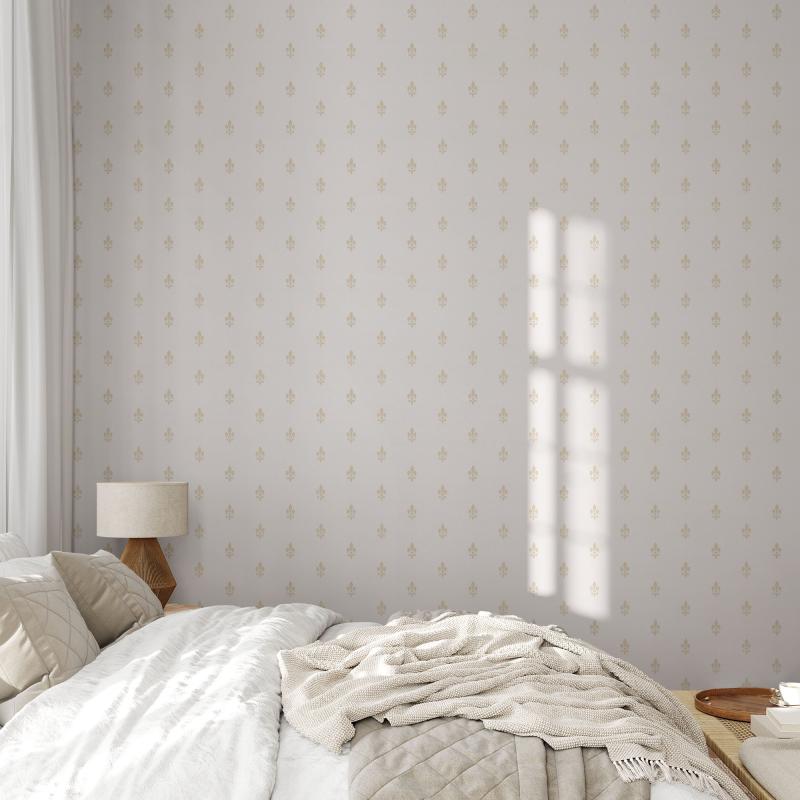
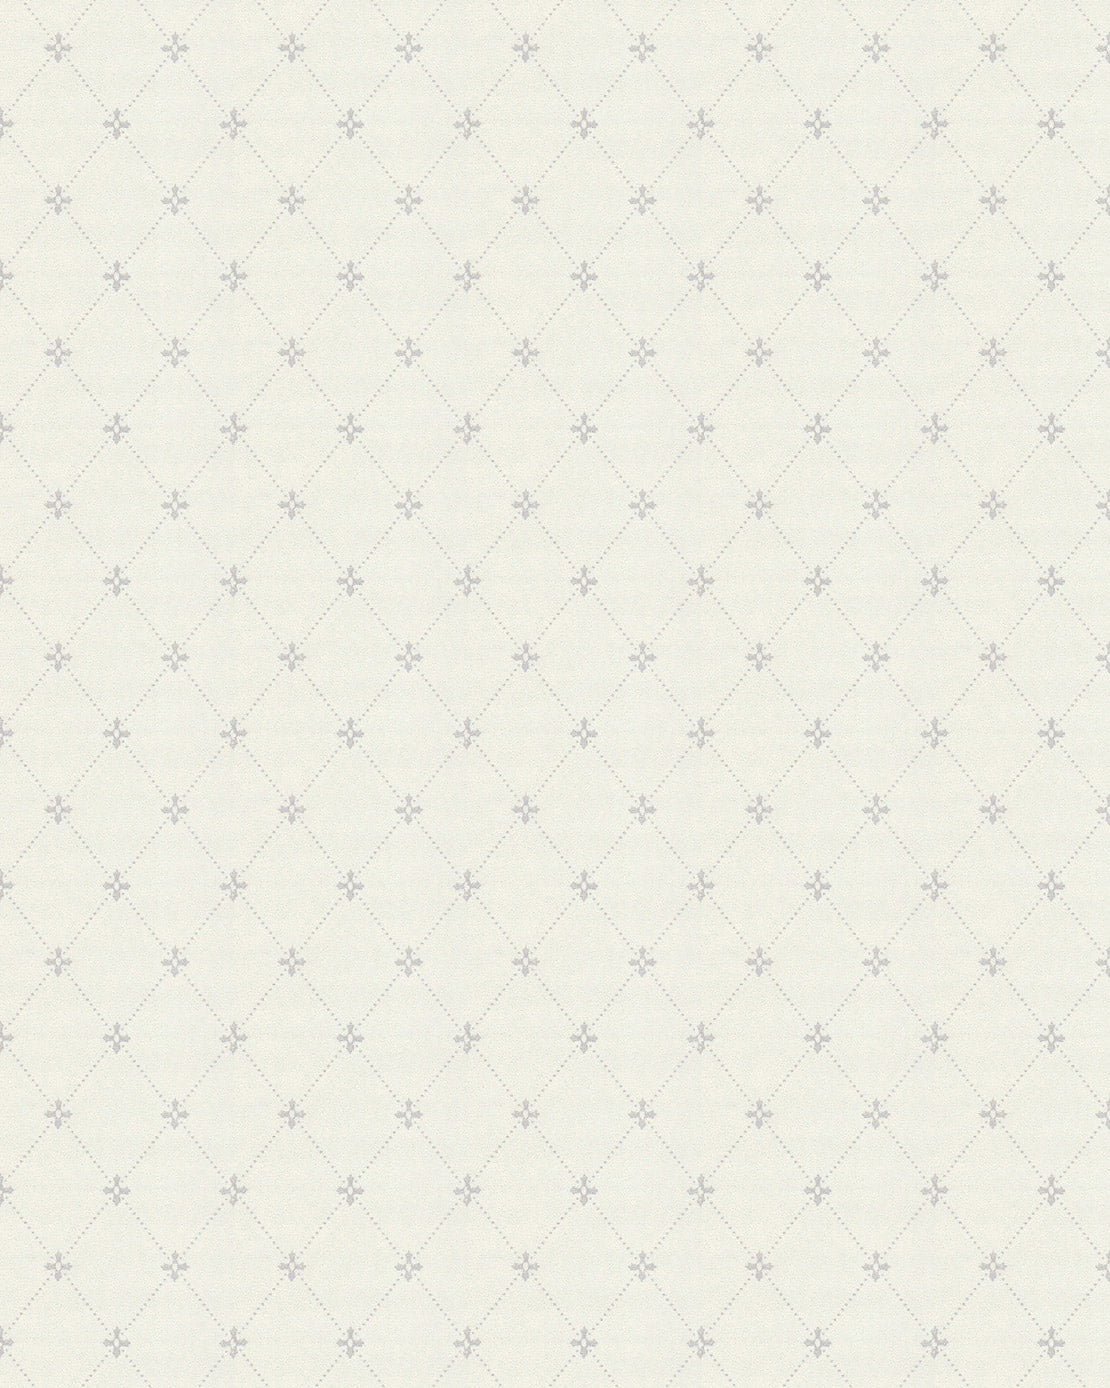
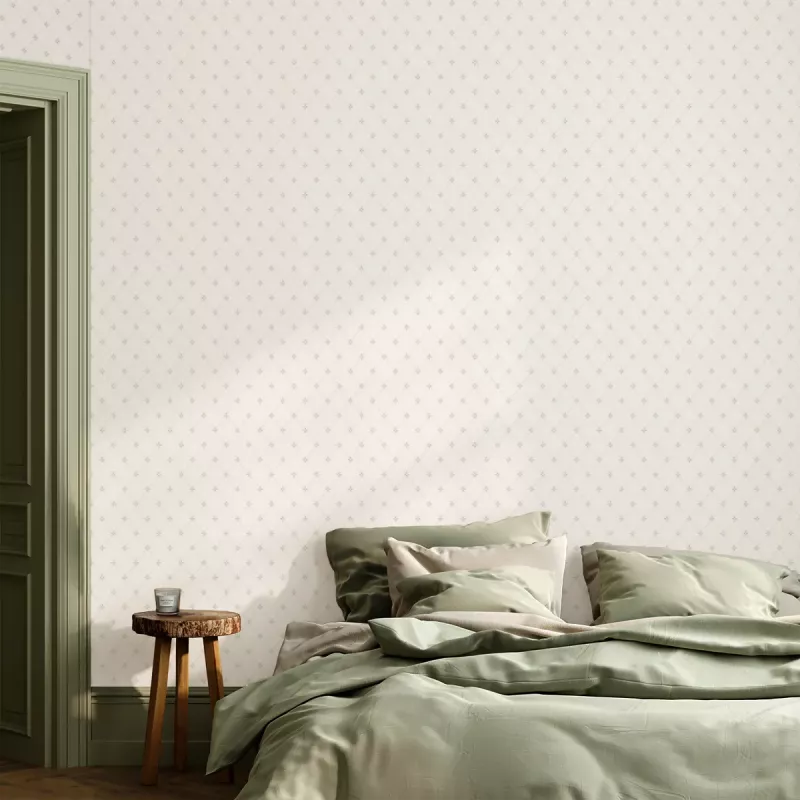
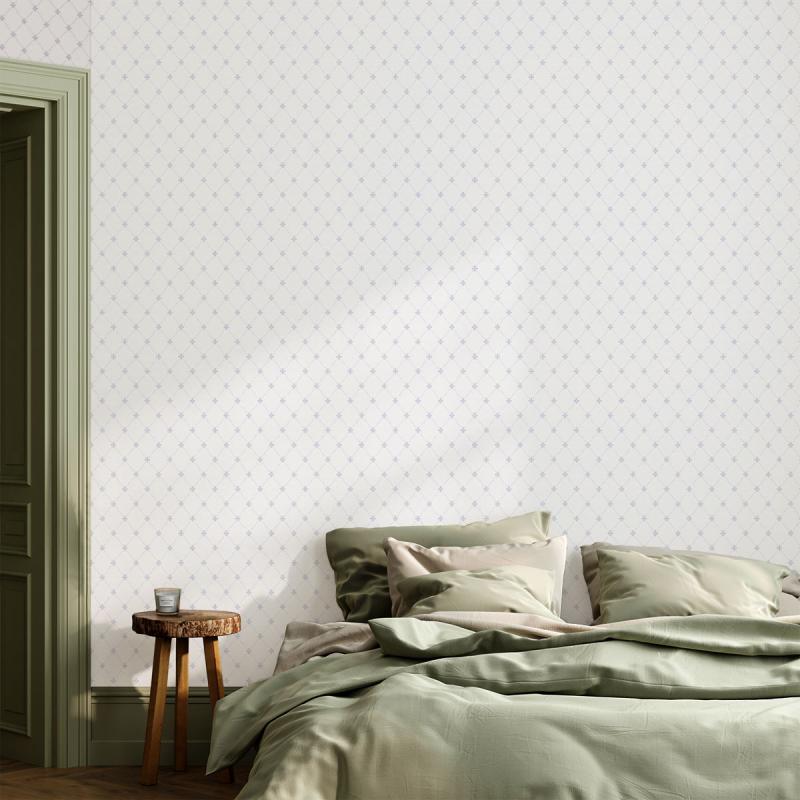
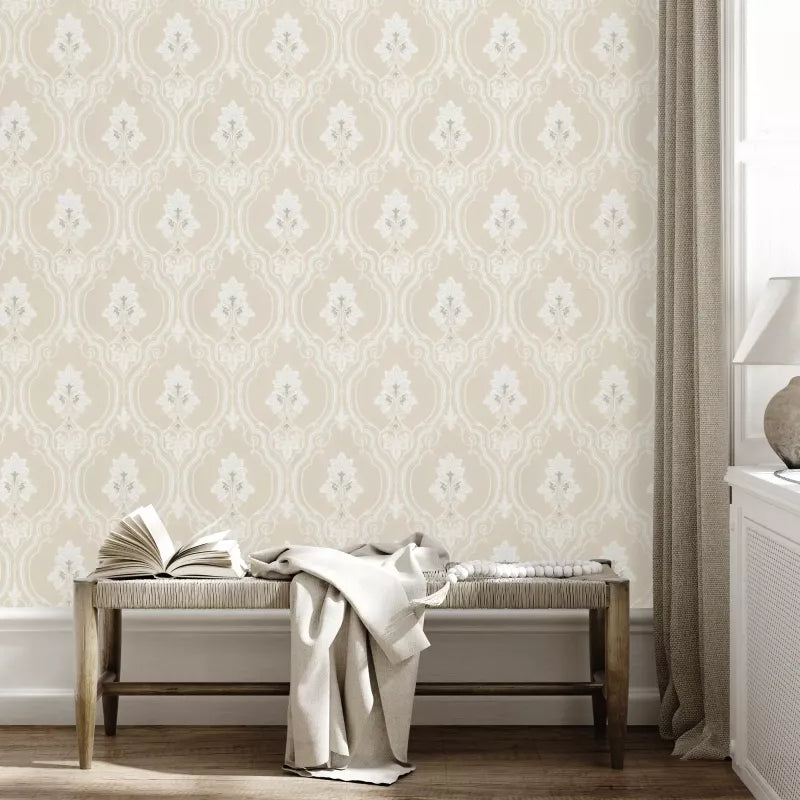
Wallpapers
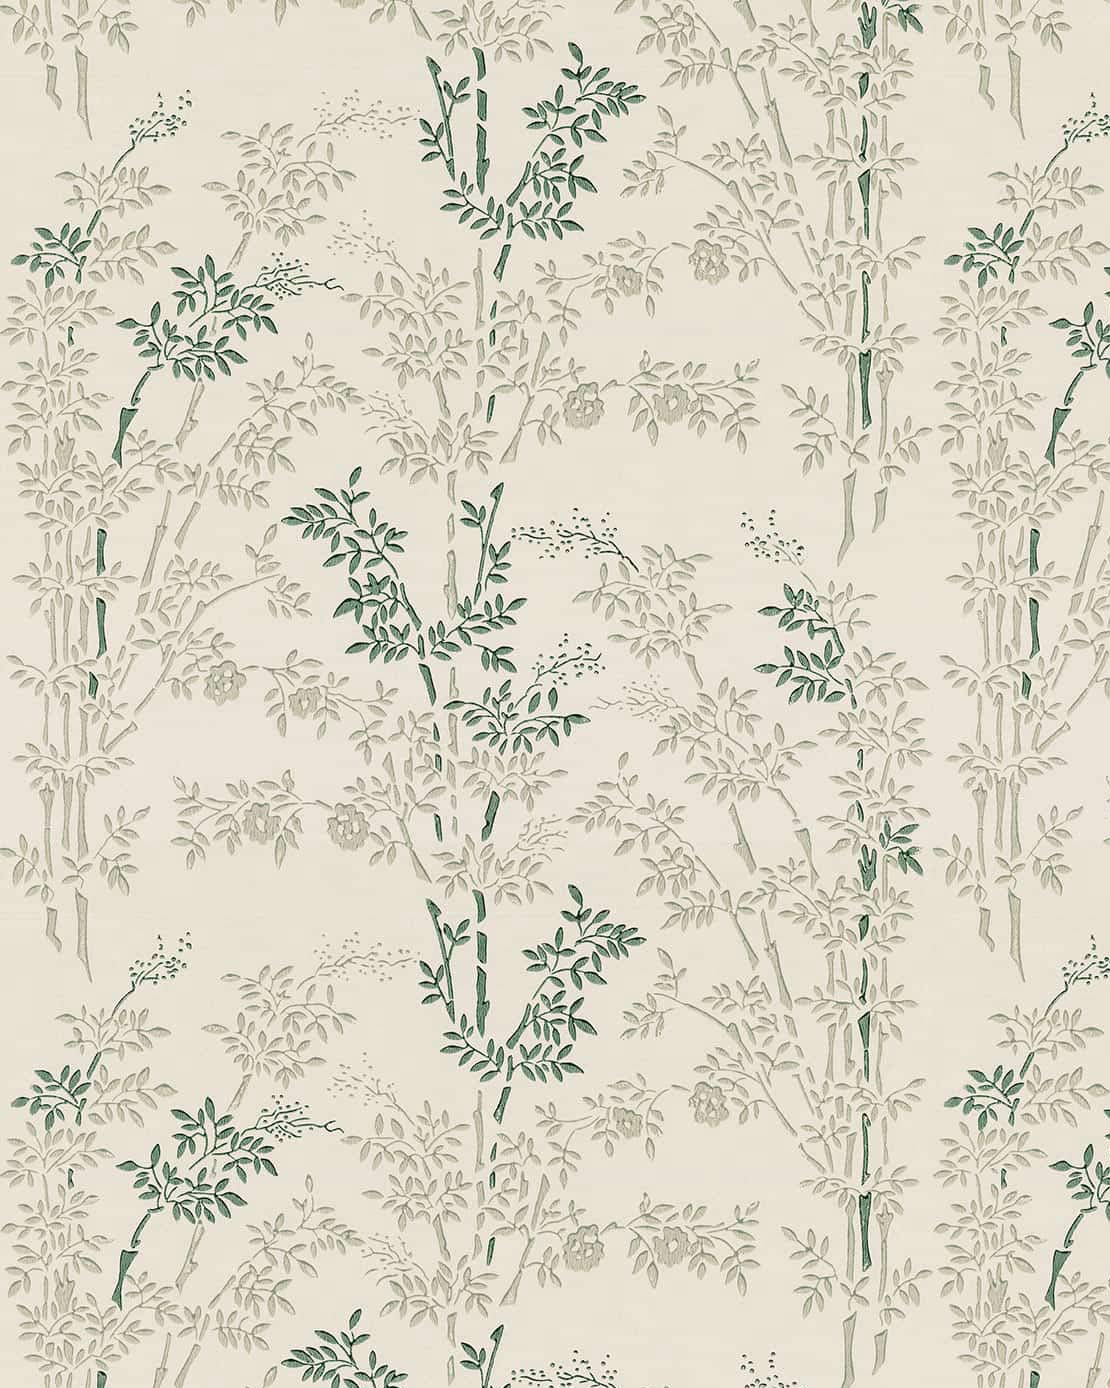
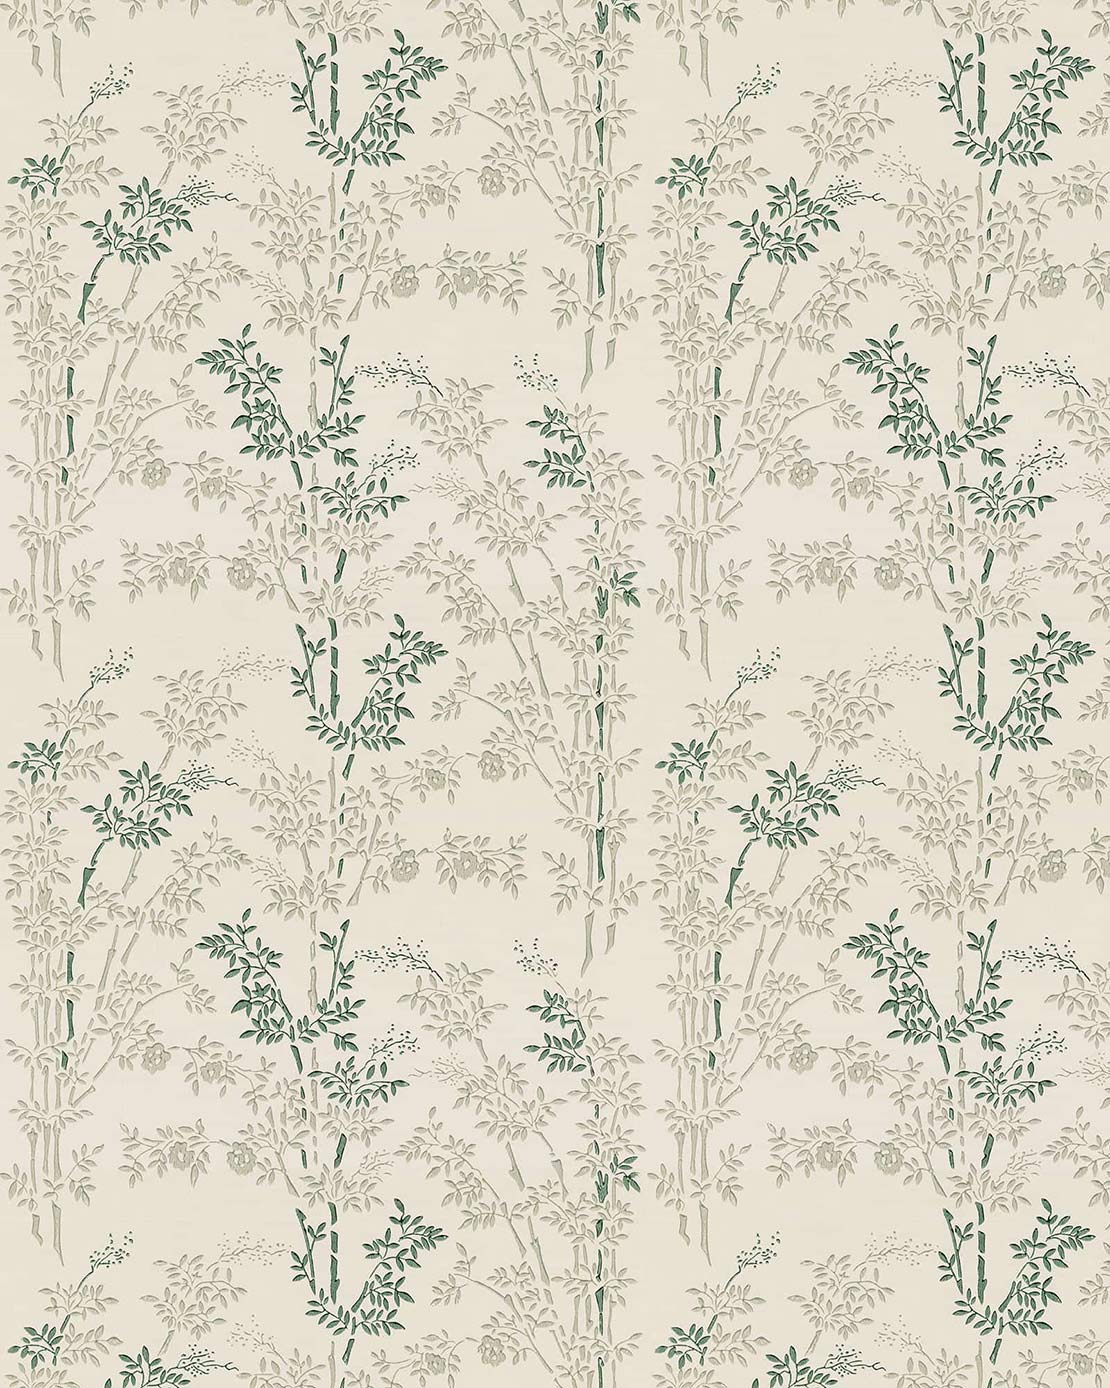
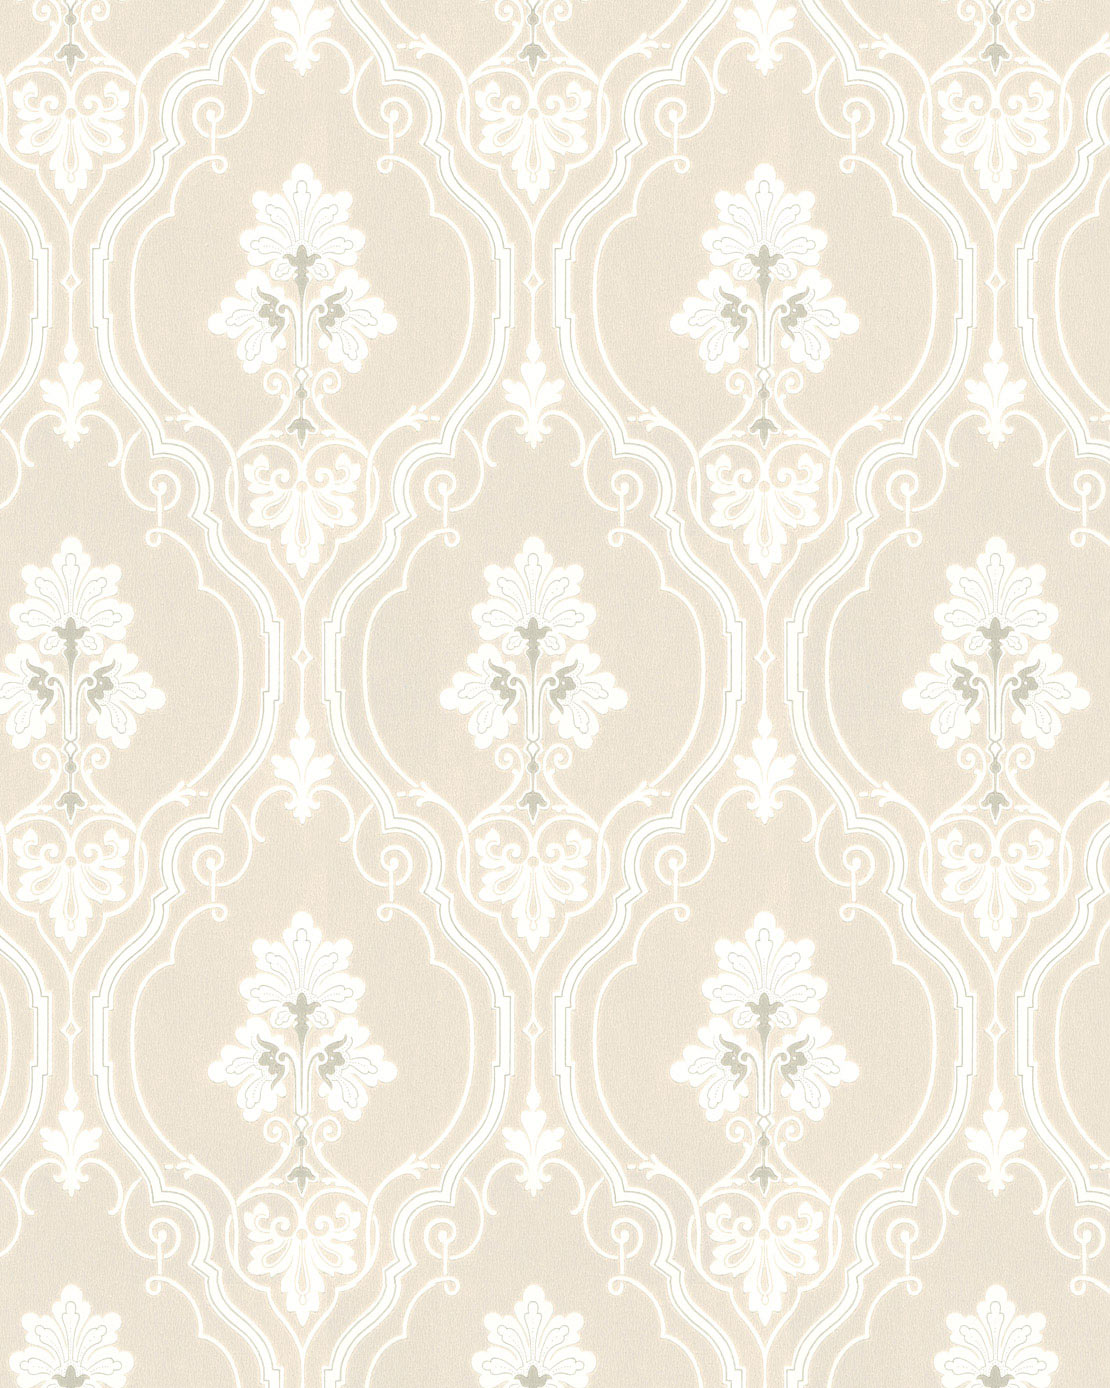
We offer a carefully selected collection of vintage style wallpapers from Lim & Hand print, William Morris and Duro. All our wallpapers are of high quality and selected with a passion for details, suitable for you who decorate in a classic, old-fashioned or vintage style.
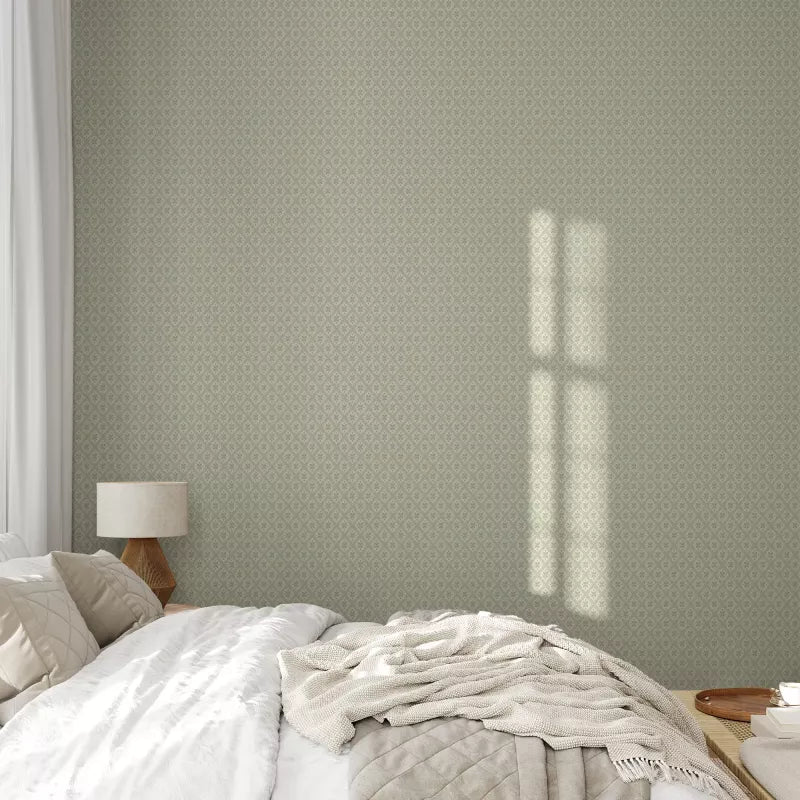
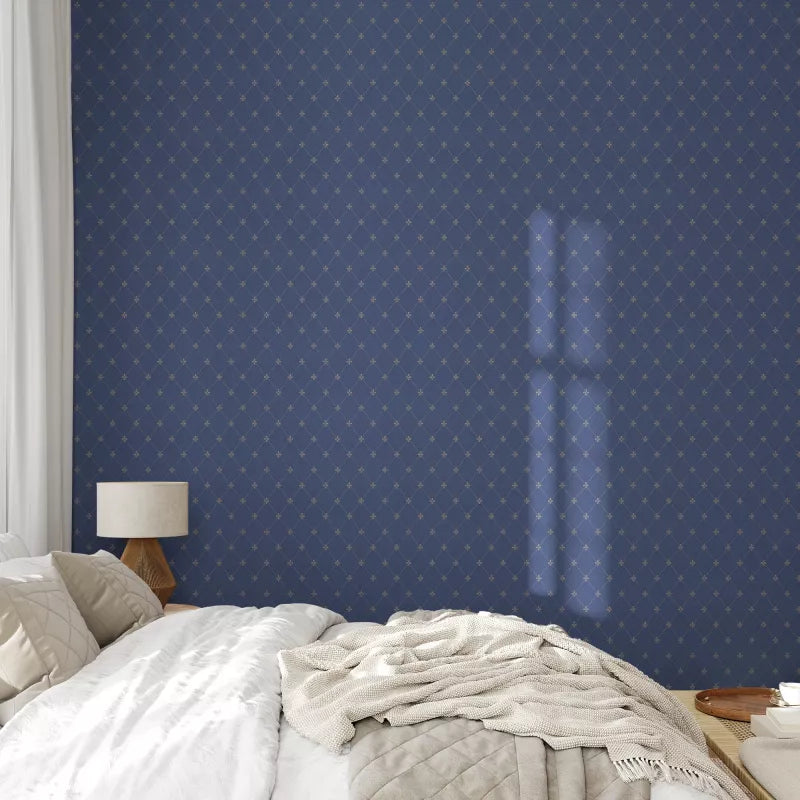
Our website doesn't always do these beautiful wallpapers justice in terms of colors and patterns, so please come into our store at Karlavägen 7 in Stockholm and browse our wallpaper books, and don't hesitate to contact us if you need help.


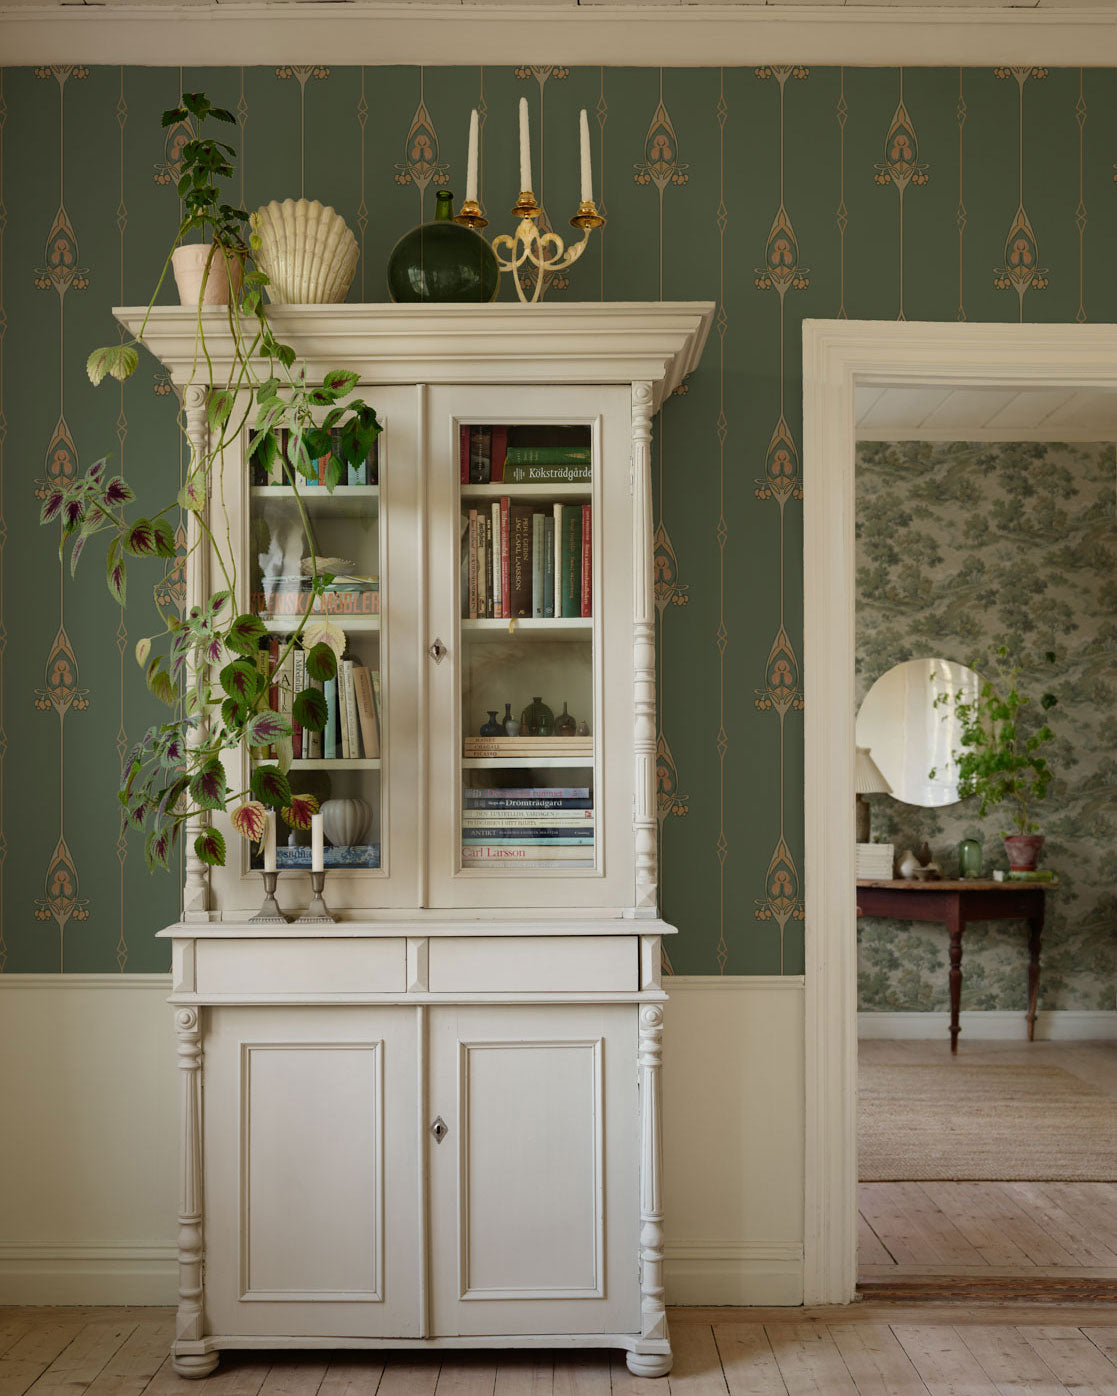

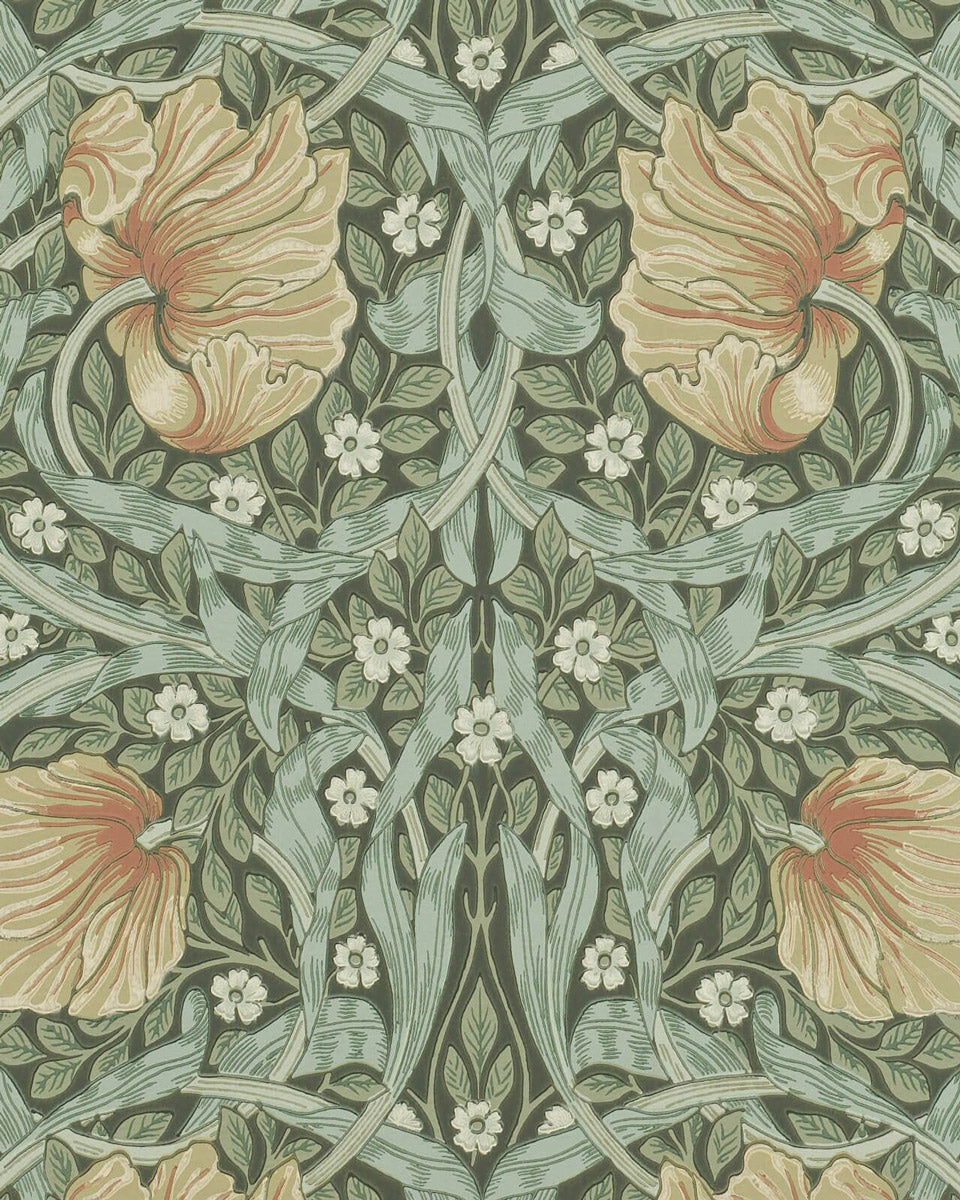
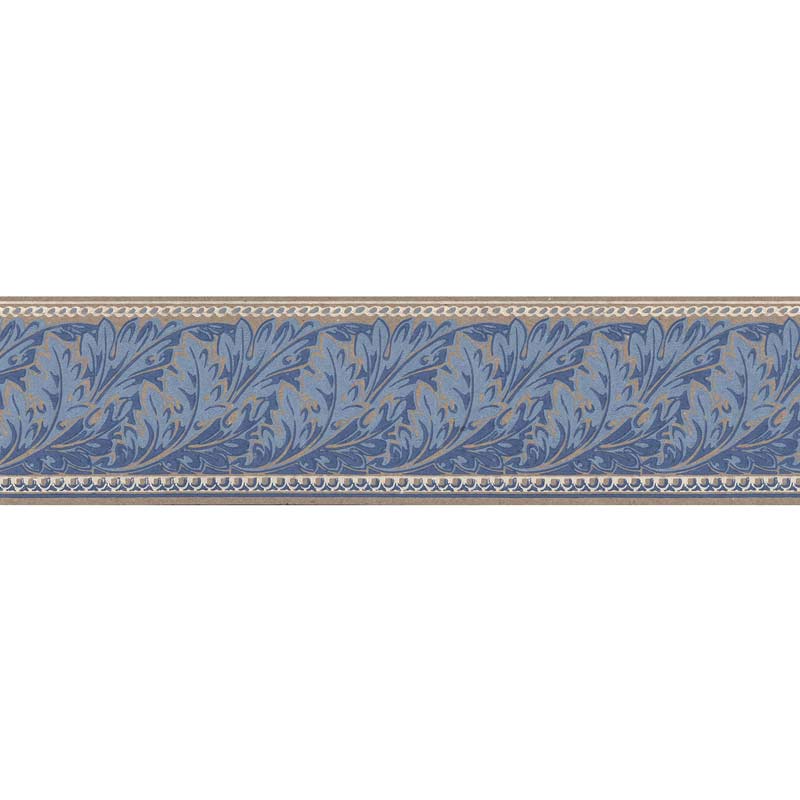
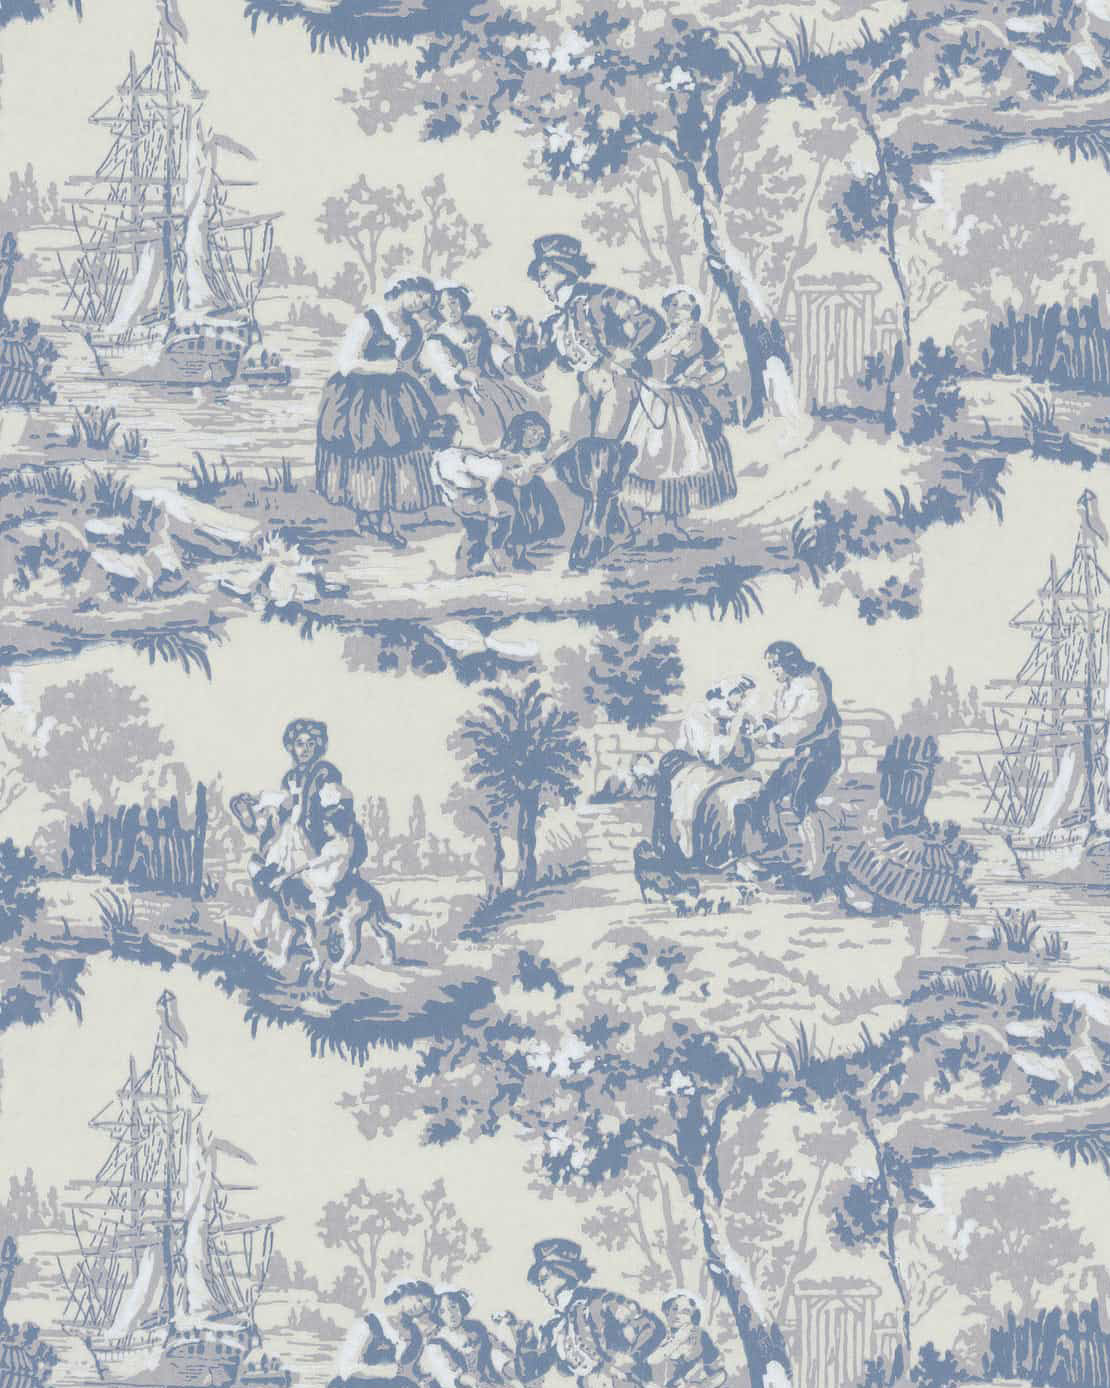
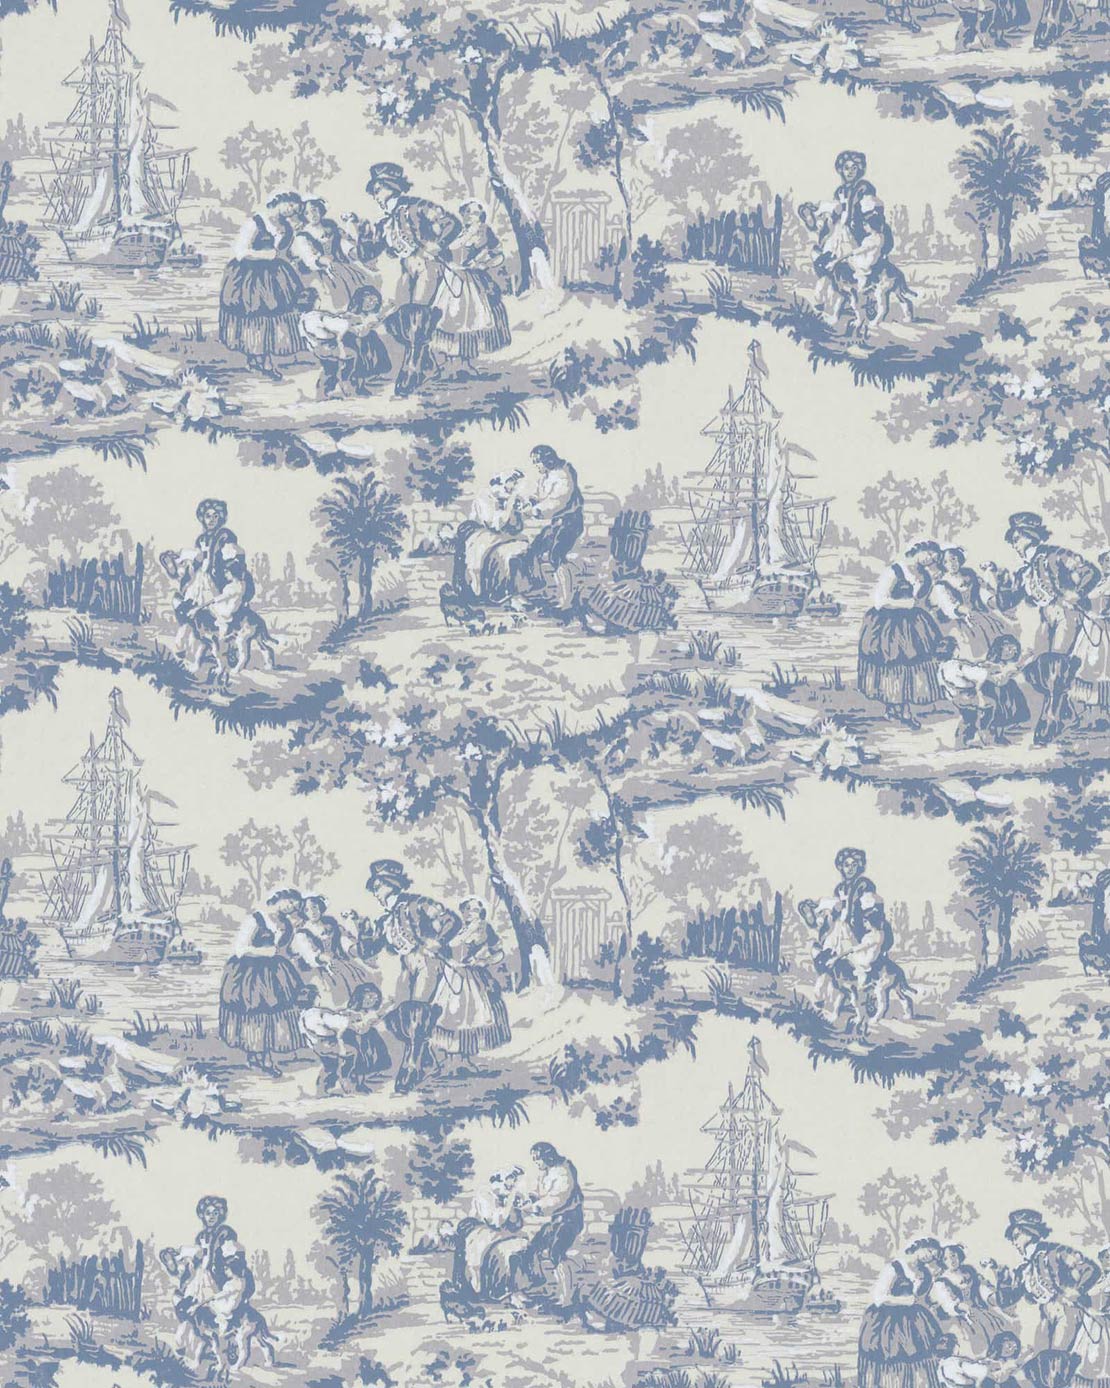

Be inspired by the style