Build your own hat rack in turn-of-the-century style!
Building your own hat rack is both easy, fun, and practical because you can customize both the style and dimensions for the exact space where you want to mount it. Choose from our large assortment of brackets, shelves, hooks, and fittings to combine a hat rack exactly to your taste.
1. Placement
Consider door openings and the overall flow in the hallway when choosing where to place your hat rack. The hat rack will quickly become the main focus and take up more space than you might think, so it's good to choose a generously sized space.
2.Assemble your shelf
Once you have chosen brackets and suitable shelf boards, it's time to start assembling these. A rule of thumb is that you need two brackets per meter of shelf board. Measure where you want to place the brackets on the shelf board, we recommend placing them a few centimeters in on each side. Then measure and pre-drill the shelf board where you want to attach the brackets, this is done from above with two screws per bracket. After attaching the shelf board and brackets, fill over the screw heads with fine filler and let it dry.
3. Prep work and painting
Seal any knots with shellac and prime your hat rack. We recommend linseed oil paint, which is especially good and durable for furnishings used daily. After the primer has dried, choose a finish paint color and apply two coats. For a cohesive look, we recommend painting the shelf the same color as the room's woodwork.
4.Hooks and fittings
Choose between anchor hooks or a clothes rod in either brass, chrome, oak, or pine for practical hanging. These are mounted on the underside of the shelf board with slotted screws, if you choose anchor hooks we recommend sticking to an odd number and placing them staggered. For hat enthusiasts, we also suggest hat stands that are mounted on the top side of the shelf board!
5. Mount your hat rack on the wall
If the brackets you have chosen have a mounting mechanism on the back, measure the center-to-center (CC) distance between these holes, and then measure and mark these on the wall. If the brackets do not have a ready-made mounting, we recommend that you pre-drill holes right through the bracket, preferably in a slot at two points, and then measure the CC distance between these and mark the wall. You can also secure with extra angle irons between the wall and shelf. Use the correct drill, plug, and screw depending on the wall material. Fill over any screw heads and paint over them.
6. More accessories for the hallway
Now that your hat rack is mounted and ready! Perhaps you'd like to complement the hallway decor with some practical items? Why not a shoe horn in oak, a boot jack in cast iron, or a beautiful umbrella stand? Here you will find our large selection of hallway furnishings!
Materials and tools
- 1 x Shelf board in untreated pine with rounded corners and profiled edge
- 2 x Wooden brackets in untreated pine
- Shellac
- Primer & paint
- Wood filler and putty knife
- Sandpaper (to prepare the surface for painting)
- Screws & plugs (size depending on the type of wall)
- Drill and screwdriver
- Level
Related products
-

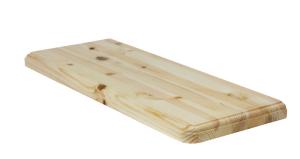
Vintage-Style 80 cm (31.5 in.) Shelf - Sekelskifte Shelf Board
80 x 26,5 x 2,5 cm (31.5 x 10.4 x 0.98 in.) Board with rounded corners and profiled edge.
109-533
695 SEK / pc.- Stock status
- 42 pc. in stock
-
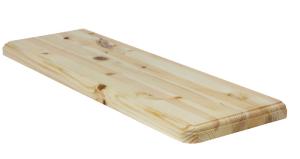
Vintage-Style Shelf 120 cm (47.2 in.)- Sekelskifte Shelf Board
120 x 26,5 x 2,5 cm (47.2 x 10.4 x 0.98 in.). Board with rounded corners and profiled edge.
109-534
895 SEK / pc.- Stock status
- 70 pc. in stock
-
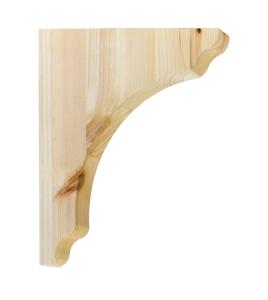
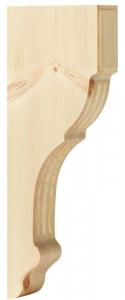
Vintage Style Shelf Bracket in Wood - Sekelskifte
21 x 21 x 3 cm (8.27 x 8.27 x 1.18 in.) Classic shelf bracket.
109-504
195 SEK / pc.- Stock status
- 114 pc. in stock
-
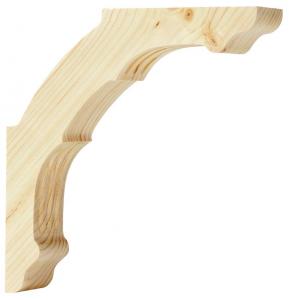
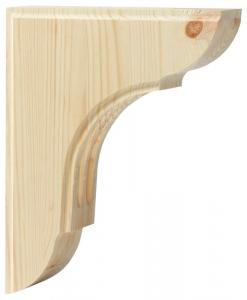
Shelf Bracket Marstrand wood - Medium
248 x 248 x 45 mm (9.76 x 9.76 x 1.77 in.). Classic shelf bracket.
109-505
195 SEK / pc.- Stock status
- 31 pc. in stock
-
Shelf Bracket Gullholmen wood - Large
320 x 118 x 45 mm (12.60 x 4.65 x 1.77 in.). Classic shelf bracket.
109-512
225 SEK / pc.- Stock status
- 23 pc. in stock
-
Shelf Bracket Strömstad wood - Small
275 x 218 x 65 mm (10.83 x 8.58 x 2.56 in.). Classic shelf bracket.
109-507
350 SEK / pc.- Stock status
- 18 pc. in stock
-
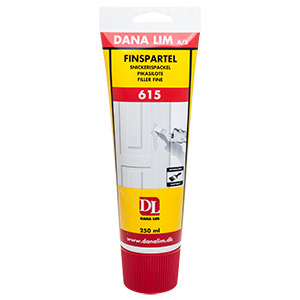
Fine Filler - 250 ml (8.45 fl. oz.)
250 ml (8.45 fl. oz.). Fine Filler for indoor use.
105-415
75 SEK / pc.- Stock status
- 16 pc. in stock
-
Shellac Solution - Selder & Co 250 ml
250 ml wig varnish from Selder & Co.
105-319
199 SEK / pc.- Stock status
- 26 pc. in stock
-
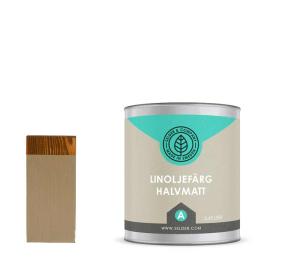
Selder & Co. Linseed Oil Paint - Wheat
Wheat. 0.45L, 0.9L or 4.5L (15.2 oz., 30.4 oz. or 1.18 gallons) Linseed oil paint for most indoor and outdoor surfaces.
105-751-HM-0.45L
255 SEK / pc.- Stock status
- 7-10 weekdays
-
Brass tube - 100 cm (39.37 in.)
Tube in untreated brass with a diameter of 25 mm (0.98 in.).
109-377
495 SEK / pc.- Stock status
- 424 pc. in stock
-
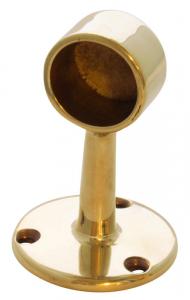
Tube holder brass - 25 mm
Tube bracket in untreated brass for 25 mm (0.98 in.) tubes. End holder.
109-390
219 SEK / pc.- Stock status
- 622 pc. in stock
-
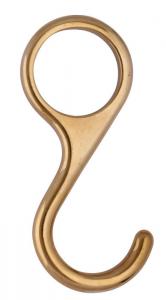
S-hook in brass - For 25 mm tube
Hook in untreated brass for 25 mm (0.98 in.) tube.
109-392
74 SEK / pc.- Stock status
- 380 pc. in stock
-
Oak dowel - 25 x 800 mm (0.98 x 35.4 in.)
Untreated round rod in oak for building a hat shelf, shoe rack, etc.
130-042-EK
120 SEK / pc.- Stock status
- 231 pc. in stock
-
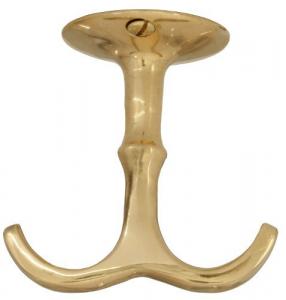
Hat rack hook - Anchor hook brass
55 x 52 mm (2.16 x 2.05 in.). Classic anchor hook in untreated brass for mounting under a hat rack.
109-317-M
85 SEK / pc.- Stock status
- Temporarily out of stock
-
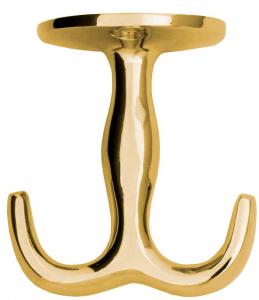
Hat rack hook - Large anchor hook brass
55 x 60 mm (2.17 x 2.36 in.). Large anchor hook in untreated brass for mounting under a hat rack.
109-319
85 SEK / pc.- Stock status
- Expected to ship in early July
-
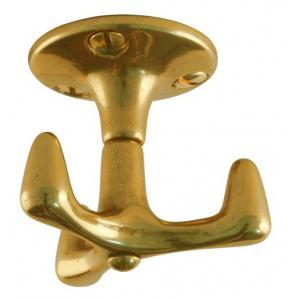
Coat Hook - 3-armed swivel hook brass
Height: 45 mm (1.77 in.) Untreated brass.
109-321
135 SEK / pc.- Stock status
- 3 pc. in stock
-
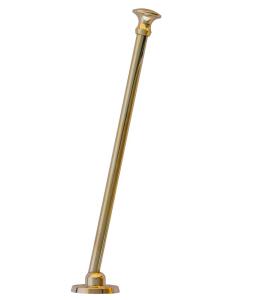
Hat Stand - Låsfabriken No. 195 Brass
195 mm (7.68 in.) For mounting on a hat rack.
109-625
335 SEK / pc.- Stock status
- 3 pc. in stock